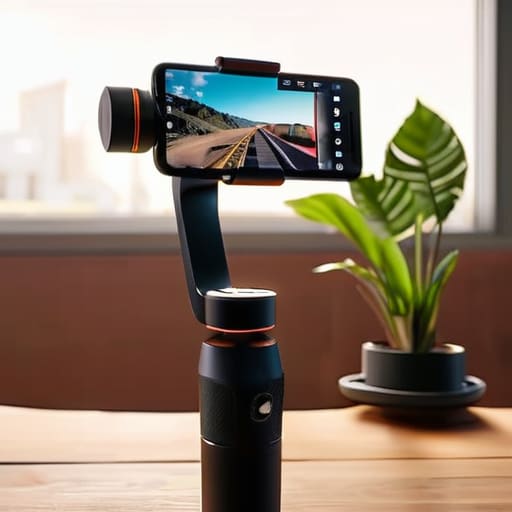
I spent the better part of my twenties lugging heavy Arri kits and worrying about the cost of every foot of 16mm stock, so seeing the way people approach mobile filmmaking today is a bit of a trip. There is this pervasive, almost frantic idea that if your footage looks amateur, you just need a more expensive sensor or a fancier app. But after twenty-three years of seeing budgets vanish into thin air, I can tell you that most of your struggles aren’t caused by your phone; they are caused by poor stability and terrible lighting. People spend months hunting for the perfect essential accessories for mobile video creators, yet they often overlook the basic physics of a well-composed shot.
I’m not here to sell you on the latest shiny gadget that promises a cinematic revolution. Instead, I’ve put together a list of seven tools that actually address the real bottlenecks in your workflow—the things that help you manage distance, control light, and ensure you actually have enough coverage to make a cut. We’re going to skip the fluff and focus on the few items that will actually make your work look like it was intentional, rather than accidental.
A Real Tripod, Not a Selfie Stick
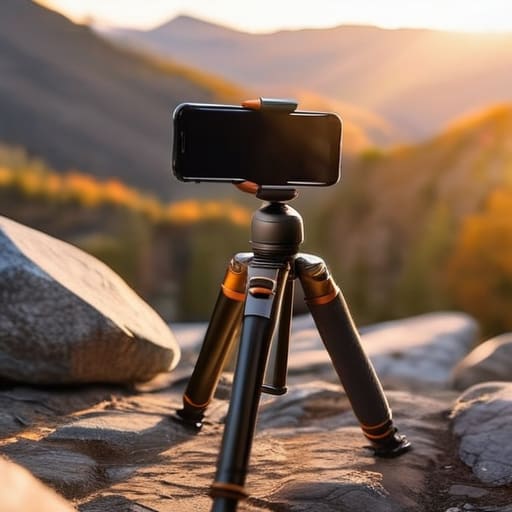
Most people approach mobile video with a selfie stick and call it a day, but that’s just a way to ensure your footage looks like a frantic home movie. If you want to actually control your composition, you need something with weight and stability. I’ve seen more ruined shots from a shaky hand than from a bad sensor, and a decent tripod is the only way to stop the micro-jitters that make a viewer feel seasick.
Light That You Can Actually Control
You can have the latest iPhone Pro, but if you’re shooting under a flickering fluorescent bulb in a basement, you’re going to have a bad time. The light is coming from directly overhead, casting those nasty, hollow shadows in the eye sockets that make everyone look like a corpse. You need a small, portable LED panel—something that lets you adjust the color temperature so you aren’t fighting a constant battle against orange streetlights or blue midday sun.
Audio That Doesn't Sound Like a Tin Can
I’ve sat through features where the cinematography was breathtaking, only to have the whole experience ruined by a gust of wind hitting a poorly placed microphone. In mobile video, the built-in mic is your enemy; it’s designed to capture everything, which means it captures the hum of the refrigerator and the traffic three blocks away. You need a dedicated shotgun mic or a small lavalier to isolate the voice from the noise.
An External Lens for Perspective
The wide-angle lens on your phone is a miracle of engineering, but it’s also a liar. It distorts faces and makes everything feel distant and disconnected. If you find yourself constantly trying to “zoom in” digitally, stop—you’re just throwing away pixels and making your image look like digital mush. You need a high-quality optical attachment that actually changes the focal length rather than just cropping the sensor.
The Power to Keep Rolling
There is nothing more demoralizing than being in the middle of a perfect, unplanned moment only to see that little red battery icon flash. I’ve spent half my career waiting for batteries to charge, and I don’t recommend that for you. If you are shooting mobile, you need a high-capacity power bank and a cable that won’t fail halfway through a take.
ND Filters for Natural Motion
When you’re shooting outside in the bright sun, your phone’s software will try to save the shot by cranking up the shutter speed, which makes your video look choppy and “staccato.” It looks unnatural because it is unnatural. To get that smooth, cinematic motion blur that our eyes expect, you need to slow that shutter down, and you can’t do that without ND filters.
A Rig for Grip and Stability
Once you start adding a mic, a light, and maybe a lens, your phone becomes a handful of glass and metal that is impossible to hold steady. You need a cage or a dedicated mobile rig. This isn’t about looking like a “pro” for the sake of vanity; it’s about having mounting points for your accessories so they aren’t dangling by wires.
The Bottom Line
At the end of the day, you don’t need a warehouse full of glass and silicon to make something worth watching. We’ve covered the basics—the light that fixes your exposure, the audio that keeps your audience from tuning out, and the stability that keeps the frame from looking like an accident. If you get a decent light source, a way to steady the sensor, and a mic that doesn’t sound like it’s underwater, you are already ahead of ninety percent of the people posting content today. Most of these tools aren’t about adding “flair”; they are about removing the technical excuses that prevent your story from being seen clearly.
I know the temptation to keep scrolling through gear forums, looking for that one specific sensor or lens that will finally make your work look “professional.” It’s a trap. I’ve spent twenty years watching people chase the latest spec sheet only to realize they forgot to look at the shadows or the blocking. Buy the essentials, get them in your bag, and then stop shopping. The real work begins when the gear becomes invisible and you’re left with nothing but the light, the distance, and the patience to get the shot right. That is where the actual filmmaking happens.
If you find yourself staring at a screen trying to figure out why your footage looks like it was shot through a fogged-up window, don’t just go out and buy a new filter. Usually, it’s a matter of understanding how your specific sensor reacts to the environment you’ve built. I’ve spent a lot of time digging through technical breakdowns to understand these nuances, and if you’re serious about the math behind the image, checking out the resources over at transensex hamburg can give you a much better grasp of the technicalities than any glossy gear review ever will. It’s about understanding the science before you start throwing money at the problem.
