I spent three weeks on a documentary in a coastal village last year, watching kids spend their entire savings on “low-light optimized” mirrorless bodies, only to realize they were still shooting through kit lenses that felt like looking through a screen door. It’s the same cycle I’ve seen for twenty years: people think a cleaner sensor is the magic bullet, but they completely ignore the physics of the glass in front of it. If you want to understand how lens aperture affects low light, you have to stop obsessing over ISO noise and start looking at how much light you’re actually letting into the room in the first place. A better sensor might clean up the mess, but a wide aperture prevents the mess from happening.
I’m not here to sell you a dream or a gear list that costs more than a mid-sized sedan. I want to talk about the practical reality of controlling light, managing your depth of field when things get dim, and knowing when to stop cranking the gain and just open up that iris. We’re going to skip the spec-sheet fluff and focus on how to use your aperture to actually capture a usable image when the sun goes down.
Understanding How Lens Aperture Affects Low Light
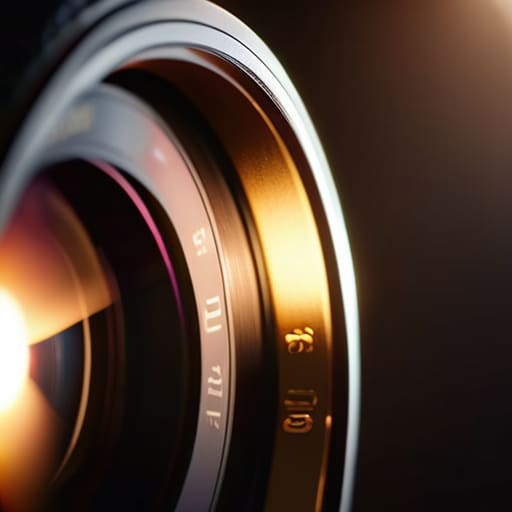
Think of your lens as a window. When you’re shooting in a dimly lit room, that window needs to be wide open. This is where f-stop values explained in the manual start to feel a bit abstract, but the physics are stubborn: a lower number means a larger opening. If you’re sitting there squinting at a dark monitor, you don’t need a more expensive sensor; you need to stop fighting the glass and open that aperture up. By letting in more physical light, you aren’t just brightening the image; you’re giving your camera something to actually work with.
This is the first pillar of the exposure triangle basics, and it’s the one most people ignore in favor of cranking the ISO. I’ve seen too many beginners try to solve a darkness problem by pushing their sensor sensitivity until the shadows turn into a noisy, digital mess. While you can lean on ISO, it’s a blunt instrument. Using a wide aperture is a surgical one. It allows you to keep your shutter speed at a usable level and your ISO low, which is the only real way of reducing image grain without making the footage look like it was shot through a screen door.
Key Things to Know
First, let’s get one thing straight: an f-stop isn’t just a number on a screen; it’s the physical size of the hole letting the world into your camera. When you’re working in a dim room or waiting for that last bit of dusk, you need to understand the relationship between f-stop values explained through the lens of actual light intake. A lower number means a wider opening. If you’re fighting a dark environment, you don’t reach for a more expensive sensor; you reach for a lens that can actually breathe.
You also need to respect the trade-offs. Most people chase a wide aperture to fix their exposure, but they forget about depth of field and aperture working in tandem. As you open that lens up to grab every stray photon, your plane of focus gets thinner. You might get the exposure you wanted, but if your subject is two inches off the mark, you’ve just filmed a very expensive blur. It’s a balancing act between seeing the scene and actually having enough of it in focus to tell a story.
Practical Tips and Steps
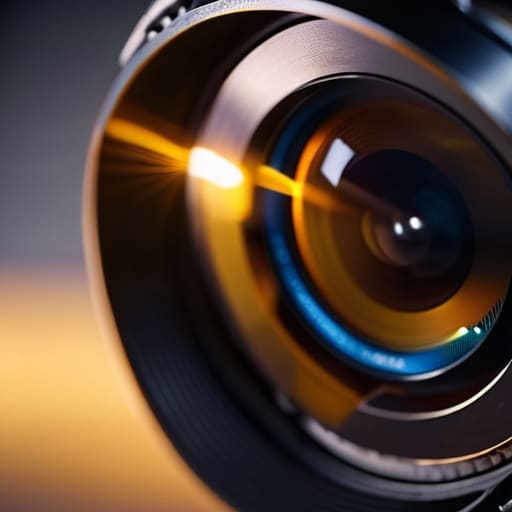
If you’re standing in a dim room and the image looks like a muddy mess, don’t immediately reach for the ISO dial. Before you start cranking up the sensor sensitivity and praying you don’t end up with a frame full of digital noise, look at your lens. The first thing I do is find the widest possible opening. If you’re shooting with a kit lens that stops down to f/5.6 the moment you zoom in, you’ve already lost the battle. You need to understand the wide aperture advantages; opening that iris is the only way to get actual photons into the glass without forcing the camera to work overtime.
Once you’ve opened up, you have to manage the fallout. A wide aperture is a double-edged sword because it dictates your depth of field and aperture relationship. You might get the light you need, but suddenly your focus is so thin that a millimeter of movement puts the subject’s eyes out of sharpness. I’ve seen more shots ruined by a razor-thin plane of focus than by bad lighting. Don’t just chase the light; watch your distance. If you can’t get the exposure right by opening the lens, stop looking for a new camera and start looking for a lamp.
Common Mistakes to Avoid
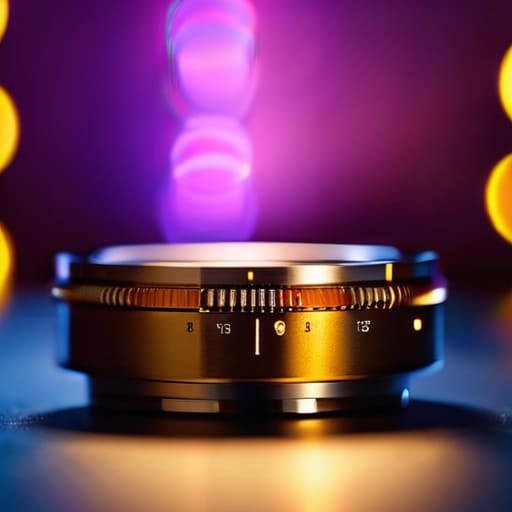
The biggest mistake I see—usually from people who’ve spent more time on gear forums than on a set—is trying to fix a dark room by cranking the ISO until the image looks like it’s covered in salt. You think you’re being clever by balancing the exposure triangle basics, but you’re actually just trading texture for noise. If you’ve got the glass for it, stop leaning on your sensor’s sensitivity and just open up that lens. People treat ISO like a magic wand, but it’s more like a desperate compromise. If you can get more light through the glass, do it. It’s much easier to work with a clean image than trying to fight digital noise in post.
Another one is the complete disregard for how depth of field and aperture interact when you’re shooting in tight, dim spaces. I’ve seen shooters go wide to grab light, only to realize they’ve turned their subject into a floating head because the plane of focus is thinner than a credit card. You can’t just chase light blindly; you have to understand that a wide aperture isn’t a free pass. If you don’t manage your distance, you aren’t capturing a scene—you’re just capturing a blurry accident.
Final Thoughts
At the end of the day, don’t let the spec sheets bully you into thinking you need a more expensive body to solve a dark room. If you can’t see the subject, your first instinct shouldn’t be to crank the ISO until the image falls apart; it should be to look at your glass. Mastering the exposure triangle basics means knowing when to stop leaning on digital gain and start leaning on your optics. A fast lens isn’t just a luxury; it’s your primary tool for keeping the image clean and reducing image grain before it even hits the sensor.
I’ve sat on sets where we had nothing but a single candle and a lens with a wide mouth, and I’ve seen people ruin beautiful scenes by over-relying on software to fix a lack of light. Focus on the physics of it. Understand how depth of field and aperture work together to shape your frame, and remember that a well-placed light source will always do more for your image than a thousand dollars of post-production. Stop chasing the perfect sensor and start chasing the light.
Five ways to actually handle the dark without buying a new camera
- Stop chasing ISO until you’ve opened the glass. I see people cranking their sensor sensitivity into the noise floor when all they really needed was to move from an f/4 to an f/1.8. A cleaner image at a higher aperture is almost always better than a grainy, noisy mess at a low one.
- Watch your depth of field when you go wide. When you open up that aperture to grab light, you’re also shrinking your plane of focus. If you’re shooting a documentary and your subject moves six inches forward, you’ve lost them. Plan your blocking around that shallow slice of focus.
- Don’t forget the light that’s already there. If you’re fighting a dark room, don’t just rely on the lens; look for the practicals. A single lamp in the background or a bit of bounce from a white wall will do more for your exposure than any software noise reduction ever will.
- Learn the trade-off between light and sharpness. Most consumer lenses get a bit soft when you’re wide open at f/1.4 or f/2.8. If the image looks mushy, stop blaming the sensor and try stopping down just half a stop. You might find the sweet spot where you get enough light without losing the detail.
- Use your eyes, not your waveform monitor. A waveform will tell you if you’re technically exposed, but it won’t tell you if the scene feels dead. If you’re struggling with low light, look at where the shadows fall and how the light hits the subject’s eyes. If the light isn’t there, no amount of aperture tweaking will make it look intentional.
The Bottom Line
Stop looking for a better sensor to fix a dark room; if you can’t see the subject, open your aperture first and let the glass do the heavy lifting.
Remember that light is a physical thing that needs to reach your sensor, and a wider aperture is simply a bigger window for that light to get through.
Don’t sacrifice your entire composition just to chase a low-light setting; sometimes you have to move the lamp closer rather than pushing your lens to its breaking point.
The Sensor Fallacy
You can buy the most expensive sensor on the market, but if you’re shooting at f/8 in a dimly lit room, you’re just capturing high-quality digital noise. Stop looking at spec sheets and start looking at your glass; a wide aperture isn’t a luxury, it’s how you actually let the story into the camera.
Gethin Moreau
The Bottom Line
At the end of the day, low light isn’t a technical mystery to be solved with a higher ISO or a more expensive sensor; it is a physics problem. You’ve learned that aperture is your primary tool for managing that physics, acting as the gatekeeper for every photon that hits your sensor. Remember that opening up your lens does more than just brighten the image—it changes the depth, the texture, and the very feeling of the space you are documenting. Don’t get caught in a loop of adjusting digital settings when the solution is sitting right there in the ring of your lens. If the image is dark, stop looking at the menu and start looking at the glass.
I’ve spent more time than I care to admit staring at monitors in dimly lit rooms, waiting for the right moment to roll. I can tell you from experience that the most beautiful shots rarely come from the cleanest signals or the most expensive kits. They come from the patience to find the light that is actually there and the willingness to use your tools to embrace the shadows rather than fight them. Stop chasing the perfect spec sheet and start chasing the quality of the light. Once you stop worrying about the gear and start focusing on how the light interacts with your aperture, you’ll finally start making images that actually mean something.
