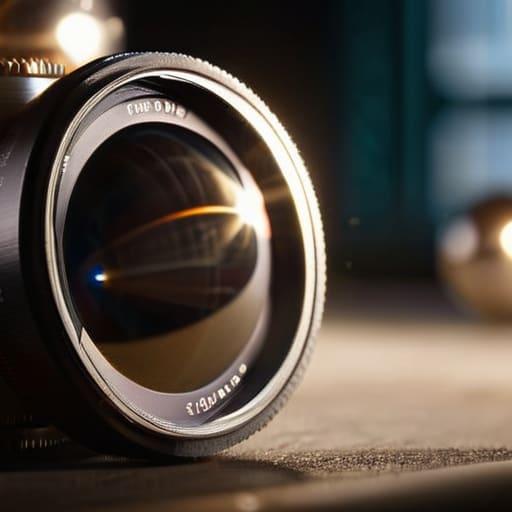
I spent three hours last Tuesday watching a kid on a YouTube tutorial explain how aperture affects the image using nothing but colorful, animated diagrams and a thousand-dollar lens he’d clearly never actually used in a real room. He made it sound like magic, like a secret sauce you buy in a box, when in reality, it’s just a hole in a piece of glass. People treat f-stops like they’re some mystical gateway to “cinematic” looks, but they forget that a wide aperture is just a way to manage light and depth when you don’t have the luxury of a sunbeam. If you think buying a faster lens is going to fix a poorly lit scene or a messy background, you’re chasing a ghost.
I’m not here to give you a math lesson or sell you on a gear list. I want to talk about what actually happens when you’re standing in the middle of a set, trying to decide if that shallow depth of field is going to help your subject or just make the whole shot look like an accidental mistake. I’ll show you how to use your glass to control focus and light, and more importantly, how to know when to stop squinting at the numbers and just start looking at the frame.
Understanding How Aperture Affects the Image
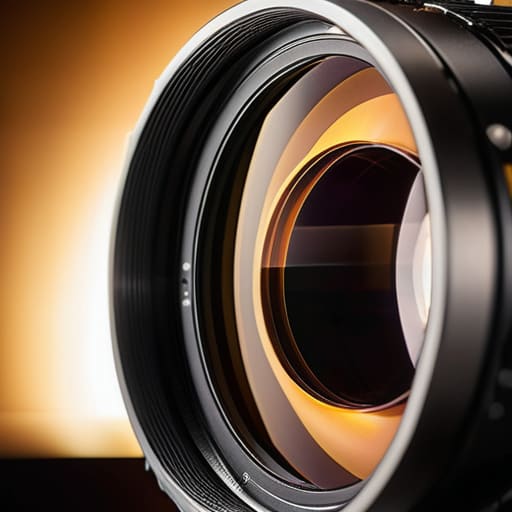
At its simplest, aperture is just the size of the hole in your lens. If you’re looking at the f-stop scale explained in most manuals, it’s a bit of a mathematical headache, but don’t let the numbers trip you up. A smaller number means a wider opening, letting in more light; a larger number means a smaller hole. I’ve spent half my career chasing light in dark rooms, and I can tell you that controlling light intake is usually more important than whatever sensor tech you’re currently obsessing over.
But it isn’t just about brightness. The real reason we mess with it is to dictate what the audience actually looks at. When you open that lens up wide, you get that creamy bokeh effect photography enthusiasts love, creating a shallow vs deep depth of field distinction that tells the viewer exactly where to focus. If you’re shooting a documentary interview, you might want that blurry background to isolate the subject. If you’re shooting a landscape, you want everything sharp from the dirt at your feet to the mountains in the distance. It’s about intent, not just settings.
Key Things to Know
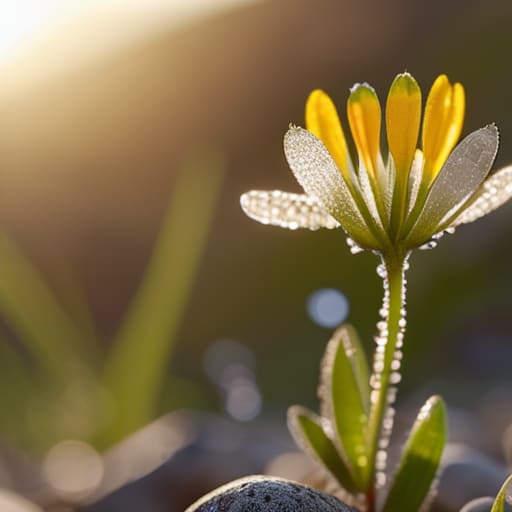
First, let’s clear up the confusion around the numbers. When you look at an f-stop scale, it’s counterintuitive—the smaller the number, the wider the opening. I spent my early years watching old-timers swear by specific stops, and they weren’t just being pedantic; they were managing the physics of the room. It’s all about controlling light intake while simultaneously deciding how much of your frame is going to be sharp. If you’re shooting a wide landscape and want everything from the foreground dirt to the distant mountains in focus, you’re looking for a deep depth of field. If you’re trying to isolate a subject, you’re going the other way.
Then there’s the aesthetic side, which is where most people get tripped up. When you open that iris wide, you get that creamy bokeh effect photography enthusiasts always chase. It’s a useful tool for portraits, sure, but don’t let it become a crutch. A shallow depth of field can hide a messy set, but it can also make a scene feel disconnected if you don’t understand the relationship between your distance to the subject and your focal length. It’s not just about the glass; it’s about where you stand.
Practical Tips and Steps
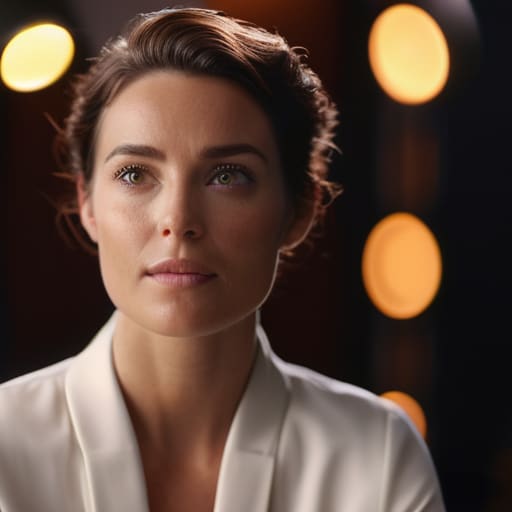
If you’re standing on a set and the shot looks flat, don’t go hunting for a new lens in the case; look at your distance and your light. When I’m shooting interviews, I’m usually looking for that bokeh effect photography enthusiasts talk about, but for me, it’s just a tool to separate a subject from a messy background. To get that look, you need to move the talent away from the wall and open up your iris. It isn’t magic; it’s just about managing the shallow vs deep depth of field to tell the viewer where to look.
Before you start clicking away, remember that aperture doesn’t live in a vacuum. You need to respect the exposure triangle fundamentals—if you open up to f/1.8 to get that creamy background, you’re going to have to compensate with your shutter speed or your ISO, or you’ll end up with a white wash of a frame. I’ve seen too many beginners chase a wide aperture only to realize they’ve completely blown their exposure. Watch your light first, set your stops, and make sure you can actually see what you’re filming before you worry about how pretty the blur looks.
Common Mistakes to Avoid
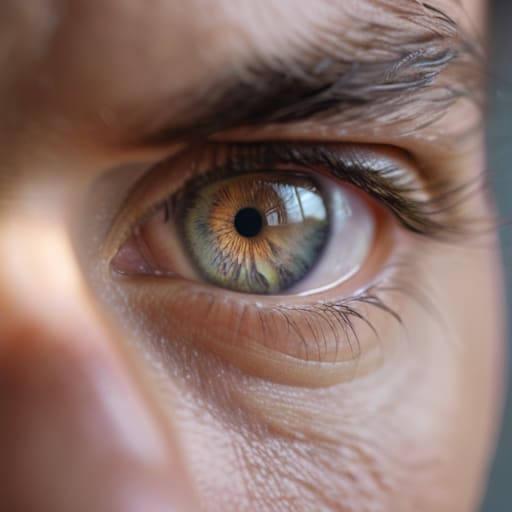
The biggest mistake I see, especially with the newer crowd, is treating the aperture like a magic wand for style rather than a tool for physics. People see a beautiful, blurry background in a magazine and think they just need to crank the f-stop down to f/1.4 to get that bokeh effect photography enthusiasts crave. But if you’re shooting a scene where the actor needs to move, or if you’re working in a tight space, that razor-thin plane of focus becomes your worst enemy. You end up with a shot where the eyes are sharp but the nose is a blur, and no amount of post-production is going to fix a focus mistake that happened in the field.
Another trap is forgetting how aperture sits within the broader exposure triangle fundamentals. I’ve sat on sets where a shooter gets so obsessed with achieving a shallow vs deep depth of field that they completely ignore the light meter. They open the iris wide to get the look, blow out the highlights, and then spend the next three hours wondering why the image looks like a washed-out mess. You can’t just chase a look; you have to respect the light you actually have in the room.
Final Thoughts
At the end of the day, don’t let the math paralyze you. You can spend all morning staring at an f-stop scale explained in a textbook, but that won’t tell you how the light feels when it hits the subject’s eyes. Whether you are chasing a creamy bokeh effect photography style for a close-up or trying to keep a landscape sharp from front to back, the goal is the same: intentionality. If you know why you are choosing a specific setting, you’ve already done more work than half the people walking around with $50,000 kits.
Stop looking for a magic number and start looking at the scene. If you understand the exposure triangle fundamentals, you’ll realize that aperture is just one lever in a much larger machine. It’s about managing the relationship between your light, your shutter, and your sensor. My advice? Get out there, stop overthinking the specs, and start seeing how the glass reacts to the world. The best images don’t come from the widest aperture; they come from knowing exactly when to use it.
Five Ways to Actually Use Your Aperture Without Getting Lost in the Math
- Stop chasing the shallowest depth of field just because you saw it in a commercial. A wide-open lens looks great for a portrait, but if you’re shooting a scene where two people are talking and one is slightly behind the other, a wide aperture will turn one of them into a smear. Sometimes, stopping down to f/4 or f/5.6 is the only way to make sure the audience actually knows who is speaking.
- Remember that your aperture is your primary light meter. If you’re shooting in a dark corner with only a single practical lamp, you’re going to be forced wide open just to get an exposure that doesn’t look like static. Don’t blame the sensor for being noisy; look at where your light is coming from and realize that a wider aperture is often just a necessity of the room, not a stylistic choice.
- Watch your lens quality as you open it up. Most glass—especially the cheaper stuff people buy thinking they’re “getting into it”—is soft and loses contrast when you’re wide open at f/1.4 or f/1.8. If your image looks mushy, don’t go out and buy a new prime lens immediately; try stopping down two stops and see if the sharpness returns. You’ll often find that f/2.8 is the sweet spot where the lens actually starts working for you.
- Think about your coverage before you commit to a setting. If you’re shooting a wide master shot of a room, an aperture that’s too wide might make the background look unnaturally blurry in a way that feels disconnected from the space. I’ve seen too many beginners shoot everything wide open, only to realize in the edit that they have no way to show the environment because everything but the subject is a bokeh-filled mess.
- Don’t forget that aperture changes your light’s behavior, not just the exposure. When you stop down to a smaller hole, you’re getting a bit more of that light spilling into the shadows, which can help soften a harsh setup. It’s a tool for controlling the “feel” of the light, so use it to manage the contrast of the scene, not just to hit a number on your exposure meter.
The Bottom Line
Stop looking at the numbers on your lens and start looking at the light; aperture is just a tool to manage how much of that light actually reaches your sensor.
Depth of field is a choice, not a requirement—don’t chase a blurry background just because you think it looks “cinematic” if it means you’ve lost the performance in the actor’s eyes.
You can’t fix a poorly exposed shot in post, so learn to balance your f-stop with your shutter speed and ISO before you even think about touching a color grade.
## The Illusion of the Gear Fix
Everyone wants to buy a faster lens to get that creamy, shallow background, but they forget that aperture is really just a conversation between your light source and your distance from the subject. You can spend ten grand on glass, but if you don’t understand how much light you’re letting in or how much of the scene you actually need to see to tell the story, you’re just making expensive mistakes.
Gethin Moreau
The Bottom Line
At the end of the day, aperture isn’t some magical setting that makes your footage look “cinematic” by default. It’s a tool for managing light and controlling how much of your world stays in focus. We’ve talked about how a wide opening pulls the viewer into a subject by blurring the distractions, and how stopping down gives you that deep, informative coverage you need for a documentary sequence. Remember: it’s about the relationship between your lens, your distance from the subject, and the light available in the room. If you understand those three things, you’ve already mastered more than half the battle. Don’t let a spec sheet tell you what your image should look like; let the physics of the light dictate your choices.
I see people every week staring at a monitor, mourning a shot because they didn’t have the right sensor or the fastest prime lens. But I’ve seen incredible stories told on kit that wouldn’t pass a basic gear test, simply because the person behind the camera knew how to work with the light they were given. Stop worrying about the f-stop numbers on your next purchase and start looking at the depth of the scene in front of you. The gear is just a way to capture what’s happening; the vision is what makes people actually care. Now, get out there and go find some light.
