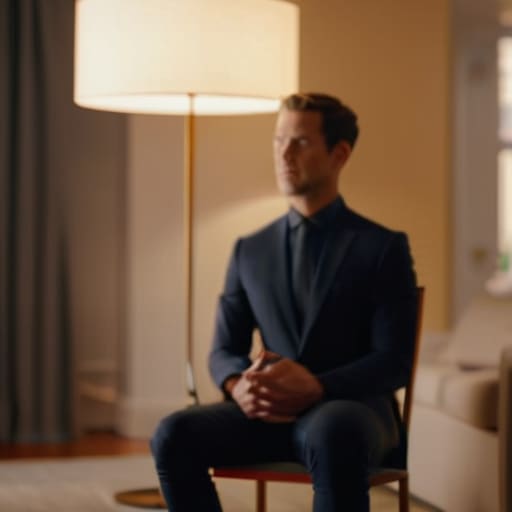
I spent three hours last week watching a kid on a YouTube tutorial explain how to set up an interview shot using a three-point lighting kit that cost more than my first car. He was talking about lumens, color temperatures, and sensor bit-depths like they were the magic ingredients, but he never once mentioned the shape of the shadows or why the subject looked like they were being interrogated by the Gestapo. People keep thinking that if they just buy a more expensive softbox or a sensor with more dynamic range, the footage will suddenly start telling a story. It won’t. You can have a RED Komodo sitting on a tripod, but if you don’t understand how the light is falling across a human face, you’re just capturing expensive garbage.
I’m not here to sell you a gear list or walk you through a menu of settings you’ll never use. Instead, I want to talk about where to put the light and how to position your camera so you actually have something to work with when you get to the edit suite. We’re going to focus on the stuff that matters: depth, eye contact, and coverage. I’ll show you how to build a professional look using whatever you’ve got in your kit, because at the end of the day, a good interview is about the person, not the paycheck you spent on the lights.
The Real Secret to How to Set Up an Interview Shot
The real secret isn’t found in a spec sheet; it’s found in the space between the subject and the wall. Most people start by worrying about their camera angle for interviews, trying to find that perfect, cinematic tilt, but they forget that the subject needs room to breathe. If you pin them against a flat background, you’ve already lost. You want to create distance. By pulling your subject away from the background, you gain control over your depth of field in cinematography, allowing that background to melt into something soft and non-distracting rather than a cluttered mess of office furniture.
Once you’ve found that space, stop looking at your monitor and start looking at the light. You don’t need a complex three-point lighting setup to make something look professional, but you do need to understand direction. A single, motivated light source from the side does more for a face than three cheap LED panels blasting everything into a flat, lifeless wash. It’s about the shadows. If you can manage the shadows, you can manage the emotion. Everything else—the gear, the resolution, the fancy rigs—is just noise in the signal.
Beyond the Three Point Lighting Setup Managing Light and Shadow
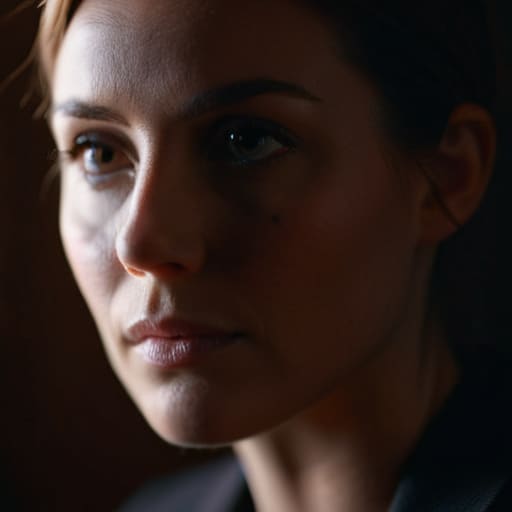
The textbook version of the three point lighting setup is a fine way to pass a freshman film class, but in the real world, it often results in a look that’s too sterile, too “corporate,” and frankly, a bit boring. If you follow the diagrams to the letter, you end up with a subject that looks like they’re being interrogated in a high-end dental office. Instead of trying to eliminate every shadow, I prefer to lean into them. A little bit of negative fill on the side away from your key light does more to create a sense of depth than any expensive softbox ever could. You want to create shape, not just illumination.
When you’re deciding on your interview subject placement, don’t just think about where they sit in relation to the lens; think about where they sit in relation to the light. If you can find a way to let the light wrap around their features rather than hitting them dead-on, you’ve already won half the battle. It’s about controlled imperfection. I’ve seen more compelling stories told with a single window and a piece of black foam core than I have with a truckload of LED panels. Stop trying to light the whole room and start focusing on the texture of the face.
Subject Placement and the Geometry of Framing and Composition

Once you’ve sorted your light, you have to figure out where the human actually sits in the frame. I’ve seen too many beginners default to centering their subject like it’s a school portrait, which is a death sentence for a dynamic edit. Instead, think about the direction of the subject’s gaze. If they are looking slightly off-camera, you need to respect that negative space. This is where interview subject placement becomes a matter of geometry rather than just aesthetics; you want to give them room to “breathe” into the frame so the viewer doesn’t feel claustrophobic.
Don’t forget that your choice of camera angle for interviews dictates how much of the environment you’re inviting into the story. I usually aim for eye level to build trust, but if you’re looking to create a sense of authority or isolation, a subtle shift in height can change the entire psychological weight of the shot. While you’re obsessing over framing and composition techniques, keep a sharp eye on the background. A cluttered bookshelf or a distracting doorway will pull the eye away from the person talking, no matter how much you try to play with the depth of field to blur it out.
Choosing a Camera Angle for Interviews That Actually Tells a Story
Once you’ve sorted the light and found a spot where the subject doesn’t look like they’re being interrogated by the state, you have to decide where the glass lives. Most beginners default to eye level because it’s safe, but “safe” is often another word for “boring.” If you want to establish authority or a sense of weight, you drop the tripod a few inches and shoot slightly up. If you’re looking for vulnerability, you go slightly above and look down. It’s a subtle shift in camera angle for interviews, but it changes how the audience perceives the person speaking before they even open their mouth.
Don’t get so caught up in the height of the lens that you forget about the space behind them. I’ve seen plenty of setups where the height is perfect, but the subject is pinned against a wall, killing any sense of scale. Use your depth of field in cinematography to your advantage; pull the subject away from the background to create a separation that feels intentional rather than accidental. A bit of blur goes a long way in directing the eye, provided you aren’t just using it to hide a messy room.
Depth of Field in Cinematography Using Distance to Create Focus
Most people see a blurry background and think they’ve achieved “cinematic” quality, but they’re usually just playing with settings they don’t understand. In reality, depth of field in cinematography is about separation, not just aesthetic fuzziness. If you’re sitting your subject right against a white wall, no amount of wide-aperture magic is going to save you; you’ll just have a blurry wall. You need to use physical distance to do the heavy lifting. Push the subject away from the background and bring the camera closer to them. It’s a simple matter of geometry that works far better than any expensive lens ever will.
This is where your interview subject placement becomes critical. If you’re working in a tight room, you might be tempted to use a wider lens to capture more of the environment, but that’s going to flatten everything out and make the shot feel cluttered. Instead, try to find a bit of breathing room. By controlling the distance between the subject, the background, and the sensor, you create a sense of three-dimensional space that makes the viewer feel like they are actually in the room, rather than just staring at a flat image on a screen.
Why Audio Recording for Video Interviews Trumps Expensive Gear
I’ve sat in edit suites with footage that looked like it was shot on a Hollywood prime set—perfect depth of field in cinematography, gorgeous motivated light, and a camera angle for interviews that would make a textbook weep—only to find the project is completely unsalvageable. Why? Because the subject sounded like they were speaking from the bottom of a well. You can spend six months saving for a new sensor, but no amount of resolution can fix a hollow, echoing voice. People will forgive a bit of grain or a slightly soft focus, but they will turn off a video the second the audio becomes a chore to listen to.
If you’re obsessing over your framing and composition techniques while ignoring the hum of an air conditioner or the rattle of a cheap lavalier, you’re wasting your time. I’ve seen guys get the three point lighting setup absolutely perfect, only to realize they’ve placed the subject right under a buzzing fluorescent fixture that’s bleeding into the mic. High-end gear is a tool, but audio recording for video interviews is the foundation. If the sound is clean, the audience stays; if it’s garbage, the most expensive camera in the world is just a very expensive paperweight.
Five Things I Wish I’d Known Before I Started Rolling
- Stop looking for the perfect camera and start looking for the best window. A single, large, soft source of natural light will do more for your subject’s eyes than a thousand-dollar LED kit shoved into a dark corner. Find where the light is coming from, see how it wraps around the face, and move your chair accordingly.
- Plan for the edit, not just the shot. I’ve seen too many people nail a beautiful close-up only to realize they have zero coverage when the subject says something crucial. Get your wide, get your medium, and get your tight. If you don’t have enough angles to cut between, you aren’t filming an interview; you’re filming a lecture.
- Watch your background for “visual noise.” It doesn’t matter how much depth of field you have if there is a bright exit sign or a distracting plant growing out of your subject’s head. It’s not about making the background pretty; it’s about making sure it doesn’t fight the person talking.
- Respect the eyeline. Don’t just point the lens at the person and hope for the best. Decide if they are talking to a person just off-camera or directly into the lens, and commit to it. If the eyeline is wandering or inconsistent, the audience loses the connection, and no amount of 4K resolution can fix a lack of intimacy.
- Check your shadows before you hit record. I’ve spent half my career fixing “raccoon eyes” in post-production, and let me tell you, a colorist is not a magician. If the light is coming from too high or too far to the side, it creates harsh, unflattering shapes. Move the light, soften the edge, and save yourself the headache later.
The Bottom Line
Stop looking for a better sensor and start looking for a better window; most of your lighting problems are solved by moving the chair, not buying a new LED panel.
Coverage is your insurance policy in the edit, so make sure you have enough variety in your angles and distances to hide the mistakes you’ll inevitably make during the shoot.
If the audio is thin or the room is echoing, no amount of shallow depth of field or expensive glass is going to save the footage from being unusable.
The Gear Trap
You can buy a camera that captures every pore on a subject’s face, but if you haven’t bothered to figure out where the light is falling or how much coverage you need to actually make a coherent edit, you’ve just spent a lot of money making a very expensive mistake.
Gethin Moreau
The Bottom Line
At the end of the day, setting up an interview isn’t about mastering a checklist of gear or replicating a textbook lighting diagram. It’s about understanding how light hits a face, how much space you’ve left for the edit, and ensuring the audio doesn’t make the viewer wince. We’ve talked about depth of field, the geometry of your frame, and why a window often beats a cheap LED panel. If you get the positioning and the light right, you’ve already done eighty percent of the work. The rest is just technical housekeeping. Don’t let the pursuit of the perfect sensor distract you from the fundamental reality that coverage and clarity are what actually allow a story to breathe once you sit down in the edit suite.
I’ve seen incredible stories shot on cameras that would make a modern YouTuber weep, and I’ve seen breathtaking, high-end setups that felt utterly hollow because the operator forgot to look at the human being in the chair. Stop looking at the spec sheets for a moment and look at your subject. If you can make them feel comfortable and you can capture the way the light catches their eyes, you are doing your job. Equipment is just a tool to help you document a moment; the craft is in the intention you bring to the set. Now, stop reading about it, go find a decent light source, and just start shooting.
