
I once sat in a darkened edit suite for six hours, staring at a sequence of beautiful, high-contrast shots, only to realize the “dreamy” haze wasn’t a stylistic choice—it was a fingerprint on the rear element. I’d spent half the budget on a prime set only to ruin the delivery because I was too impatient to learn how to clean lenses and sensors properly. People think a smudge is just a minor nuisance you can fix in post, but let me tell you, no amount of color grading or digital sharpening can truly save a sensor covered in dust or a lens coated in oil. You aren’t just cleaning glass; you’re protecting your ability to actually see the light you worked so hard to shape.
This isn’t going to be a list of expensive, branded magic wands that promise the world. I’m going to show you the practical, slightly unromantic reality of maintenance: the specific tools that actually matter, the mistakes that will cost you a thousand dollars in repairs, and the patience required to do it without leaving more mess behind.
Guide Overview
Tools & Supplies
- Air Blower (Manual bulb to blow away dust)
- Lens Pen (Carbon tip for smudge removal)
- Sensor Swabs (Specific size for your sensor type)
- Magnifying Loupe (To inspect sensor for remaining dust)
- Microfiber Cloths (2-3 lint-free cloths)
- Sensor Cleaning Fluid (Small bottle of specialized solution)
- Isopropyl Alcohol (99% purity, if not using dedicated fluid)
Step-by-Step Instructions
- 1. Start with the easy stuff. Before you even think about touching the glass with anything wet, grab a high-quality blower—not those cheap plastic toys that spit more dust out than they suck in. Hold your camera or lens so the opening faces the ground, and give it a few firm puffs. You want the gravity to do the heavy lifting, pulling the loose grit away from the surface rather than just swirling it around in a circle.
- 2. If the blower didn’t get it all, it’s time for a brush, but be careful. Use a dedicated lens brush with soft bristles, and for heaven’s sake, make sure it’s clean before it touches your element. Lightly sweep from the center outward. If you see a stubborn piece of sand or grit, do not brush it directly; you’ll end up scratching the coating, and no amount of sensor magic is going to fix a physical gouge in the glass.
- 3. For the actual cleaning, you’re going to need a microfiber cloth or specialized lens tissue. I don’t care how much you like your old t-shirt; it’s a recipe for disaster. Dampen the cloth slightly with a dedicated lens cleaning solution—never use Windex or anything from the household cleaning aisle. Apply the fluid to the cloth, not the lens itself, to prevent the liquid from seeping into the barrel and frying your electronics.
- 4. When you actually wipe, move in small, controlled spirals starting from the middle and working your way to the edges. Don’t press hard. You aren’t trying to scrub a floor; you’re just trying to lift the oils and smudges. If you find yourself applying pressure, you’ve likely missed a spot or the contaminant is too stubborn, and you should stop immediately before you do permanent damage.
- 5. Now, let’s talk about the sensor, which is the part that actually keeps me up at night. This is not the time to be brave. If you see a speck of dust on your sensor, first try the blower again, holding the camera at an angle so the dust can fall out. If that fails, you’ll need a sensor swab that is the exact width of your sensor—APS-C is a different beast than Full Frame.
- 6. When using a swab, apply two drops of sensor cleaning fluid to the tip. It should be barely damp. Drag the swab across the sensor in one single, smooth motion from one side to the other. Do not go back and forth like you’re polishing silver; that’s how you create streaks or, worse, lint trails. If it doesn’t come clean in one pass, use a second, fresh swab.
- 7. Once you think you’re done, put the cap back on and go shoot something. The only way to truly know if you’ve succeeded is to find a bright, even light source—like a white wall or a clear sky—and stop down your aperture to f/16 or f/22. If you see those little dark dancing spots in your frames, you’ve still got work to do. If the image is clean, get back to work and stop obsessing over the gear.
The High Cost of Neglect How to Clean Lenses and Sensors
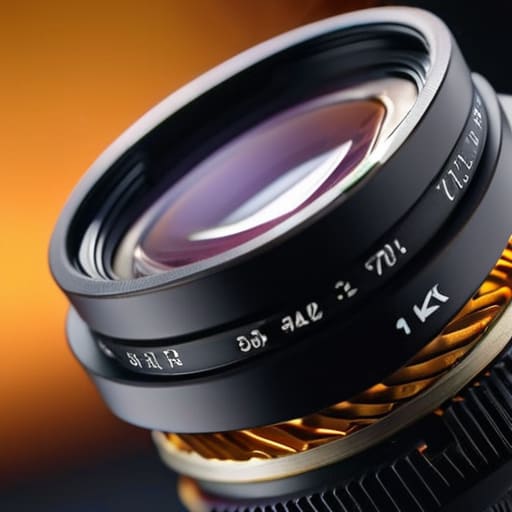
I’ve spent enough time in post-production looking at a frame only to realize the “creative texture” I was seeing was actually just a speck of grit on the sensor. It’s a frustrating way to learn a lesson. Most people wait until they see a permanent dark spot in their highlights before they care, but by then, you’re often dealing with more than just a bit of surface dust. If you’re serious about removing dust from camera sensor without turning a minor nuisance into a permanent scar, you need to respect the physics of the thing. A single errant grain of sand can act like sandpaper if you aren’t careful.
The real danger isn’t the dust itself; it’s the frantic, unthinking way people try to get rid of it. I’ve seen enough panicked operators try to wipe a sensor with a t-shirt or a generic rag, and it never ends well. If you aren’t using a proper digital camera sensor cleaning kit, you’re essentially gambling with your gear. Take the time to learn how to use a rocket blower properly—aim it, use short bursts, and for God’s sake, don’t use your mouth to blow air; the moisture from your breath is just adding a new set of problems.
Mastering the Rocket Blower and Preventing Scratches on Camera Glass
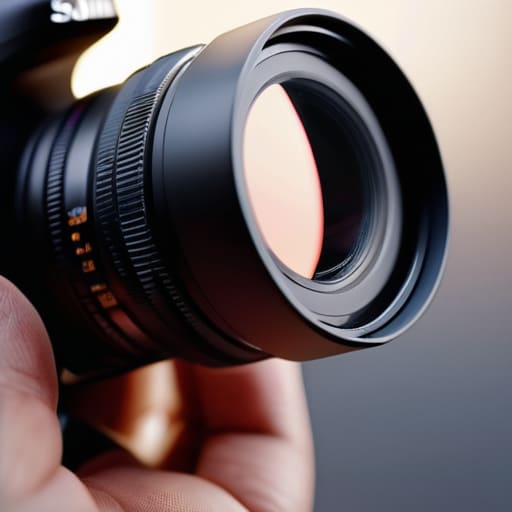
If you’re still using your mouth to blow air onto a sensor, stop. I’ve seen enough spit-spattered glass to know that’s a recipe for a disaster you can’t undo. When it comes to how to use a rocket blower effectively, the trick isn’t just squeezing the bulb; it’s about distance and technique. Hold the camera so the sensor faces the floor—let gravity do half the work for you—and use short, controlled bursts. You aren’t trying to blast the dust away like a pressure washer; you’re just trying to dislodge it so it falls out of the frame.
Once the loose grit is gone, you might feel the urge to grab a cloth. Resist that impulse until you’re certain the heavy particles are out. The biggest mistake I see is people trying to wipe away a speck of sand that’s still sitting on the element, which is the fastest way to end up preventing scratches on camera glass by doing the exact opposite. If the blower doesn’t get it, move to a proper digital camera sensor cleaning kit, but treat that sensor like it’s made of thin ice. One wrong move with a swab and you’ve turned a ten-minute cleaning job into a permanent, expensive scar.
Beyond the Digital Camera Sensor Cleaning Kit and Microfiber Cloth
Look, you can buy every shiny gadget in the catalog, but a digital camera sensor cleaning kit isn’t a magic wand. I’ve seen enough panicked freelancers try to “fix” a speck of dust by waving a cloth around like they’re polishing a car, only to leave behind a swirl pattern that’ll haunt them in every high-contrast shot. If you aren’t using a rocket blower first to clear the loose grit, you’re essentially just buffing sandpaper into your glass. It’s a rookie mistake that turns a five-minute fix into a permanent scar on your optics.
Beyond the standard tools, you need to respect the environment you’re working in. If you’re shooting in a dusty field or a construction site, don’t wait until the end of the day to deal with it. I’ve learned that preventing scratches on camera glass is a lot easier than trying to buff them out later. Keep your gear in a sealed bag when you aren’t actively framing, and for heaven’s sake, stop changing lenses in the wind. It sounds paranoid, but once you’ve seen a single grain of sand hit a sensor, you’ll realize that caution isn’t just being careful—it’s being professional.
Five Ways to Avoid Making a Mess of Your Gear
- Stop treating your lens like a window in your living room. A little dust on a piece of glass is a non-issue, but if you start aggressively wiping at a smudge with a dry shirt or a cheap rag, you aren’t cleaning; you’re just sanding the coating off. Blow the grit away first, or you’re just grinding it in.
- Learn the difference between a smudge and a scratch. If you see a spot, don’t immediately go for the liquid. Most of the time, a decent rocket blower will do the job without you ever having to touch the glass. The less you touch the element, the longer that coating lasts.
- Respect the sensor’s fragility. I’ve seen enough panicked operators try to “scrub” a sensor because they saw a speck of dust in their playback. If you aren’t using a dedicated swab that is sized exactly to your sensor width, stay away. If the swab is too small, you’ll leave streaks; if it’s too big, you’ll tear the sensor.
- Keep your cleaning fluids on a leash. You don’t need to drench a cloth in methanol and go to town on your front element. One tiny drop on the edge of a microfiber is plenty. If the liquid migrates into the barrel of the lens, you’ve turned a five-minute cleaning job into a three-thousand-dollar repair.
- Check your work in the right light. Don’t just look at the glass under the studio lights and think you’re done. Take the lens into a patch of harsh, side-angled sunlight or use a dedicated inspection light. You’ll see the streaks and the oils that you missed when you were just looking for the big chunks of dirt.
The Bottom Line Before You Pack Your Bag
Stop looking for a magic product to fix a dirty sensor; the best tool you have is a steady hand and the patience to use a blower before you even think about touching the glass.
If you can’t see the smudge on the lens while you’re shooting, it probably isn’t worth the risk of a frantic, unguided cleaning session in the middle of a production.
Buy the right cleaning kit once and treat it like your most expensive lens—because a cheap rag or a stray bit of cotton will cost you far more in lost footage than the kit ever will.
The Cost of a Single Mistake
I’ve seen more careers stalled by a panicked amateur scrubbing a sensor with a t-shirt than by any lack of talent. You aren’t just cleaning glass; you’re protecting the one thing that stands between your vision and a ruined take. If you don’t have the patience to do it right, don’t touch it at all.
Gethin Moreau
The Long View on Clean Glass
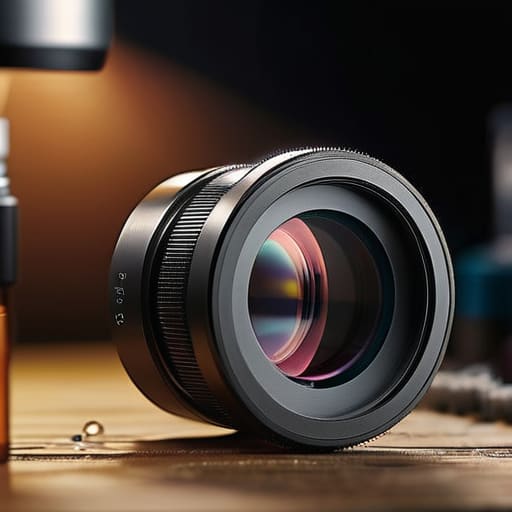
At the end of the day, keeping your kit in shape isn’t about being a gear obsessive; it’s about removing the obstacles between your eye and the frame. We’ve talked about the right way to use a rocket blower, why you shouldn’t go hunting for a generic rag to wipe a sensor, and why having the right specialized kit is the difference between a professional image and a costly mistake. You don’t need a laboratory-grade setup, but you do need to respect the glass. If you treat your lenses and sensors with a bit of disciplined maintenance, you stop worrying about dust motes in your highlights and start focusing on the actual composition.
I’ve spent more time than I care to admit waiting for a light to shift or a performer to find their mark, and the last thing you want is to realize you’ve lost a perfect shot to a smudge you could have prevented. Don’t let the pursuit of the latest sensor distract you from the reality that the best camera is the one that’s ready to work when the light is right. Clean your gear, check your sensor before the sun goes down, and then get out of your own way. The tools are just there to help you tell the story; make sure they aren’t the thing getting in the way.
