
I spent three weeks on a documentary in a damp basement in Cardiff, surrounded by enough high-end glass to fund a small nation, only to realize we had shot ourselves into a corner. We had the most beautiful, sharp, sensor-crushing close-ups you’ve ever seen, but we had absolutely no way to bridge the gaps between them. I sat in the edit suite two months later, staring at a screen of gorgeous, unusable fragments, realizing that no amount of 8K resolution can fix a lack of logic. That’s the trap most people fall into when they try to learn how to shoot for the edit; they think more detail equals more story, when really, it just gives you more expensive problems to solve.
I’m not here to sell you a new lens or a software plugin that promises to “fix it in post.” Instead, I want to talk about the invisible architecture of a scene—the coverage, the eyelines, and the rhythmic breathing of a sequence that actually allows a cut to feel earned. I’m going to show you how to think three steps ahead of the timeline, focusing on the light and the blocking so that when you finally sit down to cut, you’re actually telling a story rather than just trying to survive the footage.
Understanding How to Shoot for the Edit
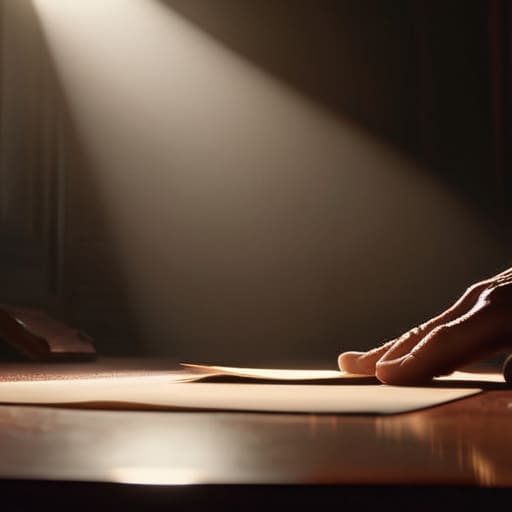
You have to stop thinking about the frame as a static picture and start seeing it as a piece of a puzzle. When I’m on set, I’m not just looking at the subject; I’m looking at the space between the subject and the next potential cut. If you rely solely on the master shot technique to carry the weight of a scene, you’re setting yourself up for a disaster in the suite. A single wide shot is a safety net, sure, but it’s a lonely one. You need the close-ups and the medium shots to provide the emotional punctuation, otherwise, your sequence will feel like a security camera feed rather than a story.
The real work happens when you consider the rhythm of the movement. I’ve seen plenty of juniors walk away from a setup thinking they’ve “got the shot,” only to realize they have nothing to bridge the gap between a wide and a tight. That’s where shooting B-roll for storytelling becomes vital. You aren’t just grabbing random textures; you are hunting for the visual connective tissue—the hands fidgeting, the light hitting a glass, the way a character looks away. If you don’t capture those small, transitional moments, you’re leaving the editor to perform miracles with nothing but jump cuts and prayer.
Key Things to Know
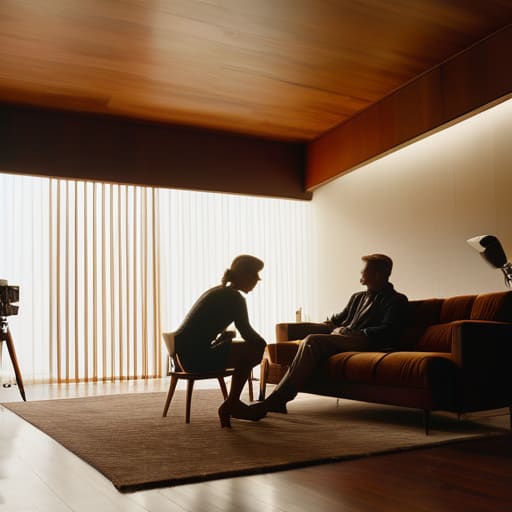
First, you need to respect the master shot technique. I’ve seen too many young shooters walk onto a set and immediately hunt for the “cool” close-up, forgetting that they haven’t actually established the geography of the room. If you don’t start with a wide that tells the viewer where everyone is sitting and how far apart they are, you’re just handing your editor a pile of disconnected fragments. You need that anchor. Without it, you’re not making a scene; you’re just making a series of pretty pictures that don’t know how to talk to each other.
Then there is the matter of the gaps. When I’m planning coverage, I’m looking for the connective tissue. This means shooting B-roll for storytelling that actually serves a purpose, rather than just grabbing random shots of hands or feet to hide a jump cut. You want those details to bridge the emotional beats. If you’re moving from a wide to a tight, make sure you have the intermediate shots to make that transition feel earned. It’s about building a visual bridge so the person in the edit suite doesn’t have to perform a miracle just to keep the rhythm alive.
Practical Tips and Steps
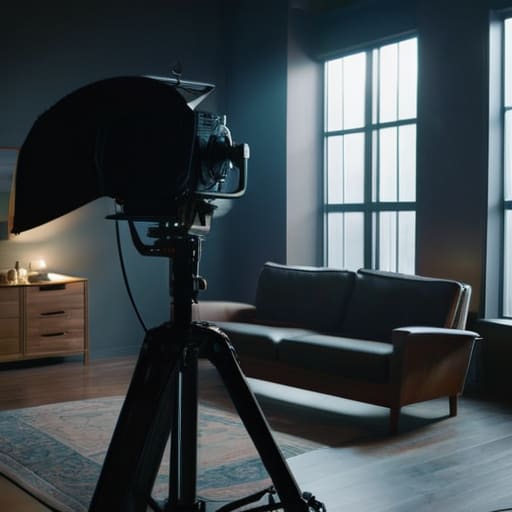
Start with the master shot technique. It’s the safety net. Before you start dancing around with tight close-ups or trying to be clever with handheld movement, get the whole scene in frame. You need to see the geography of the room and where the actors are standing in relation to the light. If you skip this, you’re essentially handing your editor a jigsaw puzzle with half the pieces missing. Once you have that wide anchor, you can move in, but always keep that wide shot in your back pocket for when the coverage inevitably fails.
When you move into your close-ups, pay attention to your eyelines and the direction of the light. This is where most people trip up on cinematography continuity tips. If the key light is hitting your subject from the left in the wide, don’t suddenly have it coming from the right in the medium shot unless you have a damn good reason. It’s not about being perfect; it’s about not making the viewer realize they’re watching a movie. Finally, don’t forget the connective tissue. I’m talking about shooting B-roll for storytelling—not just random shots of hands or feet, but images that actually bridge the gaps between your dialogue.
Common Mistakes to Avoid
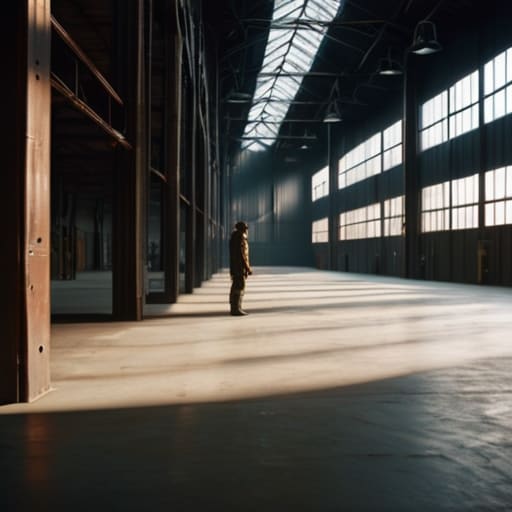
The biggest mistake I see—and I’ve seen it from seasoned operators and kids with their first mirrorless—is the obsession with the “hero shot” at the expense of the scene’s logic. People get so caught up in a beautiful, shallow-depth-of-field close-up that they forget to establish where the hell the character is standing. If you don’t nail the master shot technique early on, you’re essentially handing your editor a jigsaw puzzle with half the pieces missing. You can have the most expensive sensor in the world, but if you haven’t captured the spatial relationship between your subjects, you aren’t making a film; you’re just collecting pretty pictures that won’t stitch together.
Then there’s the trap of neglecting the “connective tissue.” I see shooters treat B-roll like an afterthought, something to be squeezed in during the last ten minutes of a setup. But shooting B-roll for storytelling isn’t about getting extra footage; it’s about capturing the visual cues that allow an editor to hide a jump cut or bridge a gap in dialogue. If you only film the action and ignore the hands, the objects, and the environment, you’re leaving your post-production team completely stranded.
Final Thoughts
At the end of the day, your job isn’t just to capture a beautiful image; it’s to provide the raw materials for a story that actually works. I’ve sat in edit suites where a brilliant director was drowning because the DP thought they were making a gallery exhibition rather than a film. They had stunning close-ups, but they forgot the master shot technique, leaving the editor with nothing to bridge the gaps. You have to think three steps ahead of the shutter. If you aren’t thinking about how your current angle facilitates the next cut, you aren’t really directing the light—you’re just recording it.
Stop looking for a magic sensor to fix a lack of preparation. Whether you’re using a high-end Alexa or a phone that’s seen better days, the principle remains: respect the assembly. Focus on shooting B-roll for storytelling that actually connects the dots, rather than just filming pretty objects. If you give an editor a way out, they’ll find a way in. If you don’t, you’re just handing them a pile of expensive, beautiful problems.
Five ways to stop being the person who ruins the edit
- Shoot the “ins” and “outs” of every movement. If a character is walking through a door, don’t just start filming when they are in the middle of the room. Capture the moment the handle turns and the moment they settle. If you don’t give the editor those split-second transitions, they’ll be forced to use a jump cut that looks like a glitch, and no amount of fancy color grading is going to hide that.
- Respect the eyeline, even when it feels redundant. I’ve seen too many shooters think they’re being “cinematic” by ignoring where a character is looking. If your actor is looking at a chair in the wide shot, but in the close-up they’re staring off at some distant mountain, you’ve just handed your editor a puzzle they can’t solve. Match the gaze, or don’t bother filming the reaction.
- Get your “safety” coverage before you get precious. I know, you want that one perfect, sweeping, single-take master shot that makes you feel like a genius. Do it. But for the love of the craft, get a stable, boring, well-lit medium shot and a tight close-up right after. If the actor trips or the light flickers during your “masterpiece,” you need something to fall back on that isn’t a blank screen.
- Listen to the rhythm of the scene, not just the dialogue. If the tension is building, your coverage should reflect that—tighter shots, less movement, more breathing room. If you shoot a high-energy argument with the same static, distant framing you use for a funeral, the editor is going to struggle to find the pulse. You aren’t just capturing faces; you’re capturing the tempo.
- Don’t forget the “connective tissue” shots. People focus so much on the A-roll—the talking heads and the action—that they forget the B-roll that actually tells the story. I’m talking about the hands fidgeting, the clock on the wall, or the way the light hits a glass of water. These are the shots that allow an editor to bridge a gap in time or a jump in a conversation without it feeling jarring.
The Bottom Line
Stop obsessing over the resolution of your sensor and start obsessing over your coverage; a 4K image of a scene you can’t cut is just a very expensive mistake.
Always shoot for the gaps between the lines, because the story lives in the reaction and the pause, not just the dialogue.
If you haven’t thought about how a shot connects to the one before it and the one after it, you aren’t directing, you’re just collecting footage.
The Reality of the Cutting Room
A beautiful close-up is a total waste of time if it doesn’t have a matching wide to land on, and no amount of 8K resolution can fix a shot that has no relationship to the one before it. You aren’t just capturing images; you’re capturing the connective tissue that allows a story to breathe.
Gethin Moreau
The Long View
At the end of the day, shooting for the edit isn’t about following a rigid checklist or memorizing every technical specification in a manual. It’s about realizing that your job doesn’t end when you yell “cut”; it ends when the story actually works on a screen. You need to prioritize clean coverage, respect the continuity of your light and movement, and—most importantly—capture the quiet moments between the beats. If you focus too much on the technical perfection of a single shot and forget to provide the connective tissue, you’re just handing your editor a pile of beautiful, useless fragments. Remember, a well-placed wide shot or a subtle reaction is often more valuable than the most expensive close-up you can buy.
I’ve spent decades watching people chase the latest sensor technology, thinking a higher dynamic range will somehow compensate for a lack of planning. It won’t. The best filmmakers I know aren’t the ones with the biggest grip trucks; they are the ones who understand how a scene is built, piece by piece, in the mind before the camera even leaves the bag. Stop worrying about whether your gear is “pro” enough and start worrying about whether your shots can actually talk to one another. Build the bridge between the lens and the timeline, and the rest of the work will take care of itself.
