
I remember a shoot in a cramped, dimly lit studio back in ’04 where we were fighting a losing battle against a shaky tripod and a dying battery. I watched a kid—probably twenty years younger than me then—stare at a spec sheet for a new gimbal like it was a holy relic, convinced that buying his way out of a bad setup was the answer. He didn’t realize that understanding how image stabilisation works is less about the magic of gyro-sensors and more about understanding the physics of your own body and the ground beneath your feet. You can buy every bit of electronic compensation on the market, but if you don’t respect the relationship between movement and the frame, you’re just smoothing out a mess that shouldn’t have been made in the first place.
I’m not here to sell you on the latest sensor tech or a subscription to a gear review site. My goal is to strip away the marketing jargon and tell you what actually happens when that sensor shifts or those lens elements move to counteract your tremors. I’ll explain the mechanics, sure, but more importantly, I’ll tell you when to rely on the tech and when to put the camera down and find a better way to stand.
Understanding How Image Stabilisation Works

At its simplest, you’re looking at a constant battle between physics and your own nervous system. Most modern systems rely on gyroscope sensor technology to detect the exact moment your hands decide to twitch. Once that movement is flagged, the hardware has to react. In a lens-based system, you’re looking at lens element movement, where tiny motors shift glass inside the barrel to counteract the wobble. If the stabilization is happening inside the body itself, it’s usually sensor shift technology—the actual imaging chip is suspended and dancing in real-time to stay centered on your subject.
It’s not magic, though; it’s just math applied to motion. You have to understand the trade-offs between optical image stabilisation vs digital methods if you want to avoid a mess. Optical is the gold standard because it happens before the light hits the sensor, preserving your resolution. Digital stabilization, on the other hand, is essentially just the camera cropping into your image to find a stable center. It works in a pinch, but you’re trading away your frame and your sharpness just to hide the fact that you didn’t use a tripod.
Key Things to Know
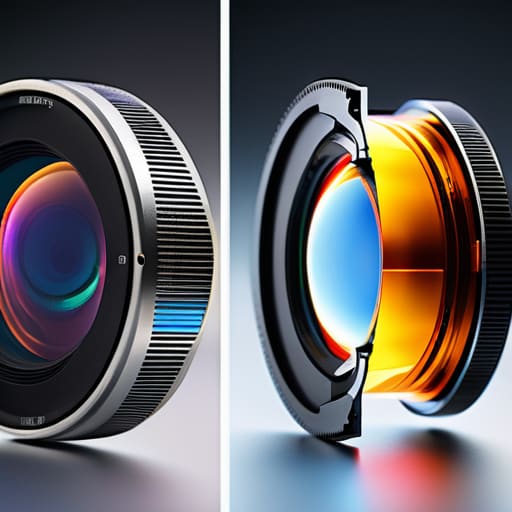
Before you start chasing every spec sheet on a product page, you need to understand that not all stabilization is created equal. Most of the time, you’re choosing between optical image stabilisation vs digital methods, and they aren’t even playing the same game. Optical systems rely on physical lens element movement to counteract the wobble, which is generally what you want if you care about keeping your resolution intact. Digital stabilization, on the other hand, is often just a fancy way of saying the camera is cropping into your frame to find a stable patch of pixels. It’s a software trick—it works in a pinch, but it’s essentially stealing your field of view to hide your lack of a tripod.
Then there’s the heavy lifting done by gyroscope sensor technology. This is where the camera’s brain actually feels the vibration and tells the hardware to fight back, whether through sensor shift technology or internal mechanical compensators. It’s impressive, sure, but don’t let it fool you into thinking you can ignore your shutter speed. No amount of internal wizardry will save a shot if your shutter is wide open and your movement is violent; you’re still just making a very smooth, very high-resolution mess.
Practical Tips and Steps
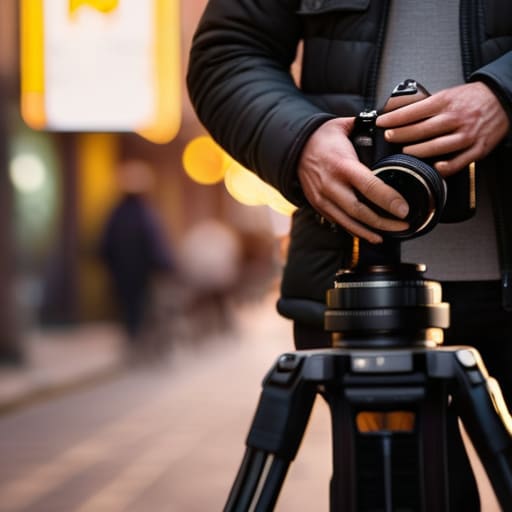
If you’re relying on the tech to do the heavy lifting, you’re already halfway to a mediocre shot. First, learn to respect your shutter speed and stability relationship; no amount of internal magic can fix a shutter that’s too slow for the movement you’re chasing. If you’re shooting handheld, try to keep your elbows tucked and use your body as a natural dampener. It’s about creating a stable platform, not just letting the camera fight your mistakes.
When you have to choose between systems, understand that optical image stabilisation vs digital isn’t just a spec debate—it’s a quality one. If you’re using digital cropping to stabilize in post, you’re eating into your resolution and losing that sharpness you worked so hard to get. If the job requires a clean, wide frame, look for a setup that utilizes lens element movement to correct the shake before it ever hits the sensor. It’s more expensive, sure, but it keeps your image integrity intact. Don’t let a fancy sensor be an excuse for lazy blocking.
Common Mistakes to Avoid
The biggest mistake I see is treating stabilization like a magic wand that excuses poor technique. People think they can wander around a room like a drunkard and the tech will save them, but they’re usually just creating a weird, floating sensation that makes the viewer nauseous. There is a fundamental difference between optical image stabilisation vs digital methods; if you’re relying on a crop factor to steady a handheld shot, you’re losing resolution and composition in the process. You can’t just “stabilize” your way out of a bad physical stance.
Another trap is ignoring the relationship between your settings and your movement. I’ve seen shooters try to fight heavy vibration by cranking their shutter speed, not realizing that shutter speed and stability are two sides of the same coin. If you’re working with high-frequency jitters, no amount of lens element movement is going to make that footage look intentional. Stop looking for a software fix for a physical problem. If the shake is violent, you don’t need a new sensor; you need a tripod or a better grip on the rig.
Final Thoughts
At the end of the day, whether you’re relying on sensor shift technology or a heavy-duty gimbal, the tech is just a safety net, not a creative strategy. I’ve seen too many young shooters lean so hard on these systems that they forget how to actually frame a shot or respect the physics of their environment. You can understand the mechanics of lens element movement all you want, but if you don’t understand the relationship between your tripod, your footing, and the light, you’re still just making excuses for a messy production.
Don’t get caught in the endless debate of optical image stabilisation vs digital cropping. One preserves your resolution and the other eats your frame for breakfast. My advice? Use the tech to solve a specific problem, not to compensate for a lack of preparation. If the shot requires stillness, find a way to make it still. Use the stabilization to give you a little breathing room when the world doesn’t cooperate, but never let the gear convince you that technique is optional. Use your eyes first, and the camera second.
Five ways to stop leaning on the tech and start using your head
- Don’t mistake a steady frame for a good shot. I’ve seen plenty of handheld footage that looks “smooth” because of internal sensor shifting, but it’s still a mess of bad composition and zero intention. Stabilization is there to hide the tremor, not to do the work of choosing a meaningful angle.
- Understand the crop. Most of the time, when you engage that “SteadyShot” or “IBIS” switch, the camera is actually just zooming in a little bit to give the sensor room to dance. If you’re already shooting wide and you turn on stabilization, you’re going to lose your edges. Plan your framing for the crop, not the sensor size.
- Respect the physics of the gimbal vs. the sensor. If you’re using a mechanical gimbal, you’re fighting gravity; if you’re using in-body stabilization, you’re fighting magnetism and movement. If you try to use both at once without knowing what you’re doing, you’ll end up with “warping”—that nauseating jelly effect where the image looks like it’s breathing.
- Light dictates your shutter speed, and your shutter speed dictates your stability. If you’re in a dark room and your shutter drags to compensate for the low light, even the best stabilization in the world won’t save you from motion blur. You can’t stabilize a blur that happened before the sensor even processed the movement.
- Use your body as the first line of defense. Before you reach for a stabilizer or toggle a setting, find your stance. Tuck your elbows, breathe through your diaphragm, and find a point of contact. A human being with good posture and a heavy tripod will beat a lightweight electronic fix every single time.
The Bottom Line
Stabilization is a safety net, not a solution; it won’t fix a lack of intentionality in your movement or a poorly planned shot.
Know your limits by understanding the difference between sensor-level correction and physical gimbal work, because over-relying on the former usually results in a digital, “floaty” look that screams amateur.
If you find yourself leaning heavily on IBIS or electronic stabilization to save a shot, stop and ask yourself if you should have just moved your feet or changed your tripod setup instead.
The Illusion of Stability
Image stabilisation is a wonderful bit of engineering, but don’t mistake a smooth frame for a good shot. You can use every gyro and sensor-shift trick in the book to kill the shake, but if you haven’t mastered your footing or understood the relationship between your lens and the subject, you’re just delivering a very stable, very high-resolution version of a mistake.
Gethin Moreau
The Reality Check
At the end of the day, stabilization is just a tool in the box, not a substitute for a steady eye. We’ve talked about the mechanical dance of sensors shifting behind the glass and the way electronic cropping tries to make up for a lack of physical mass, but none of that tech matters if you don’t understand your environment. You can lean on IBIS or a motorized gimbal all you want, but if you aren’t managing your distance from the subject or respecting the way light falls when you move, you’re just producing a very smooth, very high-resolution mess. Remember that stabilization is there to catch the micro-jitters, not to act as a crutch for poor physical technique.
If you find yourself obsessing over whether the next sensor update will finally fix your shaky handheld work, stop. Go back to the basics: find your light, plant your feet, and learn how to move your body as a single unit. The most legendary shots I’ve ever seen weren’t made because the camera had a magic algorithm; they were made because the person behind it knew exactly where the light was coming from and how to hold still within it. Buy the gear when it makes sense for the job, but never let a piece of silicon convince you that you don’t need to master the craft of movement.
