
I once spent four hours on a corporate shoot in a hotel lobby, watching a kid with a brand-new cinema camera try to “fix” a room that had a warm tungsten chandelier fighting a harsh, blueish daylight window. He kept adjusting his ISO and swapping lenses, convinced the sensor would eventually make sense of the chaos, but he was just chasing his tail. People spend a fortune on high-dynamic-range sensors thinking they’ve bought a solution to physics, but that’s not how mixed lighting is handled in the real world. You can’t out-spec a mess; you have to out-think it.
I’m not here to sell you a new LUT or a more expensive light meter. What I want to do is show you how to actually control the environment before you ever hit record. We’re going to talk about moving the stands, using gels to kill the daylight, or simply changing the blocking so the talent isn’t caught in a color war. This is about practicality over gear, and I’ll tell you exactly when to fight the light and when to just walk away and find a different corner of the room.
Understanding How Mixed Lighting Is Handled
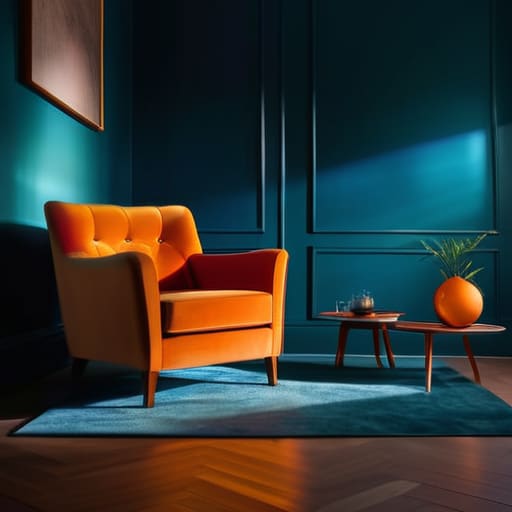
Look, before you start worrying about your post-production workflow, you need to understand what you’re actually fighting in the room. Most people think of light as a single number, but in a real-world location, it’s a chaotic tug-of-war. You’ve got the warm, orange spill from a tungsten lamp fighting against the cool, blue wash of a window, and your camera is stuck trying to make sense of both. This isn’t just a technical nuisance; it’s a fundamental clash of color temperatures.
If you want to get ahead of it, you have to stop treating your camera like a magic box and start looking at the kelvin scale for photography as your primary map. You can’t just set a single white balance and hope for the best when you have one source at 3200K and another at 5600K. You either have to commit to one side of the spectrum and let the other become a stylistic choice, or you start using color gels in studio lighting to bring those disparate sources into a shared language. If you don’t control the light at the source, you aren’t filming; you’re just documenting a mess.
Key Things to Know
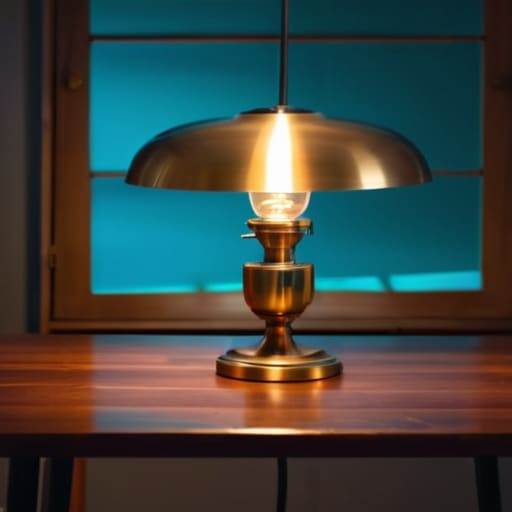
First, stop thinking about your camera as a magic box that solves everything. If you’ve got a window pouring in 5600K daylight while your practical lamps are screaming at 3200K, your sensor is going to struggle to find a middle ground that doesn’t look like a muddy mess. You need to understand the kelvin scale for photography not as a math problem, but as a way to map out your battlefield. If you can’t match the temperatures, you aren’t “capturing a mood”—you’re just creating a headache for the editor.
I’ve spent enough time on sets to know that you can’t just rely on white balance adjustment techniques in the menu to fix a fundamental lack of control. If you’re working in a room with a nasty mix of old fluorescent tubes and warm tungsten, you’re fighting an uphill battle. I’d much rather spend twenty minutes using color gels in studio lighting to bring those practicals into alignment with the window than spend two hours in a grading suite trying to salvage a skin tone that looks like bruised fruit. Control the light at the source, or don’t bother hitting record.
Practical Tips and Steps
Look, you can spend your whole day staring at a waveform, but if you want to actually solve the problem, you have to start at the source. My rule of thumb is simple: decide what your “hero” light is and commit to it. If you’re shooting a sit-down interview near a window, let that daylight be your anchor. Instead of fighting the sun, try using color gels in studio lighting to bring your tungsten lamps up to a matching temperature. It’s much easier to bend a cheap light to match the sky than it is to try and convince the sun to behave for your key light.
If you’re stuck in a room where you can’t move the fixtures, stop obsessing over the sensor and start looking at the kelvin scale for photography to understand the math of the mess. You’ll need to pick a side—either lean into the warmth or the coolness—and accept that the other side is going to look “wrong.” You can attempt some ambient light color correction in the grade later, but if the gap between your sources is too wide, you’re just asking for skin tones that look like bruised fruit. Fix the light before you even think about hitting record.
Common Mistakes to Avoid

The biggest mistake I see is the “fix it in post” mentality. People treat a messy scene like it’s a math problem that a colorist can solve with a few sliders, but you can’t grade your way out of a fundamental lack of control. If you have a heavy tungsten lamp fighting a window full of midday sun, you aren’t just fighting color; you’re fighting contrast. Trying to balance that through ambient light color correction usually results in skin tones that look like they’ve been scrubbed with sandpaper. You lose the texture, the depth, and frankly, the soul of the shot.
Another trap is getting too precious with the numbers and forgetting the physics. I’ve seen shooters obsess over the kelvin scale for photography to get a perfect white balance, only to realize they’ve ignored how different light sources actually render color. A light might look “correct” on your meter, but if its CRI is garbage, your subject is going to look sickly. Don’t just chase a number; look at the actual quality of the light hitting the face. If the light is bad, no amount of technical precision is going to make it look professional.
Final Thoughts
Look, at the end of the day, you can spend all afternoon arguing about the nuances of the Kelvin scale for photography or debating which sensor handles a color shift better, but the physics of the room aren’t going to change just because you have a better menu system. If you have a window throwing blue light onto a face while a tungsten lamp is cooking the background, you have a problem of intent, not just settings. You have to decide what you want the audience to feel, and then you have to commit to it.
I’ve seen too many kids try to bridge the gap in the edit, thinking a bit of ambient light color correction will fix a botched setup. It won’t. You can nudge the wheels, but you can’t manufacture the texture that comes from a controlled environment. My advice? Stop looking for the perfect automated white balance and start looking at where your light is coming from. If you can’t control the room, learn to work with the mess, but don’t pretend the mess isn’t there.
Five ways to stop fighting your lights and start using them
- Pick a side and stick to it. You can try to balance every single light source in the room, but you’ll end up with a flat, lifeless image that looks like it was lit in a hospital hallway. Decide if you’re shooting for the warm tungsten glow of a lamp or the cool blue of a window, and then shape your other lights to play along with that choice.
- Use gels like a surgeon, not a painter. If you’ve got a window throwing daylight into a room filled with warm practicals, don’t just pray the sensor handles it. Throw a little CTB on your tungsten lights or a warming gel on that window to bring them into the same neighborhood. It’s easier to nudge colors toward each other than to force them to merge.
- Control the spill before it controls you. Mixed lighting usually becomes a problem because light is leaking where it shouldn’t be. Use flags, cutters, or even a piece of black foam core to keep that stray window light off your subject’s face if you’ve already committed to a warmer, controlled setup. Negative fill is often more important than the light itself.
- Stop relying on the “Auto” button. If you’re letting your camera’s white balance hunt for a middle ground between a lamp and a window, it’s going to fail you. It will find a mathematical average that makes everything look sickly and green. Set your white balance manually to your primary light source and accept that the secondary source will look “wrong”—because in cinema, “wrong” is often where the mood lives.
- Remember that shadows are your friend. When you have multiple light temperatures competing, the transition zones—the areas where one color meets another—can look muddy. Use harder shadows to create clean breaks between your light sources. A well-placed shadow can hide a color mismatch that a colorist would spend three hours trying to fix in post.
The Bottom Line
Stop looking for a better sensor to fix a lighting disaster; if your color temperatures are fighting each other on set, you’re just making more work for a colorist who shouldn’t have to do it.
Control the light before you try to control the camera; use gels, flags, or simply move your subject away from the offending window or tungsten lamp to establish a baseline you can actually work with.
Coverage is about more than just angles; it’s about ensuring your lighting remains consistent enough across different shots so that when you actually sit down to cut, the scene doesn’t feel like it was filmed in two different worlds.
The Post-Production Myth
You can spend ten grand on a sensor that claims to see everything, but if you walk into a room with a tungsten lamp fighting a window and try to “fix it in post,” you aren’t being efficient—you’re just making a colorist’s life miserable for a result that’ll still look like a mistake.
Gethin Moreau
The Bottom Line
At the end of the day, handling mixed lighting isn’t about finding a magic setting on your camera or praying your sensor has enough dynamic range to swallow the mess. It’s about the work you do on set—controlling the spill, managing your color temperatures, and knowing when to fight the light and when to just embrace the chaos. You can spend hours in a color suite trying to balance a scene where the tungsten practicals are fighting a daylight window, but you’re essentially trying to perform surgery with a sledgehammer. If you get the blocking and the light placement right during the setup, the edit becomes a breeze instead of a battlefield.
Don’t let the endless debates over bit depth and color science distract you from the fundamental truth: a well-lit scene on a cheap camera will always beat a poorly lit scene on a cinema rig. Stop looking for the next gear upgrade to solve your lighting headaches and start looking at the windows, the lamps, and the shadows in the room. If you can learn to see the light for what it actually is—rather than what you wish it were—you’ll find that the most difficult lighting situations often become your most cinematic moments. Just move the lamp, watch the shadows, and keep rolling.
