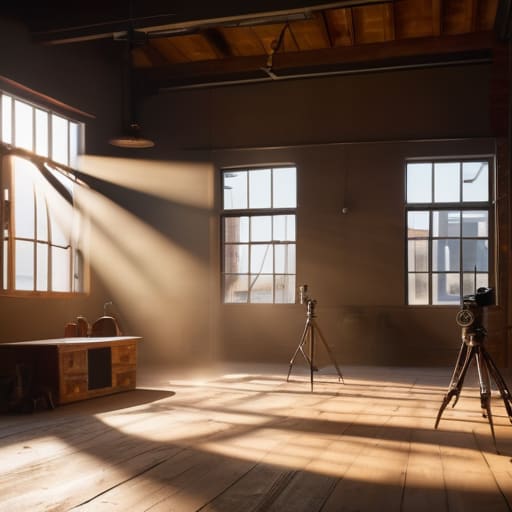
I spent a decade watching kids walk onto sets with six-figure camera packages, only to spend three hours arguing about which sensor has the best dynamic range while the actual light in the room was dying. They treat a lack of illumination like a technical failure that requires a bigger purchase, when in reality, they just haven’t looked at the window long enough. If you’re looking for a “complete guide to working with available light” that promises you can fix a muddy, flat scene just by cranking your ISO to the moon, you’ve come to the wrong place. Most of the time, the answer isn’t a better sensor; it’s knowing how to find the single sliver of sun hitting a tabletop and having the patience to wait for it.
I’m not here to sell you a lighting kit or a subscription to a gear review site. I want to talk about how you actually use what’s already there—the way a shadow falls across a face or how a single lamp can create depth if you just move the talent two feet to the left. This is a practical look at how to read a room, how to time your coverage, and how to make available light look like a choice rather than an accident.
Understanding Complete Guide to Working With Available Light

When people talk about “available light,” they usually mean they’re stuck with whatever is already in the room. But if you’re actually paying attention, available light isn’t a limitation; it’s your primary collaborator. It’s the sun coming through a high window or the warm, sickly glow of a streetlamp. The trick isn’t just seeing it, but understanding how it behaves. I’ve spent more time watching how shadows fall across a face than I have reading spec sheets, because once you understand the direction and quality of that source, the camera becomes secondary.
If you’re working outdoors, you’re essentially negotiating with a moving target. You’ll hear a lot of talk about golden hour lighting tips, but the reality is more about managing the transition. One minute you have a soft, directional glow that makes everything look like a painting, and the next, you’re fighting the midday glare. Learning how to manage controlling harsh sunlight—whether that’s through positioning your subject in a patch of open shade or using a simple bounce—is what separates a professional shot from a snapshot. It’s about knowing when to move the person, not just when to adjust the iris.
Key Things to Know

First, you have to accept that you aren’t in control; you’re just negotiating. When you’re working with what’s already there, your job is to read the room—or the street—before you even touch the tripod. If you’re dealing with controlling harsh sunlight in the middle of the afternoon, don’t try to fight it by cranking your ISO until the sensor screams. Instead, look for the shadows. Find a way to tuck your subject into a pocket of shade where the light is soft and even, rather than trying to balance a blown-out sky against a face that looks like it’s carved from granite.
Second, learn to use what you have to shape what you don’t. I’ve spent more time using reflectors with ambient light than I have adjusting high-end LED panels, and the results are often more honest. A simple piece of white foam core can do more for your skin tones than a thousand-dollar softbox ever will. It’s about redirection, not replacement. If the light is coming from a window on the left, don’t just settle for a dark right side; bounce a little of that energy back into the shadows. That’s the difference between a shot that looks accidental and one that looks intentional.
Practical Tips and Steps
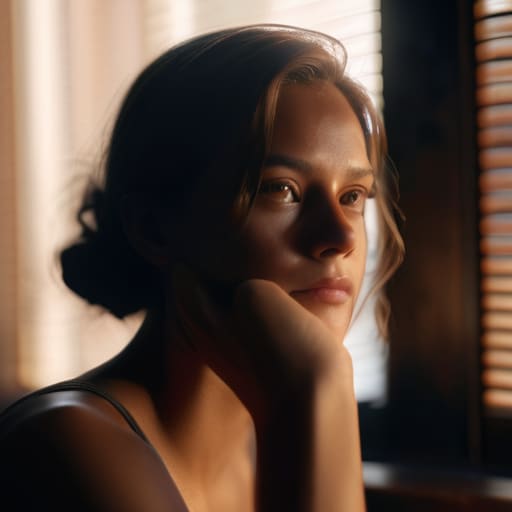
First, stop looking at your monitor and start looking at the shadows. If you’re shooting indoors, don’t just point the camera at the subject; look at where the window is sitting in relation to their face. Most of my indoor ambient light setups rely on finding that one soft, directional source and moving the talent until the fall-off looks intentional rather than accidental. If the light is too flat, move them closer to the source; if it’s too heavy, turn them slightly toward the window to fill those shadows.
When you move outside, your biggest enemy isn’t the sun—it’s the lack of control. I’ve spent more time controlling harsh sunlight with a simple piece of foam than I have with high-end diffusion kits. If you’re stuck in high noon, find some shade or use a bounce to kick a little life back into the eyes. And for heaven’s sake, don’t just chase the sunset. If you want that cinematic glow, you need to be set up and ready twenty minutes before the light actually starts to turn. It’s about anticipating the change, not reacting to it once the sun has already dipped.
Common Mistakes to Avoid
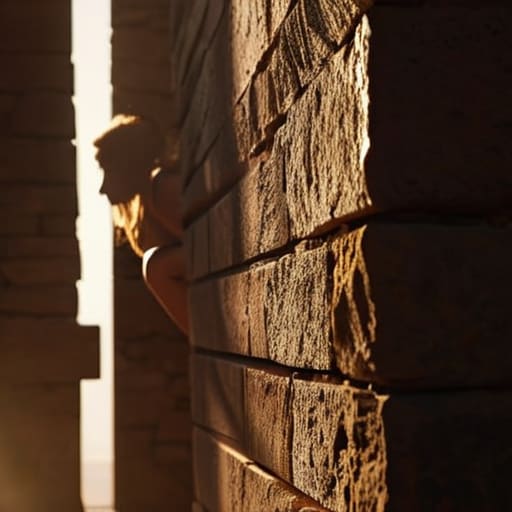
The biggest mistake I see—and I’ve seen it in everything from student shorts to high-end commercial work—is the assumption that “available light” means “no control.” People treat the sun like a light fixture that’s stuck in the ‘on’ position, and they panic when it gets too bright. They’ll reach for a more expensive sensor or a faster lens to compensate, when what they actually need is to learn the art of controlling harsh sunlight. If you’re shooting mid-day, don’t fight the shadows; use them. Stop trying to make everything bright and even. It’s a lie. Real life has contrast, and your footage should too.
Another trap is neglecting the subtle shifts in your environment. I see shooters walk into a room, see a window, and think they’re set. They ignore the bounce from a white wall or the way a dark sofa is sucking the life out of their indoor ambient light setups. They forget that light isn’t just coming from the window; it’s bouncing off every surface in the room. Instead of buying a massive softbox, try using reflectors with ambient light to kick a little bit of that window light back into the shadows. It’s cheaper, it’s faster, and it looks a hell of a lot more natural.
Final Thoughts
At the end of the day, don’t let the pursuit of a “perfect” shot keep you from actually finishing the production. I’ve seen enough sets stalled by people trying to chase the perfect golden hour lighting tips while the sun is literally disappearing behind a cloud. You have to learn when to stop tweaking the exposure and just roll. If you’ve mastered the basics of controlling harsh sunlight with a simple bounce or a piece of foam core, you’re already ahead of half the people walking around with five-figure cinema rigs and no sense of direction.
If you take anything away from this, let it be this: the gear is secondary to your eyes. You can have the most expensive sensor on the market, but if you don’t understand how light wraps around a face or how to manage indoor ambient light setups, you’re just recording expensive noise. Stop looking at the spec sheets for a moment and start looking at the shadows. Learn to work with what the room gives you, and I promise you’ll find that patience is your most valuable piece of kit.
Five ways to actually use the light you've got
- Stop looking at the sensor and start looking at the windows. Before you even touch the tripod, find your primary source. If it’s a window, note the direction; if it’s a streetlamp, note the color. You can’t fix a scene if you don’t know where the light is coming from, and no amount of post-production magic is going to turn a flat, overhead fluorescent nightmare into something cinematic.
- Treat the sun like a fickle client. It moves, it hides, and it changes its mind every fifteen minutes. If you’re shooting outdoors, don’t just set up and pray. Watch the shadows. If they’re getting too long or the contrast is getting too harsh, you either move the subject or you pack it in. I’ve seen too many productions lose a whole afternoon because they thought they could “wait out” a cloud that wasn’t coming back.
- Use reflectors, not more lights. Most people think “available light” means “no extra gear,” but a simple piece of white foam core can do more for your exposure than a cheap LED panel ever will. If the shadow side of a face looks like a black hole, don’t reach for a light kit; reach for something to bounce that existing window light back into the eyes. It’s cheaper, it’s faster, and it looks more natural.
- Embrace the fall-off. Beginners often try to fight shadows because they think “even” means “good.” It doesn’t. Even lighting is boring; it’s what you get in a grocery store aisle. Real depth comes from the transition between light and dark. Let the shadows exist. If you have a single light source, let it fall off naturally into the background. That’s how you create shape and dimension without needing a five-point lighting setup.
- Check your white balance early and often. When you’re working with whatever light happens to be in the room, your color temperature is going to be a moving target. A tungsten bulb in the corner is going to fight with the blue daylight coming through the door. Don’t rely on your camera’s “Auto” setting—it’ll hunt and jump mid-take. Set it manually, check your waveform, and make sure you actually know what color your blacks are going to be before you hit record.
The Bottom Line
Stop looking at the spec sheet and start looking at the windows; the best light in the room is already there, you just have to figure out where it’s coming from and how to sit in it.
Coverage is king, so don’t get so precious about a single beautiful shot that you forget to get the angles you actually need to tell the story in the edit.
A better sensor won’t fix a scene that lacks depth or direction, so spend your time moving the tripod or waiting for the clouds to break rather than hunting for a gear upgrade.
The Myth of the Perfect Sensor
“You can spend sixty thousand dollars on a sensor that sees in the dark, but if you don’t understand how the light is actually hitting the subject, you’re just capturing expensive, well-defined garbage. Stop looking at the spec sheet and start looking at the window.”
Gethin Moreau
Final Frames
At the end of the day, mastering available light isn’t about memorizing a manual or owning the latest high-dynamic-range sensor. It’s about training your eyes to see the shape of a room before you even touch the tripod. We’ve talked about reading the direction of the sun, respecting the falloff of a window, and understanding that shadows are just as important as the highlights. If you can learn to anticipate how light moves through a space and how to position your subjects within it, you’ll find that you don’t need a grip truck full of LEDs to make a scene feel intentional. Remember, the goal is to work with what is there, rather than fighting a losing battle against the environment you’ve chosen.
I’ve spent more years than I care to admit watching people struggle with technical specs when the solution was simply to wait twenty minutes for the light to soften. Don’t let the pursuit of the “perfect” gear distract you from the fundamental craft of seeing. The best images I’ve ever captured didn’t come from a massive budget; they came from patience and observation. So, next time you’re on set or out on a solo shoot, put the camera down for a second. Look at the light, find the angle, and realize that the most powerful tool you own isn’t in your gear bag—it’s your own perspective.
