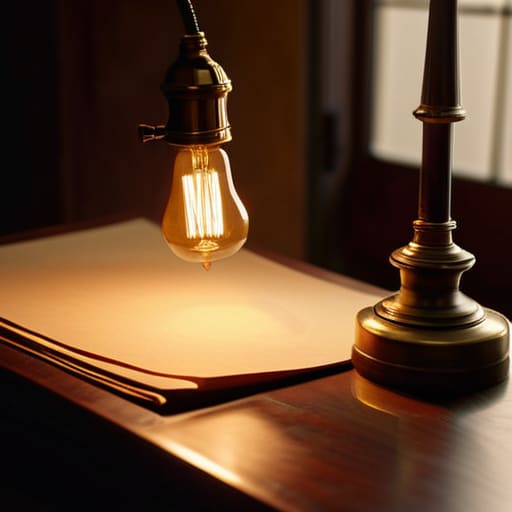
I remember a shoot in a cramped, windowless studio in South London back in ’08. The client had just dropped fifty grand on a cinema camera that could supposedly see in the dark, but we were staring at a flat, lifeless mess because the lighting rig was too big for the room. We spent three hours fighting with heavy stands and gels, trying to manufacture “atmosphere,” when the solution was sitting right there on the desk: a cheap, $20 brass lamp. That’s the mistake I see every week—people think they need a massive lighting package to create depth, when learning how to use practicals in frame is actually about using what’s already there to trick the eye into seeing space.
I’m not here to sell you on a new LED kit or a way to make your sensor perform miracles in a black hole. My goal is to show you how to stop treating lamps like mere decoration and start using them to solve your distance and motivation problems. We’ll talk about placement, how to manage that inevitable blown-out highlight, and why the light source matters more than the camera you’re holding.
The Practicals Dilemma How to Use Practicals in Frame
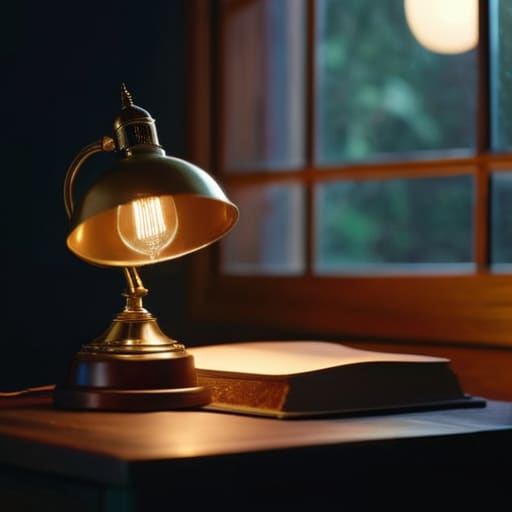
The problem most people run into isn’t that they don’t have enough lamps; it’s that they don’t know which one is actually doing the work. When I walk onto a set, the first thing I look for is the source. If there’s a desk lamp in the shot, my eyes immediately go to it to see if it’s actually contributing to the exposure or just sitting there like a piece of furniture. This is the core of using motivated lighting in film. If that lamp is on, it needs to justify the light hitting your actor’s face. If the light on the subject is coming from a window on the left, but your practical lamp is sitting on the right, you haven’t created a scene; you’ve created a visual contradiction that’ll make an editor’s skin crawl.
You also have to manage the fight between your ambient light vs practicals. A common mistake is letting a single, bright bulb blow out the sensor while the rest of the room falls into a muddy, underexposed mess. You can’t just set your exposure for the lamp and hope for the best. You have to balance the intensity of that practical source against your key light so the scene maintains its shape without looking like a collection of isolated light bubbles.
Motivated Lighting When a Lamp Becomes a Narrative Tool
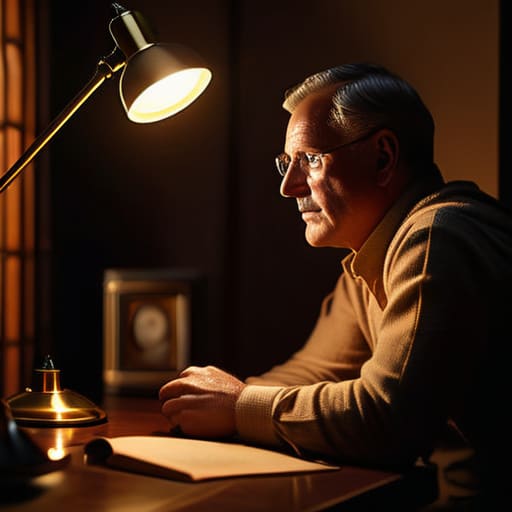
If a lamp is sitting on a table, it shouldn’t just be there to look pretty; it needs to justify why the actor’s face is lit the way it is. That’s the core of using motivated lighting in film. I’ve spent enough time on sets to know that a practical shouldn’t just be a prop; it should be the reason for your lighting scheme. If you have a warm desk lamp in the shot, your key light needs to mimic that temperature and direction. When the light source in the frame doesn’t match the light hitting your subject, the audience doesn’t call it “stylized”—they call it fake.
This is where you stop thinking about gear and start thinking about the story. A flickering neon sign outside a window or a harsh, low-hanging pendant light tells us something about the character’s headspace or the room’s history. It’s about lighting for visual storytelling rather than just trying to hit a specific exposure. When you get the practical light placement right, you aren’t just decorating a set; you’re building a world that feels lived-in and, more importantly, coherent.
Practical Light Placement Solving Distance Without Moving the Camera
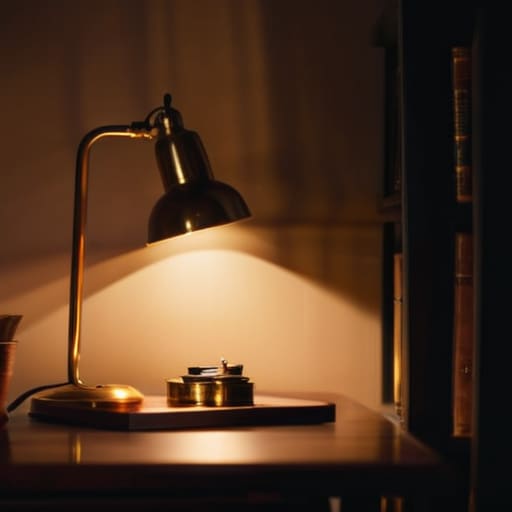
Look, you don’t always need to kick the tripod legs out or find a way to wedge a heavy dolly into a cramped corner just to get some separation between your subject and the wall. Sometimes, the solution is sitting right there on the end table. When you’re working in tight quarters, practical light placement becomes your best friend for creating depth. By positioning a well-placed lamp just behind a subject or slightly off-axis, you can carve them out of a flat, muddy background without having to move a single piece of heavy grip gear.
It’s about managing the relationship between your ambient light vs practicals. If the room is too dark, the sensor struggles; if it’s too bright, you lose all your shape. I’ve spent many nights adjusting the dimmers on a cheap desk lamp just to find that sweet spot where the light feels “real” but still provides enough punch to define a silhouette. You aren’t just adding decor; you are using that small, localized source to trick the eye into seeing a three-dimensional space where there’s actually only a cramped, two-dimensional reality.
The Exposure Trap Balancing Ambient Light vs Practicals
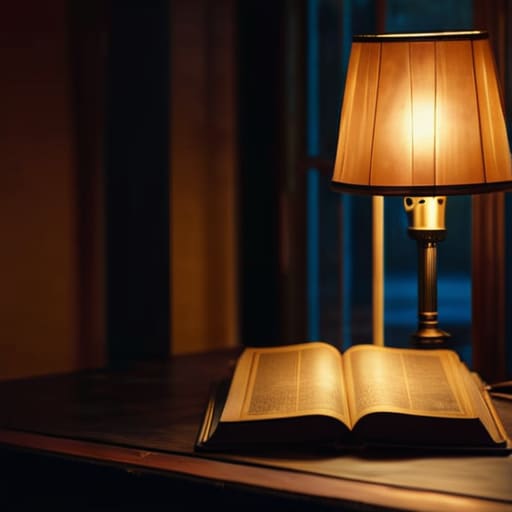
The biggest mistake I see—usually from people who have just upgraded to a camera with a massive dynamic range—is trying to make the practical lamp and the ambient light do the same job. You end up with a fight on your sensor. If you expose for the lamp, your shadows turn into a muddy, noisy mess; if you expose for the room, your practical becomes a blown-out white hole that kills any sense of depth. It’s the classic struggle of ambient light vs practicals, and you can’t solve it by just cranking your ISO.
The trick isn’t finding a middle ground that makes everything look flat and safe. It’s about making a choice. I’ve spent more time dimming a lamp or swapping a bulb than I have adjusting my aperture. You have to decide which one is driving the scene. If that desk lamp is your primary source, you treat it like a key light and bring the rest of the room into submission. Don’t let the room win. If you try to please both, you’ll end up with a shot that has no soul and no contrast.
Cinematic Lighting Setups That Actually Respect the Source
The mistake I see most often isn’t a lack of gear, but a lack of respect for the physics of the room. People try to build these massive, complex cinematic lighting setups that look great on a monitor but feel completely disconnected from the space. If you have a desk lamp in the shot, that lamp shouldn’t just be a prop; it should be the reason we can see the actor’s eyes. Instead of fighting the room, try layering your light so the practical becomes the anchor. You might need a small, dimmable LED tucked just out of frame to mimic the spill from that lamp, but if you overdo it, you lose the illusion.
When you’re working with ambient light vs practicals, the goal is cohesion, not competition. I’ve spent many long afternoons adjusting a single tungsten bulb because the “correct” exposure settings were making the shadows look like black holes. You want to use motivated lighting in film to guide the eye, not to drown the scene in artificial brightness. If the lamp is the source, let the shadows fall where they naturally would. It’s about creating a logic that the audience feels, even if they can’t quite name it.
Visual Storytelling Using Light to Fix What Gear Cannot
I’ve spent enough time on sets to know that a client will eventually ask for a “film look,” and they usually think that means buying a more expensive sensor or a vintage lens set. But you can’t buy texture. You can’t purchase the way a single, warm bulb in a corner pulls a character out of the shadows. When I’m talking about lighting for visual storytelling, I’m talking about using those small, localized sources to direct the eye where the script demands it go. If a character is feeling isolated, a lonely practical lamp on a desk does more for the mood than any $50,000 lighting package ever could.
It’s about intent. If you’re struggling with a flat, lifeless image, don’t reach for a new filter; look at your practical light placement. A well-placed lamp provides a point of reference that tells the audience where the world exists. It creates a hierarchy of light that defines the space. You use these small sources to bridge the gap between the darkness and your key light, turning a sterile room into a lived-in environment. That’s the real work—using what’s already there to build a world, rather than trying to manufacture one with brute force.
Five Ways to Stop Using Practicals as Just Cheap Decor
- Watch your color temperature. There is nothing that kills a shot faster than a warm, tungsten bedside lamp fighting a cool, daylight-balanced window. If you can’t match them, pick a side and commit to the mood, or get a gel and do the work.
- Mind the flare. A practical light sitting right in the line of sight of your lens might look “authentic,” but if it’s washing out your subject or creating a hazy mess that obscures the eye line, it’s not a tool—it’s a mistake. Position it so it adds depth without blinding the sensor.
- Use them to create separation. A lamp in the background isn’t just there to show the room exists; it’s there to pull your subject off the wall. If your background is a flat, dark void, a well-placed practical can provide that necessary layer of distance that a wide-angle lens alone can’t give you.
- Check your practical’s “realism” against your key light. If you have a massive, bright floor lamp in the frame but your actor is lit by a soft, dim moonlight, the audience’s brain is going to flag it immediately. The light in the frame has to feel like it’s actually contributing to the illumination of the space.
- Don’t be afraid to dim them. Most consumer lamps are far too bright for a controlled set. If that desk lamp is blowing out your highlights and turning your frame into a white mess, don’t reach for a new camera—reach for a dimmer or a piece of diffusion to bring the intensity down to something manageable.
The Bottom Line: Light Before Gear
Stop looking for a better sensor to fix a flat image; if the scene feels lifeless, try adding a practical lamp to create depth and dimension rather than cranking your ISO.
A practical light shouldn’t just sit there looking pretty; it has to be motivated by the world of the story, or it’s just a piece of furniture distracting the eye.
Don’t let the glow of a single lamp trick you into underexposing your subject; balance the practical’s warmth with enough motivated light to ensure you actually have enough detail to work with in the grade.
## The Illusion of Depth
A lamp in the background isn’t just a bit of decor to make the room look lived-in; it’s a tool to separate your subject from the wall behind them. If you’re staring at your monitor wondering why the image looks flat, stop looking for a sharper lens and start looking for a way to get a practical light source into the frame to create some actual dimension.
Gethin Moreau
Stop Looking for the Magic Sensor
At the end of the day, using practicals isn’t about decorating a set or finding a clever way to hide a light stand; it’s about managing the space between your subject and the lens. We’ve covered how a well-placed lamp can solve a depth problem that a wider lens never could, and why motivated lighting is the only way to keep your audience from questioning the reality of the frame. Whether you’re wrestling with the exposure gap between a tungsten bulb and your ambient window light, or trying to ensure your practicals actually serve the narrative rather than just cluttering the background, the goal remains the same: create a world that feels lived-in. If the light doesn’t feel like it belongs to the room, you haven’t finished the setup.
I see so many young shooters today waiting for that next sensor upgrade or that perfect anamorphic kit to finally make their images look “cinematic.” But if you can’t make a scene work with a single lamp and a bit of patience, a RED or an Arri won’t save you. The real magic happens when you stop obsessing over the spec sheet and start looking at where the light actually hits the floor. Go back to the basics. Move the lamp, adjust the distance, and trust your eyes more than your histogram. That is where the craft actually lives.
