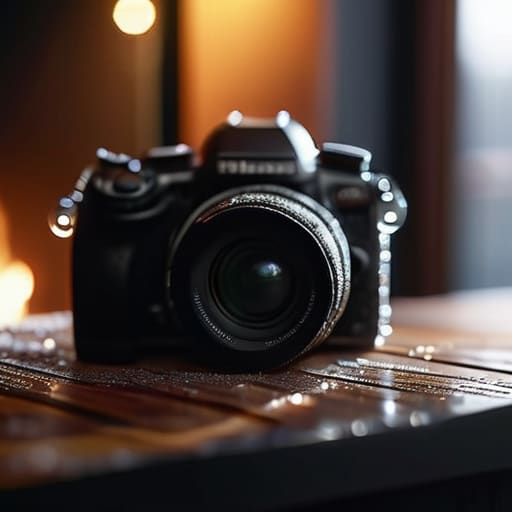
I remember standing in a muddy field outside of Cork, watching a kid half my age frantically unboxing a three-thousand-dollar weather-sealed cinema rig while the sky turned a bruised shade of purple. He thought the “weather-resistant” badge on the spec sheet was a magic spell, but he hadn’t accounted for the wind driving the rain sideways into his lens mount. Most people spend their time researching which high-end body is most resilient, when the real question of how to protect gear in bad weather isn’t about the sensor—it’s about the layers between you and the elements. You can buy the most expensive housing on the market, but if you don’t understand how moisture moves, you’re just buying an expensive way to watch your electronics fail.
I’m not here to sell you a specific brand of plastic rain cover or a miracle cleaning kit. What I want to do is talk about the practical, unromantic reality of keeping your kit alive when the light is dying and the clouds break. I’ll show you how to manage your kit, how to handle the transition from cold to warm to avoid internal fogging, and why a simple roll of heavy-duty plastic is often more valuable than a specialized kit.
The Weather Doesnt Care How Much Your Sensor Cost
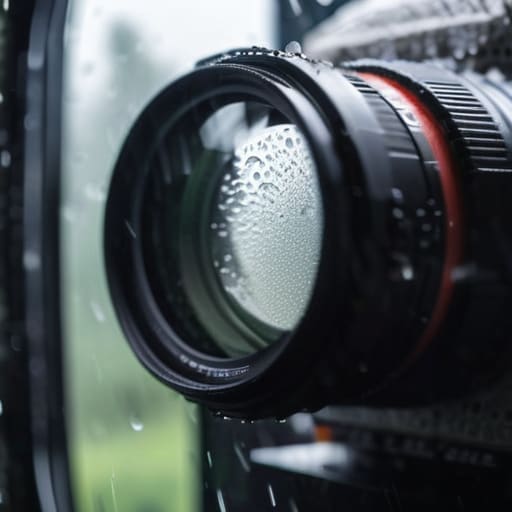
I’ve sat in the back of a van watching a producer weep because a three-thousand-dollar lens developed internal fogging after a shoot in a humid forest. It doesn’t matter if you’re shooting on an Arri or a used DSLR; the humidity doesn’t recognize the price tag. When the air is thick or the rain is coming down sideways, your biggest enemy isn’t the impact of the droplets, but the moisture that finds its way inside the housing. Preventing moisture damage to electronics isn’t about buying a more expensive body; it’s about the discipline of how you pack and unpack.
If you think a “weather-sealed” badge on a spec sheet means you can ignore the elements, you’re asking for a very expensive lesson in physics. I’ve seen guys skip the basics and end up with a sensor that looks like it has a film of grease on it because they didn’t understand managing lens fogging when moving from a cold car to a warm, damp set. You need to be obsessive about silica gel desiccant use in your cases and keep your gear in sealed dry bags the second the light fails. The gear is just a tool, and tools fail when you treat them like they’re invincible.
How to Protect Gear in Bad Weather Without Losing Your Mind
The real headache isn’t just the rain hitting the body; it’s the humidity that follows it. You’ll find yourself fighting a losing battle with managing lens fogging every time you move from a freezing exterior into a heated van or a cramped tent. I’ve spent more time waiting for glass to clear than I care to admit. The trick isn’t just throwing a plastic sheet over the rig; it’s about controlled transitions. If you don’t let your gear acclimate slowly, you’re essentially inviting condensation to settle deep inside the internal elements where no amount of wiping will reach.
Don’t rely on a single layer of defense, either. I’ve learned that a heavy-duty rain cover is only half the battle; you need a system for preventing moisture damage to electronics once the shoot wraps. This means having dedicated dry bags for outdoor gear ready to go the second we call picture. Once you’re back in a controlled environment, don’t just toss everything in a hard case and call it a day. Throwing a handful of silica gel desiccant packs into your storage bins is a cheap, low-effort way to make sure you aren’t waking up to a kit that smells like a damp basement.
Beyond the Rain Preventing Moisture Damage to Electronics
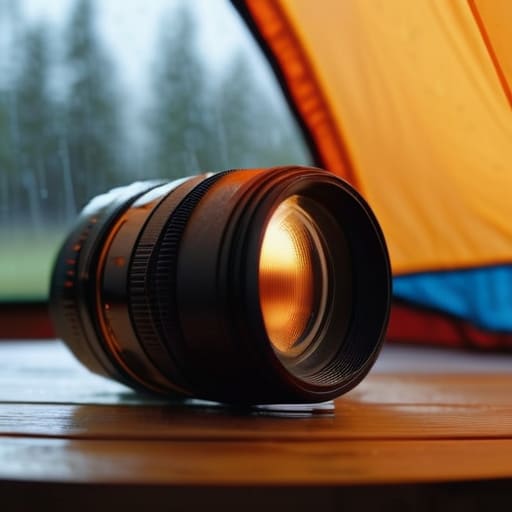
It isn’t always the downpour that kills your kit; more often, it’s the invisible enemy sitting in the air. You can survive a sudden cloudburst with a decent rain cover, but if you transition from a freezing exterior into a heated production tent without a plan, you’re asking for trouble. The sudden temperature shift is what leads to managing lens fogging issues that turn your expensive glass into a milky, useless mess. I’ve seen more sensors ruined by internal condensation than by direct contact with a puddle.
The real work happens when the camera is off. I don’t trust a standard camera bag to handle humidity, especially in coastal or tropical environments. I rely heavily on silica gel desiccant use within my hard cases to pull whatever moisture is lurking in the air out of the electronics. If you aren’t using dry bags for outdoor gear during transport, you’re essentially giving the humidity a free pass to settle into your ports and circuitry. It’s a slow, quiet way to lose a camera, and unlike a lightning strike, you won’t even see it coming until the screen flickers and dies.
Why Dry Bags for Outdoor Gear Are Rarely Enough
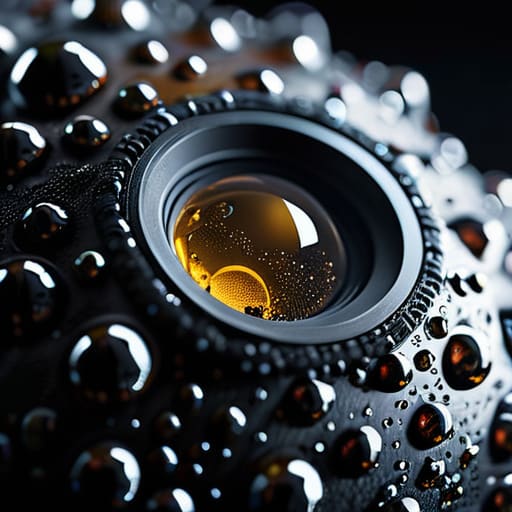
I’ve seen enough sets to know that a dry bag is a false sense of security. You toss your kit into one of those heavy-duty rolls, feeling clever, right up until the moment you pull a camera out of a sealed bag and into a humid, salt-heavy environment. The problem isn’t just the rain hitting the body; it’s the micro-climate you create inside the bag. When you trap warm gear in a plastic sleeve, you aren’t just storing it—you’re essentially building a terrarium.
This is where most people fail at preventing moisture damage to electronics. They focus on the external deluge but ignore the condensation blooming inside the lens elements the second they break the seal. If you aren’t pairing your dry bags for outdoor gear with some serious silica gel desiccant use, you’re just delaying the inevitable. I don’t care how expensive your weather-sealed housing is; if you don’t manage the air inside the bag, you’ll find yourself staring at a fogged-up front element when you actually need to hit record.
Managing Lens Fogging When the Light Is Actually Good
There is nothing quite as soul-crushing as finding a perfect, golden-hour window only to realize your glass has decided to become an opaque white wall. You’ve spent an hour scouting the light, the shadows are falling exactly where you want them, and the talent is finally ready—but you’re stuck waiting for your lenses to stop breathing. This isn’t a failure of your weatherproofing; it’s a failure of temperature management. When you move from a heated van or a humid tent into the crisp, cool air of a shoot, the physics of managing lens fogging take over, and they don’t care about your schedule.
The mistake I see most often is trying to “fix” it by rushing. If you pull a cold lens into a warm environment, you’re essentially inviting condensation to settle deep inside the elements. I’ve learned to treat my gear like a living thing that needs to acclimate. Instead of relying solely on dry bags for outdoor gear to keep the rain out, I keep my lenses in a sealed container with a heavy dose of silica gel desiccant use while transitioning between environments. It’s about controlled slow-motion. If you give the glass time to find its equilibrium before you ever take the cap off, you might actually get to use that light before it’s gone.
The Real Utility of Silica Gel Desiccant Use
If you’ve spent any time working in humid environments or moving from a cold car into a heated studio, you know that moisture is a silent killer. Most people think of protection in terms of keeping the rain off the body of the camera, but the real battle is fought inside the cases and bags. This is where silica gel desiccant use stops being a suggestion and becomes a necessity. I don’t care if you’re using high-end hard cases or just a standard padded bag; if you aren’t actively pulling moisture out of that microclimate, you’re essentially inviting fungus to take up residence on your glass.
I keep several large, rechargeable canisters of desiccant in my primary gear cases. It isn’t about weatherproofing camera equipment against a sudden downpour—it’s about the slow, insidious process of preventing moisture damage to electronics during transit. When you pack a camera away after a long day in the damp, you’re sealing in all that humidity. Without a way to absorb it, that moisture settles on the sensor or, worse, inside the lens elements. A few well-placed packets are a cheap insurance policy against a repair bill that costs more than your last three gigs combined.
Five ways to keep your kit from becoming a liability
- Stop treating your rain cover like a suggestion. If the sky looks even remotely threatening, get the cover on before the first drop hits. Waiting until you’re actually getting wet means you’re fumbling with plastic while the moisture is already finding its way into the seams of your tripod head or the buttons on your monitor.
- Don’t be a hero with the power switch. If you’ve been shooting in a damp environment, don’t just kill the power and shove everything into a closed, unventilated bag. Give your gear a chance to breathe in a controlled, dry space first, or you’re just trapping that humidity inside a dark little incubator.
- Watch your transitions. The biggest killer isn’t the rain itself; it’s the move from a freezing, wet exterior into a warm, heated van or hotel room. That temperature swing is what causes the internal condensation that eventually rots your electronics. Let the gear acclimate slowly in a bag rather than pulling it out into the heat immediately.
- Check your connections like your life depends on it. I’ve seen enough SDI cables and power ports corrode because someone thought a little splash wouldn’t matter. If you’re working in the wet, use electrical tape or specialized weatherproofing on your ports. It’s not pretty, but it beats a dead camera halfway through a setup.
- Keep a dedicated “dry kit” that isn’t your main bag. Have a small, airtight container filled with fresh desiccant and a few clean, lint-free cloths ready to go. When you get back to base, the first thing that gear should see is a dry environment, not a cluttered equipment trunk.
The bottom line
Stop looking for a magic piece of gear to solve a climate problem; you can’t buy your way out of a storm, you can only prepare for it with better habits and more patience.
Moisture is a slow killer that doesn’t care about your frame rate, so prioritize managing humidity and temperature shifts over simply chasing the next rain cover.
If you find yourself more worried about the specs of your new camera than the integrity of your weather seals and dry bags, you’re about to learn a very expensive lesson.
The cost of being unprepared
You can spend six months saving for a sensor that captures every nuance of a sunset, but if you haven’t budgeted for a decent rain cover and a way to dry your kit, you aren’t a cinematographer—you’re just an expensive way to lose a camera.
Gethin Moreau
The bottom line
At the end of the day, protecting your kit isn’t about buying a magic shroud or a high-tech case that promises immortality. It’s about the boring, unglamorous stuff: keeping your lenses acclimated to the temperature, managing your humidity with silica, and knowing when to call it a day before the moisture gets inside the body. You can have the most expensive rig on the lot, but if you haven’t mastered the basics of moisture control and physical shielding, you’re just one heavy mist away from a very expensive repair bill. Don’t mistake a fancy rain cover for actual preparation.
I’ve spent more nights than I care to admit huddled under a tarp, waiting for a break in the clouds while trying to keep my gear from sweating. It’s exhausting, and it’s rarely poetic, but that’s the job. The gear is just a tool to help you capture the light, and the light doesn’t wait for the weather to clear. If you respect the elements and respect your tools, you’ll find that the best shots often happen right when everything is falling apart. Get your kit ready, stay vigilant, and then get back to the work.
