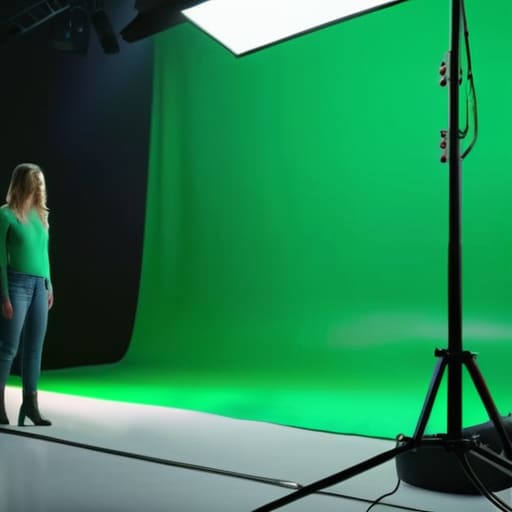
I remember sitting in a cramped studio ten years ago, watching a kid spend three grand on a high-end cinema camera just to shoot against a wrinkled, poorly lit piece of polyester. He kept asking why his edges looked like they’d been cut out with kitchen shears, as if a better sensor would magically fix the mess. The truth is, people treat chroma keying like a post-production miracle, but they forget that how green screen actually works has almost nothing to do with what happens in your editing software and everything to do with how you manage your light. If you haven’t even considered the spill and the distance between your subject and that backdrop, you aren’t filming; you’re just making a headache for your colorist.
I’m not here to sell you a new plugin or tell you that a higher bit depth is the silver bullet. My goal is to strip away the gear-obsessed nonsense and show you the physics of the setup. I’ll walk you through the actual mechanics of light separation, how to avoid the dreaded green halo, and why your positioning in the room matters more than your budget. This isn’t a manual for a piece of software; it’s a guide to getting a clean key through better craft.
Understanding How Green Screen Actually Works
At its core, the whole thing relies on a simple mathematical distinction between two types of data: luminance and chrominance separation. When you’re looking at a digital file, the computer isn’t seeing a “person” or a “wall”; it’s seeing a grid of values. The software looks for a specific mathematical signature—a very narrow slice of the color spectrum—and tells the computer to make those specific values transparent. This is the heart of the chroma keying process explained in any textbook, but in practice, it’s just a high-stakes game of finding a color that your subject isn’t wearing.
The reason we use green or blue specifically isn’t because of some magic property of the pigment, but because digital sensors are most sensitive to those wavelengths. If you’ve ever sat in an edit suite staring at a jagged, flickering edge around a subject’s hair, you’ve seen the failure of digital compositing techniques when the math breaks down. It’s usually because the light wasn’t even enough to create a clean mathematical “cut.” You aren’t just removing a color; you are trying to isolate a specific frequency while praying the light doesn’t bleed into your subject’s skin tones.
Key Things to Know
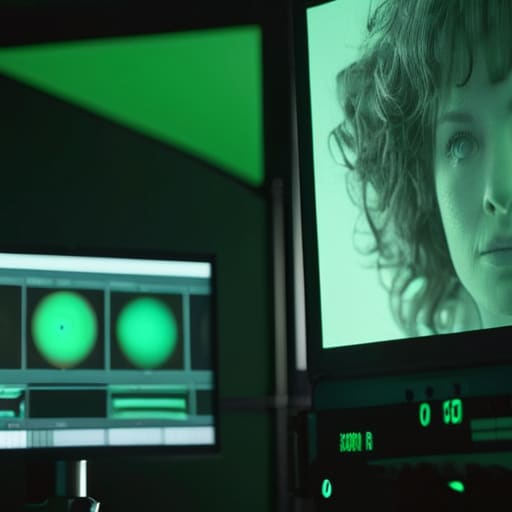
If you’re sitting in a dark suite staring at a monitor, wondering why your subject looks like they’ve been cut out with kitchen scissors, you need to stop looking at the software and start looking at your lighting. The whole chroma keying process explained in textbooks usually ignores the physical reality: the computer is just doing math on the data you gave it. If your green backdrop isn’t lit with a flat, even wash, the color keying software algorithms will struggle to find a consistent edge. You’ll end up with “chatter”—that jittery, digital mess around the hair that makes it look like the actor is vibrating.
Then there’s the issue of the green glow. I’ve seen more ruined shots from color spill than from bad camera settings. When that green light bounces off the backdrop and hits your subject’s skin, no amount of fancy digital compositing techniques will make it look natural. You have to manage the physics of the room. Whether you choose green screen vs blue screen usually comes down to the color of your subject’s wardrobe, but the principle remains: if you don’t control the light at the source, you’re just asking a colorist to perform a miracle they aren’t paid for.
Practical Tips and Steps
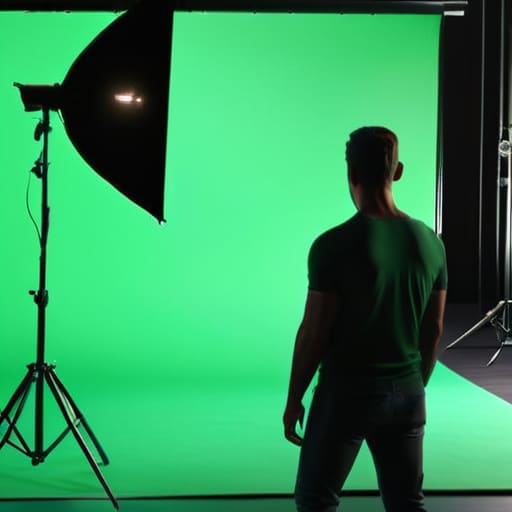
If you want to stop fighting your footage in post, you have to start treating the screen like a light source, not just a backdrop. The biggest mistake I see is people pinning a piece of fabric to a wall and hoping for the best. You need even, flat illumination across the entire surface. If you have hot spots or shadows, you’re making the chroma keying process explained in textbooks a nightmare for whoever is actually trying to composite the shot. Distance is your best friend here; get your talent far enough away from the screen so that the light doesn’t bounce off the green and onto their skin.
Once you’ve managed the physical setup, you have to deal with the inevitable green glow on the edges of your subject. This is where most beginners fail. You can try to fix it with color spill suppression tools in your software, but those algorithms can only do so much before they start eating away at the subject’s hair or fine details. I’ve always found that a bit of extra care with negative fill on the subject is worth ten minutes of trying to fix a bad key in a color grading suite.
Common Mistakes to Avoid

The biggest mistake I see—and I’ve seen it in everything from student shorts to high-end commercials—is treating the backdrop like a piece of furniture rather than a light source. People think they can just hang a piece of fabric and call it a day, but if your lighting is uneven, you’re asking the computer to do work it wasn’t designed for. When the brightness fluctuates across the frame, the chroma keying process explained in your software tutorials becomes a nightmare of flickering edges and digital artifacts. You aren’t just filming a subject; you are managing a specific color field that needs to be mathematically consistent.
Then there’s the issue of “spill.” If your subject is standing too close to the screen, that green light is going to bounce right onto their skin and hair. You can try to fix it later with color spill suppression tools, but you’re essentially trying to paint over a mistake rather than capturing a clean image. I’ve always maintained that a little extra distance from the wall is worth more than a thousand dollars in post-production plugins. If you can’t control the bounce, you haven’t finished the setup.
Final Thoughts
At the end of the day, don’t let the software convince you that the work is done in the edit. You can have the most expensive color keying software algorithms on your drive, but if you didn’t respect the physics of the room while you were shooting, you’re just fighting a losing battle. I’ve seen kids spend ten hours trying to fix a muddy edge in post that could have been solved in ten minutes by simply moving the talent three feet further from the backdrop.
It’s easy to get caught up in the technicalities of digital compositing techniques, but remember that the computer is only as good as the data you feed it. If your luminance and chrominance separation is a mess because your lighting was uneven, no amount of clicking will make that subject look like they belong in the environment. Whether you’re choosing between green screen vs blue screen or deciding which high-end sensor to use, the principle remains the same: control your light first. If you get the light right on set, the rest is just housekeeping.
Five ways to stop fighting your footage in post
- Light the screen separately from the talent. If you try to use the same key light for both, you’ll end up with a muddy mess where the subject’s edges bleed into the background, and no amount of keying in Premiere is going to fix a lack of separation.
- Distance is your best friend. Get your subject as far away from that green fabric as the room allows. You aren’t just doing it for depth; you’re doing it to stop the green light from bouncing off the wall and painting your actor’s skin a sickly shade of lime.
- Watch your shadows. A shadow cast on a green screen isn’t just a dark spot; it’s a change in color density that confuses the software. If you can’t keep the screen evenly lit, you’re better off using a different color or a physical set.
- Don’t trust your monitor’s brightness. What looks like a clean, even green on a cheap laptop screen is often a disaster of hot spots and dark corners. Check your waveform and your vectorscope; they don’t lie, even when your eyes do.
- Mind the wardrobe. I’ve seen more hours wasted in the edit suite because someone thought a patterned shirt looked “cool,” only to realize the pattern had enough green in it to make the actor’s torso disappear. Keep the clothing simple and, for God’s sake, keep it away from the chroma key color.
The Bottom Line
Stop looking for a better keyer and start looking at your lights; if the green isn’t even and the shadows aren’t controlled, you’re just wasting time in post.
Distance is your best friend—keep your subject far enough from the backdrop to kill the spill, because no amount of color grading can fix a subject that’s turned lime green.
Gear is secondary to coverage; plan your shots knowing that the cleaner the background, the easier it is to actually cut the scene together without it looking like a cheap illusion.
The myth of the magic backdrop
People treat a green screen like a magic wand that fixes a bad set, but it’s really just a high-stakes game of light management. If you aren’t lighting that background to be perfectly even and keeping your subject far enough away to stop the spill, you aren’t making a movie—you’re just making a headache for the person in the edit suite.
Gethin Moreau
The Bottom Line
At the end of the day, a green screen isn’t a shortcut to a Hollywood set; it’s just another lighting challenge that requires more discipline than a standard shoot. You’ve learned that the process is less about the software and more about the physical reality of controlling light spill and maintaining enough distance to keep your subject from turning into a green-fringed ghost. If you get the exposure consistent across the backdrop and manage your shadows before you ever touch a computer, you’ve done eighty percent of the heavy lifting. Remember, the computer can only subtract color; it can’t fix a poorly lit scene or a subject standing too close to a poorly lit cloth.
I’ve seen guys with five-figure camera packages produce garbage because they thought the tech would do the thinking for them, and I’ve seen people with a single light and a cheap piece of fabric create something that looks like a masterpiece. Don’t get caught up in the gear or the latest chroma key plugin. Focus on the fundamentals of light and distance, and use the green screen as a tool rather than a crutch. If you respect the physics of the room, the magic will happen in the edit, and you won’t be left praying for a miracle from your colorist.
