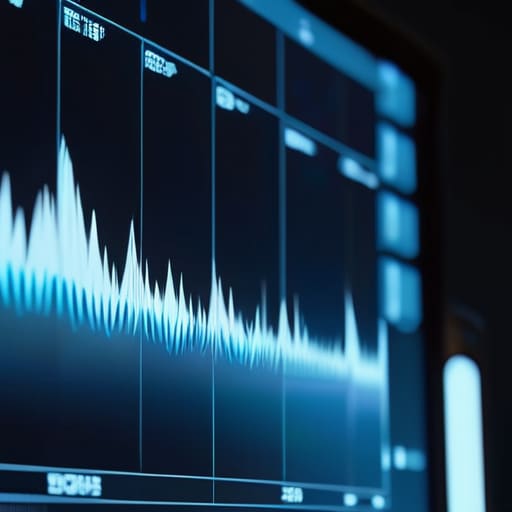
I spent a decade watching people walk into a rental house, drop five grand on a new sensor, and then wonder why their footage looks like garbage. They think a higher dynamic range or a better bit depth is a magic wand, but they’re just throwing money at a lack of discipline. I’ve sat in dark rooms on shoestring documentary sets where the only thing keeping us from disaster was a tiny, flickering waveform on a cheap monitor. People treat technical tools like they’re some sort of dark art, but understanding how scopes help exposure isn’t about mastering complex math; it’s about stopping the guesswork before you commit to a shot you can’t fix in post.
I’m not here to give you a lecture on the physics of light or a manual on every button in your menu. I want to show you how to actually use these tools to protect your highlights and keep your shadows from turning into a muddy mess. We’re going to talk about reading the data so you can stop praying to the gods of post-production and start making decisions on set that actually matter.
Understanding How Scopes Help Exposure
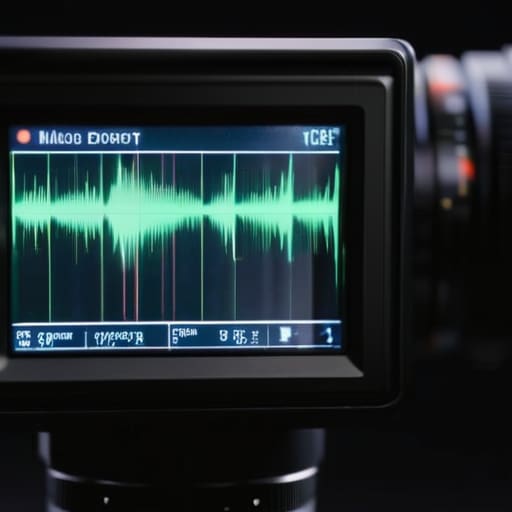
The problem with looking at your built-in LCD is that it lies to you. It’s a piece of plastic reflecting a bright room, or worse, it’s tuned to make everything look punchy and “correct” when, in reality, you’re crushing your shadows or clipping your skin tones. If you want to stop relying on your eyes—which are notoriously easy to fool by a bright window or a dark shirt—you need to start reading waveform monitors. A waveform doesn’t care about the mood of the room or how pretty the composition looks; it shows you the mathematical reality of the light hitting the sensor.
When I’m setting up a shot, I’m looking for the relationship between the subject and the background. Using these video exposure monitoring tools allows me to see exactly where the signal peaks. Instead of squinting at a screen and praying, I can see the trace of the light climbing toward the top of the graph. This is the only reliable way of preventing blown highlights before they happen. Once that signal hits the ceiling, it’s gone. No amount of magic in post-production is going to bring back the detail in a sky that’s turned into a white smear.
Key Things to Know
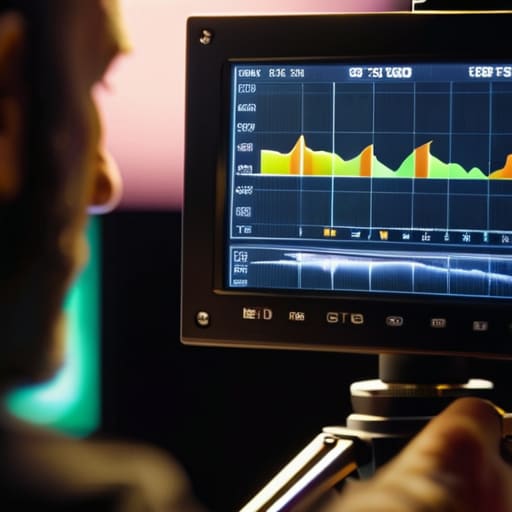
If you’re looking for a magic button, you won’t find it here. Using video exposure monitoring tools isn’t about finding a “correct” number; it’s about understanding the boundaries of your sensor. The waveform doesn’t care about how pretty the subject looks in the viewfinder; it only cares about where the energy is hitting the silicon. You need to learn the difference between a scene that looks “bright” and a scene that is actually clipping.
The most vital skill you can develop is preventing blown highlights before you even think about moving the tripod. Once those pixels hit pure white, they are dead. No amount of expensive post-production or magic from a colorist can bring back detail that simply isn’t there. I’ve seen enough footage ruined by ego—the shooter thinking they know better than the math—to know that a waveform is the only thing telling you the truth.
Think of it as digital signal monitoring for your eyes. When you’re reading the waveform, you aren’t just looking at brightness; you’re looking at the distribution of light across the frame. It’s about making sure you have enough meat in the shadows and enough headroom in the highlights so that the image actually has room to breathe when it hits the edit.
Practical Tips and Steps
If you want to stop relying on your eyes—which, let’s be honest, lie to you depending on how bright the sun is or how much coffee you’ve had—you need to start reading waveform monitors as a fundamental part of your workflow. Don’t just glance at them; use them to build a baseline. When you’re setting up a shot, look for your skin tones to sit consistently in that middle zone, usually between 40 and 70 on the scale. If you see those traces hitting the very top line of the graph, you aren’t just “bright,” you’re destroying data.
The real magic happens when you use these video exposure monitoring tools to manage your dynamic range before you even hit record. I’ve seen too many kids think a colorist can fix a clipped sky, but once that digital signal hits the ceiling, it’s gone. It’s not there. Instead of chasing a “look,” focus on preventing blown highlights by checking your waveform against your brightest practical lights. If the trace is flat-lining at the top, move your lamp, change your ND, or move the subject. Fix it in the room, not in post.
Common Mistakes to Avoid
The biggest mistake I see—and I’ve seen it from students to seasoned shooters—is treating the waveform like a suggestion rather than a map. People tend to eyeball the monitor, getting seduced by the “look” of the image on a high-brightness screen, only to realize later that their skin tones are sitting in the mud or their sky is a hollowed-out mess. If you aren’t reading waveform monitors to verify what your eyes are lying to you about, you aren’t actually monitoring; you’re just guessing.
Another trap is the obsession with “middle gray” as a universal law. I’ve watched operators try to force every scene into a specific range, forgetting that a dark, moody noir shot and a bright, high-key commercial require entirely different approaches to preventing blown highlights. You can’t use the same math for a candlelit interview that you use for a midday desert shoot. Stop trying to make the signal look “pretty” on the screen and start using your digital signal monitoring to ensure you’re actually capturing data. If the highlights are clipped, no amount of cleverness in the suite will bring them back.
Final Thoughts
At the end of the day, a scope isn’t a magic wand that makes a bad setup look good, and it certainly won’t fix a scene where you’ve fundamentally misjudged the light. It is simply a way to stop lying to yourself. You can look at a bright LCD screen in the middle of a sun-drenched field and think everything looks fine, but the sensor is telling a different story. By leaning on digital signal monitoring, you stop relying on your eyes—which are notoriously easy to fool—and start relying on the math.
Don’t get caught in the trap of thinking you need a $40,000 monitor to do this right. Whether you are using a built-in tool on a mirrorless camera or a dedicated external unit, the principle remains the same: use the data to ensure you aren’t handing a colorist a broken file. Master the art of preventing blown highlights now, so you aren’t paying someone else to try and fix your mistakes in post. Get the exposure right at the source, and the rest of the job becomes a lot less painful.
Five Ways to Stop Guessing and Start Seeing
- Trust the waveform, not your eyes. Your monitor is lying to you; it’s compensating for the brightness of the room or the color of the walls. The scope doesn’t care about the environment; it only cares about the data hitting the sensor. If the waveform says you’re clipping, you’re clipping, regardless of how “good” it looks on a sunny screen.
- Watch your skin tones on the vectorscope. You can have a perfectly exposed shot where the subject looks like a ghost or a burnt raisin because the color balance is off. Use the vectorscope to make sure those skin tones are landing on the correct chromatic line, or you’ll be spending three hours in a color suite trying to fix what a two-minute adjustment on set could have solved.
- Use the histogram to find your “meat.” I don’t care about a perfect bell curve; I care about where the information lives. If your histogram is all shoved against the left wall, you’re shooting shadows with no detail, and no amount of digital lifting in post is going to pull a clean image out of that noise.
- Check your highlights before you roll. I’ve seen too many beginners obsess over the shadows only to realize they’ve completely blown out the sky or a window behind the talent. If those top peaks are hitting the ceiling of the waveform, that data is gone forever. You can’t “recover” a highlight that was never recorded.
- Stop using exposure compensation as a crutch. Dialing in +1 or -1 on your camera is a way to feel in control, but it doesn’t tell you the truth. Use the scopes to verify the actual light levels. A camera’s meter is a tool, but the waveform is the truth.
The Bottom Line
Scopes aren’t a suggestion; they are your eyes when the monitor is lying to you or the sun is playing tricks on your pupils.
A beautiful image on a screen means nothing if your highlights are clipped or your shadows are crushed beyond what a colorist can fix in post.
Stop chasing the “look” of a camera sensor and start mastering the math of the light hitting it—the gear changes, but the physics of exposure stays the same.
## Beyond the Eyepiece
“Your eyes are liars; they adjust to the dark and they chase the highlights, trying to make sense of a scene that doesn’t care about your perception. Scopes don’t care about how ‘moody’ a room looks—they tell you exactly where the data ends and the digital garbage begins. Stop trusting your retina and start trusting the math, because a colorist can fix a shade, but they can’t fix a sensor that’s been blinded by a blown-out window.”
Gethin Moreau
The Bottom Line
At the end of the day, scopes aren’t some high-tech luxury for people with too much time on their hands; they are your insurance policy. We’ve gone through the mechanics of waveforms, the direction of vectorscopes, and the trap of trusting a bright sunny day or a misleading LCD screen. If you can master the ability to read the data, you stop being a passenger to your camera’s auto-settings and start becoming the person in control of the image. Remember, a scope won’t fix a poorly lit room or a subject standing in a shadow they shouldn’t be in, but it will stop you from handing a broken file to a colorist who can’t do anything about it. Use them to confirm your exposure, keep your highlights under control, and ensure your blacks have enough meat on them to actually be seen.
I’ve spent more time than I care to admit staring at monitors, and if there is one thing I’ve learned, it’s that the best gear in the world is useless if you don’t understand the math of the light hitting your sensor. Don’t get caught up in the obsession with resolution or sensor size if you haven’t even mastered the basics of exposure. The goal isn’t to have the most expensive signal; it’s to have a signal that is clean, intentional, and ready to be shaped. Put the scopes on, learn to read them like a map, and then get back to the real work: finding the light and telling the story.
