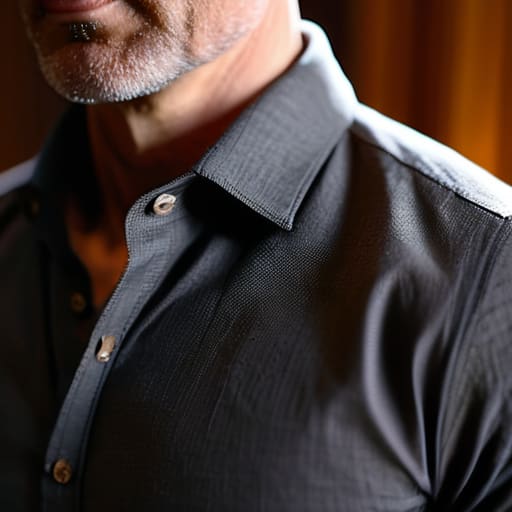
I remember a shoot in a drafty, stone-walled manor about ten years ago—one of those jobs where the lighting was a nightmare and the budget was even worse. We had a subject who looked like a million bucks on camera, but every time he spoke, it sounded like he was talking through a wet woolen blanket. The kid running sound had spent forty minutes obsessing over the frequency response of a high-end wireless kit, but he’d completely ignored the basics of how lavalier mics should be placed relative to the subject’s movement. We spent three hours in post trying to EQ out the rustle of a silk tie, a problem that never should have made it past the set.
I’m not here to sell you a new transducer or tell you that a more expensive transmitter will fix a bad setup. My goal is to strip away the gear-fetishism and talk about the physics of the human body. I’m going to show you exactly where to anchor that capsule so you get consistent proximity, how to hide the wire without creating a perpetual scratching sound, and why the distance between the mic and the mouth matters more than the brand on the box.
Understanding How Lavalier Mics Should Be Placed
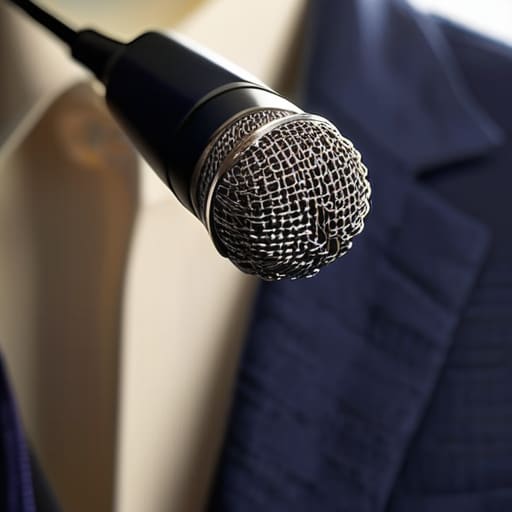
Before you even think about hitting record, you need to understand that a lavalier isn’t a “set it and forget it” tool. It’s a physical object living in a world of friction. Most people think the goal is just to get the mic on the talent, but real lavalier mic positioning for interviews is actually about managing the space between the capsule and the source. If you’re too far away, you’re capturing the room—which might be fine for a documentary vibe, but usually sounds thin and hollow for a structured sit-down. If you’re too close, you’re fighting the physics of proximity effect and sudden plosives.
The real headache, though, isn’t the distance; it’s the fabric. I’ve spent more hours in a dark edit suite than I care to admit trying to scrub out the sound of a polyester shirt rubbing against a capsule. You aren’t just placing a mic; you are managing movement. Whether you’re using tape, clips, or moleskin, your priority is minimizing clothing noise by ensuring the mic sits on a stable part of the garment that won’t shift when the subject breathes or gestures. If the mic is dancing, your audio is dead on arrival.
Key Things to Know
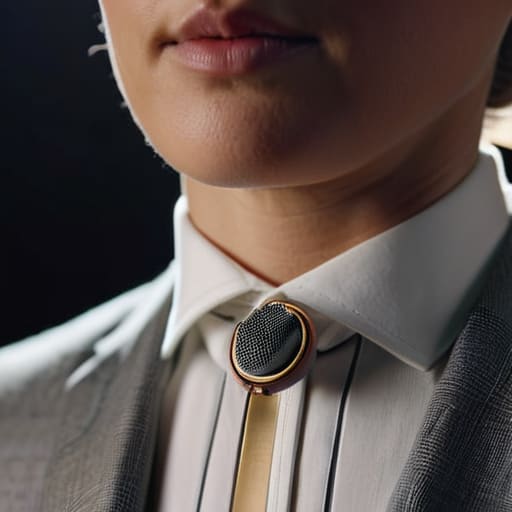
First, let’s talk about the physics of the thing. You aren’t just placing a piece of hardware; you are managing a relationship between a capsule and a moving target. The lavalier microphone distance from mouth is the most volatile variable on your set. If the subject leans forward to emphasize a point, you’re suddenly in the sweet spot; if they slouch, you’re fighting a cavernous, hollow sound that no amount of EQ can fix. I’ve learned the hard way that you have to account for the “lean.”
Then there is the constant battle of minimizing clothing noise. I don’t care how expensive your kit is; if that mic is clipped to a cheap polyester shirt or rubbing against a heavy lapel, you’re going to hear every single micro-movement. It sounds like a thunderstorm in the listener’s ears. Use a bit of medical tape or a moleskin patch to secure the cable to the inside of the garment. It’s a small, unglamorous trick, but it’s the difference between a professional interview and a clip that sounds like it was recorded in a wind tunnel.
Practical Tips and Steps
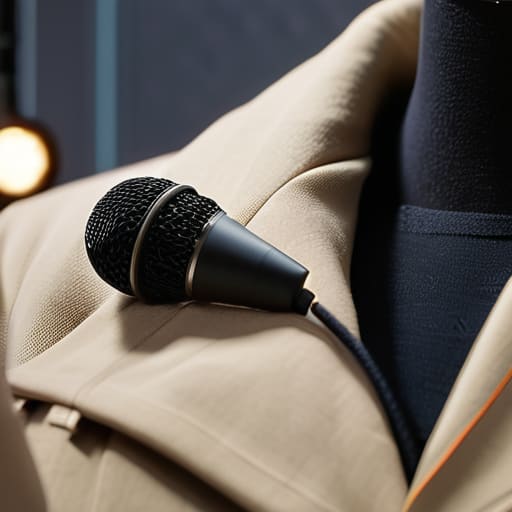
First, let’s talk about the physical connection. When you’re setting up, don’t just grab a clip and start pinning. If you’re working on interviews, the goal is to find a stable anchor point that doesn’t shift every time the subject breathes or gestures. I’ve seen too many shoots ruined because a mic was clipped to a thin silk tie or a flimsy lapel that danced around like a pendulum. Use a bit of medical tape or a specialized clip to secure the cable to the inside of the garment; this is the most effective way of minimizing clothing noise before it ever hits the capsule.
Once you have the anchor, focus on the geometry of the sound. The lavalier microphone distance from mouth is your most important variable. You want it high enough on the chest to capture a full, natural tone, but not so close that the proximity effect turns their voice into a muddy mess. If you’re shooting outdoors, don’t be a hero—use a windscreen or a moleskin cover. Avoiding wind noise with lavalier setups is a lot easier to do on set than trying to scrub a gust of wind out of a digital waveform three weeks later in an edit suite.
Common Mistakes to Avoid
The biggest mistake I see—and it’s usually born out of a desire to hide the gear—is burying the capsule too deep under a lapel or a heavy sweater. People think if they can’t see it, it’s “invisible,” but all they’re doing is creating a muffled, bass-heavy mess that sounds like the subject is speaking through a wool blanket. You aren’t just fighting for clarity; you’re fighting physics. If you don’t maintain a consistent lavalier microphone distance from mouth, you’re going to spend your entire edit trying to level out audio that fluctuates every time the person turns their head.
Then there’s the issue of friction. I’ve sat through dozens of interviews where the audio is ruined by a rhythmic scritch-scritch-scritch because the mic was clipped too tightly to a synthetic fabric. When you’re focusing on minimizing clothing noise, you have to remember that movement is inevitable. If the mic is fighting the shirt, the mic loses. Use a bit of moleskin or even a small piece of medical tape to secure the cable to the inside of the garment. It’s a five-second fix that saves you five hours of heartache in the edit suite.
Final Thoughts
Look, at the end of the day, you can own the most expensive wireless kit on the market, but if you haven’t mastered the basics of lavalier mic positioning for interviews, you’re just spending money to record bad sound more clearly. It’s a lot like lighting; you can have a cinema camera in your hands, but if the subject is a silhouette because you didn’t bother with a bounce, the footage is useless. Audio is the same. It’s the invisible half of the frame, and it requires the same discipline as your blocking or your lens choice.
Stop looking for a magic setting in your recorder and start looking at the person in front of you. Pay attention to the fabric, the movement, and the lavalier microphone distance from mouth throughout the take. If you spend those extra five minutes during setup ensuring the capsule is stable and the cable is managed, you’ll save yourself five hours of misery in the edit suite. Get it right on set, or don’t bother filming at all.
Five ways to stop fighting your audio in post
- Watch the clothing, not just the person. If you clip a lav to a heavy wool sweater or a stiff linen shirt, you aren’t just recording a voice; you’re recording the sound of fabric rubbing against a capsule every time they take a breath. Aim for smoother fabrics or find a way to secure the mic to the skin using medical tape if the talent’s wardrobe is working against you.
- Mind the distance between the capsule and the mouth. I’ve seen people hide a mic so deep in a lapel that it sounds like the subject is talking from the bottom of a well. You want that capsule roughly six to eight inches from the mouth. If you go closer, you get the proximity effect—too much bass—and if you go too far, you lose the clarity that makes a dialogue scene feel intimate.
- Avoid the “center line” trap. Don’t just slap the mic right down the middle of the shirt. If the subject turns their head to the left, the right side of their mouth is now facing away from the mic, and you’ll lose the high-end detail. Offset the placement slightly toward the side of the mouth that will be doing most of the heavy lifting during the scene.
- Manage the cable tension. A common mistake is clipping the mic and then letting the wire hang loose or pull tight against the body. If that wire tugs every time the actor moves, you’ll get those rhythmic, low-frequency thumps that are a nightmare to EQ out. Secure the cable with a bit of moleskin or tape under the clothing to take the strain off the capsule.
- Check for “clothing rustle” before you yell action. Before you commit to a take, have the talent move naturally—turn, lean, shrug. If you hear a scratchy, rhythmic noise, your placement is wrong. It’s much easier to move a mic three inches to the left during a setup than it is to try and scrub out a clothing rustle during an edit when you’re already exhausted.
The Bottom Line
Stop treating audio like a post-production problem; if you don’t get the capsule distance right on set, you’re just wasting time in the edit suite trying to fix a ghost.
Light isn’t the only thing that needs to be managed; manage the physical space between the mic and the mouth, or no amount of expensive gear will save your dialogue.
Prioritize the placement over the spec sheet—a well-placed, cheap lavalier will always beat a high-end kit that’s buried under a shirt or rubbing against fabric.
The Physics of Sound
You can spend sixty thousand dollars on a cinema camera that captures every pore on a subject’s face, but if you’ve clipped that lavalier too low or let it rub against a polyester shirt, you’re just filming a very expensive, very high-resolution disaster. Sound isn’t an afterthought to be polished in post; it’s a matter of distance and physics, and no amount of digital wizardry can fix a mic that was placed with laziness instead of intent.
Gethin Moreau
The Bottom Line
At the end of the day, getting a lavalier right isn’t about owning the most expensive wireless system on the market; it’s about the physics of sound and the discipline of the setup. You have to manage the distance between the capsule and the mouth, respect the way fabric moves, and be mindful of how the body interacts with the environment. If you nail the placement—tucking it away from clothing rustle and positioning it to catch the voice without being drowned out by the room—you’ve done eighty percent of the work. Remember, post-production is not a miracle worker, and no amount of EQ or noise reduction can truly replace the clarity of a well-placed microphone.
I’ve sat in too many edit suites watching a director struggle with a thin, hollow-sounding dialogue track that was “technically” recorded but practically useless. It’s a waste of everyone’s time. My advice is to treat your audio with the same intentionality you bring to your lighting or your framing. Don’t just clip the mic and walk away to check your monitor; stay, listen, and test the reality of the sound before you call wrap. If you master the small, tedious details of mic placement now, you’ll spend your career telling stories instead of fighting with waveforms.
