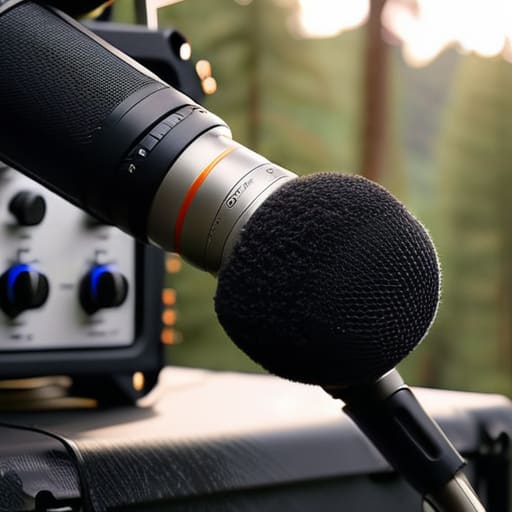
I once sat in a darkened edit suite for fourteen hours, staring at a shot that was visually perfect—the lighting was soft, the composition was tight, and the actor’s performance was haunting—only to realize the entire scene was unusable because of a distant, rhythmic hum from a refrigerator. You can spend your entire budget on the latest high-end wireless kits and ultra-sensitive microphones, but if you haven’t mastered the basics of room tone and environmental awareness, you’re just recording expensive garbage. People keep searching for a “complete guide to location sound” that promises a magic piece of kit to fix everything, but they’re looking in the wrong direction.
I’m not here to sell you on a new Sennheiser model or tell you that a more expensive recorder will make a bad room sound good. What I am going to give you is a look at how to actually manage the space you’re working in. We’re going to talk about distance, how to hide the gear without killing the performance, and why your ears are more important than your signal-to-noise ratio. This isn’t a gear list; it’s a manual for surviving the set with audio that actually lets you tell a story.
The Complete Guide to Location Sound It Is a Problem of Distance
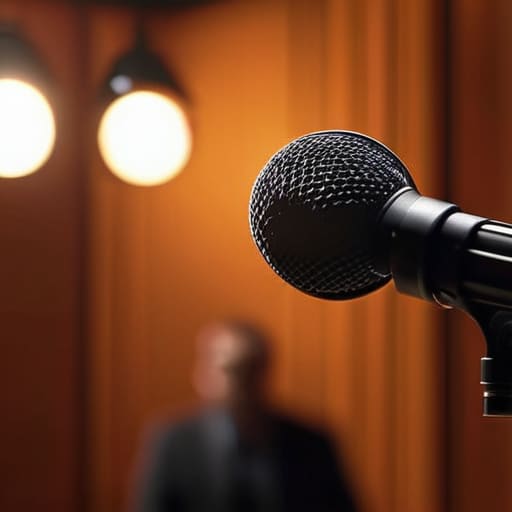
The biggest mistake I see is people treating sound like it’s something you fix in the edit. It isn’t. If the source is bad, the colorist can’t save you, and neither can a fancy plugin. Most of what we call “bad audio” is actually just a failure to respect the physics of the room. You can spend twenty grand on a wireless kit, but if your boom operator is standing ten feet too far away, you’re just recording a very expensive version of silence and room tone.
Effective boom pole operation is really just an exercise in proximity. You want the mic as close to the subject as the frame allows, without casting a shadow or catching the edge of a lens. If you can’t get the mic close, you’re forced into a lavalier microphone setup, which brings its own set of headaches—clothing rustle, skin grease, and that hollow, “inside-the-chest” sound that kills intimacy. It’s all about managing the gap between the source and the diaphragm. If you don’t master that distance, you’re just fighting a losing battle against the noise floor.
Mastering the Audio Signal Chain Before the First Take
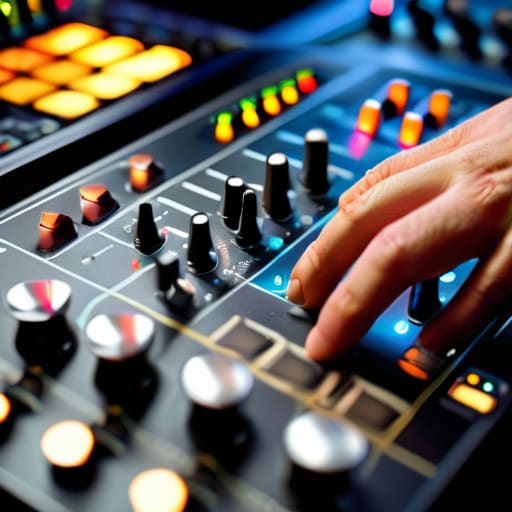
You can own a bag full of high-end preamps and wireless transmitters, but if you don’t respect the audio signal chain from the moment the capsule meets the air, you’re just recording expensive garbage. I’ve seen sound mixers walk onto a set with a kit worth more than my first car, only to lose the take because they didn’t check their gain staging. It starts with the source. Whether you’re wrestling with a tricky lavalier microphone setup hidden under a wool sweater or trying to find the sweet spot with a boom, you have to listen for the floor. If you aren’t practicing disciplined noise floor management, you aren’t recording; you’re just capturing the hum of the room and hoping the dialogue is louder.
Before you even think about hitting record, you need to be obsessive about on-set audio monitoring. Don’t just glance at the meters to see if the green bars are dancing; put the cans on and listen for the hiss, the wind buffeting the diaphragm, or the subtle buzz of a poorly shielded cable. If the signal is compromised at the source, no amount of post-production magic is going to pull it back.
Why Boom Pole Operation Is a Lesson in Patience
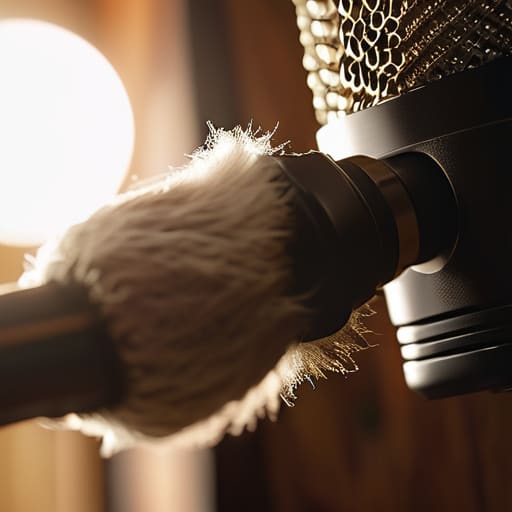
If you think your job is done once the signal is clean, you haven’t spent a day holding a pole. Boom pole operation isn’t some mechanical skill you master in a weekend; it’s a constant, exhausting negotiation between gravity, physical stamina, and the frame. You aren’t just moving a stick; you are dancing around the edge of the light and the limits of the lens. The moment you get comfortable is the moment you start clipping the top of a doorway or, worse, catching a stray hair in the shot.
It requires a specific kind of calculated stillness. You have to find the sweet spot where the mic is close enough to capture the nuance of a whisper, but far enough away that the actor doesn’t feel like they’re being interrogated by a piece of plastic. Even with a perfect lavalier microphone setup acting as a safety net, the boom is your primary tool for texture. If you rush the movement or fight the weight of the gear, the audience won’t see the pole, but they will definitely feel the instability in the tone. It’s a lesson in staying calm when the scene is falling apart around you.
Lavalier Microphone Setup and the Art of Being Invisible
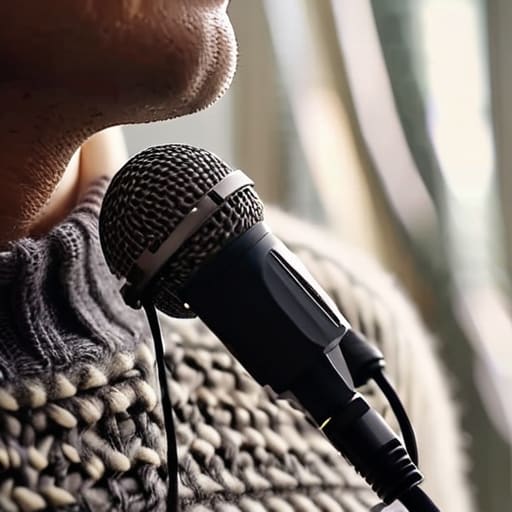
When the boom can’t get close enough without entering the frame, you turn to the lavalier. It’s a tempting shortcut, but a poorly executed lavalier microphone setup is a quick way to make a professional production feel like a cheap news broadcast. People think the goal is just to clip a mic to a collar, but the real work is in the placement. You’re fighting clothing rustle, skin friction, and the dreaded “proximity effect” that turns a voice into a muddy mess. I’ve seen too many beginners obsess over the brand of the transmitter while ignoring the fact that the mic is buried under a heavy wool sweater, effectively killing the high end before the signal even hits the recorder.
The trick is to treat the mic like a piece of lighting—it has to be felt, not seen. You want it tucked near the sternum or hidden in a seam, positioned to catch the voice without the interference of a shifting lapel. You also need to be disciplined with your on-set audio monitoring; if you aren’t wearing closed-back headphones and listening for the subtle shuck-shuck of fabric against the capsule, you aren’t actually checking the audio. You’re just hoping for the best, and in this business, hope is not a technical strategy.
Taming the Noise Floor and Wireless Frequency Coordination
You can spend twenty thousand dollars on a wireless kit, but if you haven’t accounted for the local cell tower or the director’s smartphone, you’re just filming in silence. Wireless frequency coordination isn’t a task you do once and forget; it’s a constant battle against an invisible, crowded spectrum. I’ve sat on sets where the signal was crystal clear during the tech rehearsal, only to have it drop out the moment the production moved near a Wi-Fi-heavy catering tent. Don’t trust the “auto-scan” feature on your receiver and call it a day. Get a scanner, find the gaps, and stay vigilant.
The same goes for your noise floor management. You’ll see people obsessing over the bit depth of their recorder while ignoring the hum of a refrigerator or the low-frequency rumble of an idling truck outside the window. A clean audio signal chain is useless if the environment itself is shouting. Use your headphones—not as a suggestion, but as a requirement—for constant on-set audio monitoring. If you can hear the air conditioner through your cans, the audience will hear it through their speakers, and no amount of post-production magic is going to pull a clean dialogue track out of a wash of white noise.
On Set Audio Monitoring What Your Ears Actually Need
I’ve sat on sets where the director was staring at a beautiful, high-resolution monitor, completely oblivious to the fact that a refrigerator hum was eating the dialogue whole. It’s a common trap. You can have a perfect lavalier microphone setup and a pristine audio signal chain, but if no one is actually listening to the playback, you’re just filming expensive silence. On-set audio monitoring isn’t about checking if the levels are hitting the green; it’s about hearing the world as the audience will.
You need to be wearing closed-back headphones that actually isolate the signal from the chaos of the crew. If you’re relying on the scratch mic on the camera to judge your quality, you’re asking for a disaster in post. I always tell my assistants to listen for the small stuff—the rustle of a shirt against a mic, the distant siren, or that slight hiss from a poorly managed noise floor. You have to train your ears to find the flaws before the camera stops rolling, because once you move to the next setup, the damage is already done.
Five things a better microphone won't fix
- Respect the room’s physics before you blame the gear. You can spend ten grand on a Sennheiser, but if you’re recording in a glass-walled lobby with a hum from the HVAC, you’re just capturing expensive garbage. Walk the space, listen to the silence, and if the room is a nightmare, move the talent or find a rug.
- Treat your soundbag like a lifeline, not a backpack. I’ve seen too many newcomers toss their recorders into a bag like they’re packing for a weekend in Wales. If your cables are a bird’s nest and your batteries aren’t organized, you’ll be fumbling during the one take that actually mattered.
- The “Check, One, Two” trap is real. Don’t just confirm the levels are moving; listen to the actual texture of the sound. A signal can look healthy on a meter while sounding like it’s being piped through a tin can. If you aren’t wearing closed-back headphones that actually isolate the world, you aren’t monitoring, you’re guessing.
- Redundancy isn’t a luxury; it’s insurance. I don’t care how much you trust your wireless system—always have a backup lavalier tucked in a pocket or a secondary recorder running if the budget allows. In my experience, the most expensive mistake is realizing you have no usable audio only once the sun has gone down and the crew is heading home.
- Learn to read the silence. Most people think sound recording is about capturing noise, but it’s actually about managing the absence of it. Knowing when to tell a subject to stop fidgeting or when to ask a grip to step away from a vibrating light stand is what separates a technician from someone who actually knows how to make a scene work.
The Bottom Line
Stop looking for a magic microphone to fix a bad room; you can’t out-spec a noisy HVAC system or a reflective marble lobby, so spend more time scouting the acoustics than browsing gear catalogs.
Audio is a game of physics and proximity, meaning your success depends more on how close you can get the capsule to the source without it being in the frame than on the brand name on the mixer.
A clean signal is easier to work with than a “cinematic” one; capture the cleanest, most honest audio you can on set, because no amount of post-production wizardry can truly resurrect a take buried in digital hiss.
The Myth of the Perfect Mic
You can spend six months researching the frequency response of a new shotgun mic, but that won’t save a take if you haven’t accounted for the hum of the refrigerator or the distance between the actor and the boom. Good sound isn’t about having the most expensive signal chain; it’s about having the discipline to listen to the room before you ever hit record.
Gethin Moreau
The Final Mix
At the end of the day, location sound isn’t about owning a kit that looks impressive in a gear bag; it’s about managing the physics of a room. We’ve talked about signal chains, the delicate dance of the boom op, and the nightmare of frequency interference, but they all boil down to the same thing: respect for the environment. You can have the cleanest wireless signal in the world, but if you didn’t account for the hum of the refrigerator or the way a hard floor bounces every syllable, you’re just recording high-fidelity garbage. Success in sound is found in the preparation—the testing of the noise floor, the careful placement of a lav, and the relentless monitoring of what’s actually hitting the tracks before you call “print.”
I’ve sat in edit suites where the footage was breathtaking—lighting that could make a cardboard box look like a cathedral—only to watch the entire scene fall apart because the dialogue was a muddy mess. It’s a hard lesson to learn, but sound is the invisible foundation of the frame. Don’t let your production be a beautiful house built on sand. Stop looking for the magic microphone that solves every problem and start looking at your distance to the source and your patience with the talent. If you get the sound right, the audience won’t even notice it; and in this business, not being noticed is the highest compliment you can receive.
