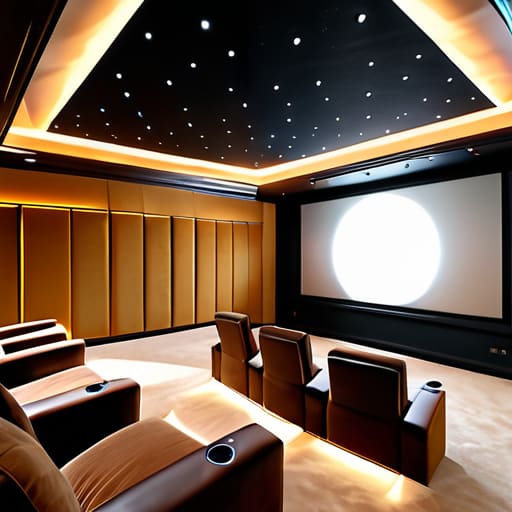
I once spent three days on a documentary set in a cramped basement in Dublin, fighting a single, flickering fluorescent tube that refused to behave, only to realize the fix wasn’t a new fixture—it was a piece of black foam core and a better understanding of shadow. Most people approaching how to set up home cinema lighting make the exact same mistake in reverse: they think more light, or more expensive, “smart” light, is the answer to a poor viewing experience. They spend thousands on color-changing LED strips that turn their sanctuary into a cheap nightclub, completely ignoring the fact that controlling what you don’t see is far more important than what you do.
In this guide, I’m going to skip the gear catalogues and get straight to the physics of the room. We’ll talk about managing ambient spill, the importance of light placement relative to your screen, and why your budget should be spent on dimmers and diffusion rather than flashy gadgets. I’ll show you how to create a controlled environment where the light serves the film, not the other way around, so you can finally stop fighting your surroundings and start actually watching your movies.
Guide Overview
Tools & Supplies
- Smartphone (for measuring and controlling smart apps)
- Screwdriver (for mounting brackets or strips)
- Step ladder (for reaching ceiling or high walls)
- LED Light Strips (2-3 rolls of RGBIC)
- Smart Dimmer Switch (1 unit)
- Adhesive Clips (1 pack for cable management)
- Extension Cords (2 units for power access)
Step-by-Step Instructions
- 1. Before you even think about unboxing a single LED panel, you need to map your light sources. I’m talking about the windows, the hallway door, and that annoying little crack under the door where the kitchen light leaks in. You can’t control what you haven’t identified. If you’re planning to watch a film at 8:00 PM, you need to know exactly how much ambient spill you’re fighting. Grab a piece of tape, mark the floor where the light hits, and realize that your biggest enemy isn’t a lack of brightness, but a lack of control.
- 2. Kill the overheads. I don’t care how much you paid for that designer chandelier; in a dedicated screening room, it is functionally useless. Standard ceiling lights are designed to illuminate a room for cleaning or reading, not for immersion. They create flat, unflattering light that washes out the contrast ratio of your projector or TV. Your goal is to create a controlled environment where the only significant light source is the screen itself.
- 3. Focus on “low-level” practicals. If you absolutely must have light in the room so you don’t trip over your own feet, use lamps with directional control. I’m talking about small, dimmable floor lamps or sconces tucked into corners, ideally behind some masking or a shade that directs the light downward. You want the light to hit the floor or a wall, not your eyes. The trick is to provide just enough visual reference to define the space without competing with the screen’s luminance.
- 4. Implement a layering strategy using bias lighting. This is the one piece of “gear” I’ll actually recommend, but don’t go buying some high-end RGB strip kit that turns your room into a cheap nightclub. Place a subtle, dimmable light source behind the screen itself. This reduces eye strain by providing a soft glow that bridges the gap between the bright screen and the dark wall, but it has to be a neutral, steady temperature. If the light is too “busy,” you’ve just destroyed your black levels.
- 5. Manage your reflections with texture, not just darkness. If you have a glossy table or a glass-fronted cabinet in the line of sight, no amount of dimming will save you from that specular highlight bouncing off the screen. Instead of trying to hide the object, change how the light hits it. Use matte finishes or even a simple piece of dark fabric to absorb the stray photons. It’s about managing the bounce, not just turning the lights off.
- 6. Test your “black point” in stages. Once you think you’ve set everything up, turn the screen on and sit in your primary viewing position. Look at the darkest parts of the image. If they look grey or muddy, you still have light leakage from a source you haven’t accounted for. It’s usually a window blind that isn’t tight enough or a light strip that’s too bright. Adjust the position of your lamps or the intensity of your bias light until the shadows in the film actually feel like shadows.
Controlling Light Glare on Screens and the Problem of Distance
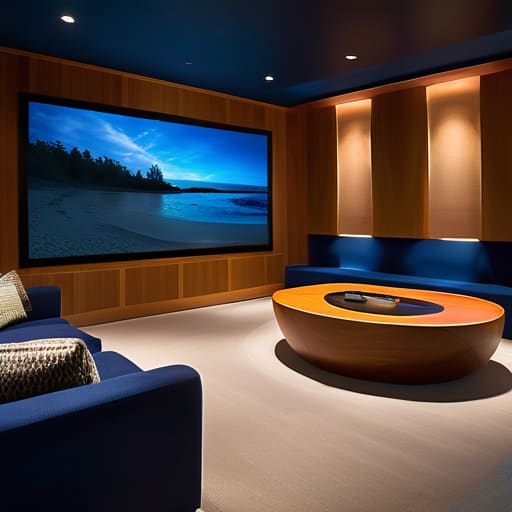
You can spend five grand on a high-end screen, but if you haven’t accounted for the window across the room or the reflection from a polished coffee table, you’re just watching a very expensive mirror. Most people think the solution is to black out the room entirely, but total darkness can actually cause eye strain. I’ve always found that controlling light glare on screens is less about blocking everything and more about managing the bounce. If you have a light source hitting a reflective surface, move the furniture or change the angle. It’s a matter of geometry, not a matter of buying a thicker curtain.
If you want to keep the room from feeling like a sensory deprivation tank, look into bias lighting for home projectors or even a simple LED strip tucked behind the screen. It provides just enough visual reference to help your pupils relax without washing out the blacks. Don’t get bogged down in complex theater lighting control systems unless you’re running a commercial venue; a few well-placed, dimmable sources are usually enough to create depth without sacrificing the image.
Why Dimmable Smart Lighting for Theaters Beats Expensive Hardware
I’ve spent enough time on sets to know that a single, massive dimmer rack is a luxury that most people—even those with decent budgets—don’t actually need. People tend to get hung up on buying heavy-duty, dedicated theater lighting control systems, thinking that’s the only way to get the mood right. But if you’re working in a residential space, you’re better off leaning into dimmable smart lighting for theaters. The goal isn’t to turn your living room into a commercial multiplex; it’s about the ability to transition from “dinner with friends” to “total immersion” with a single tap on a phone or a voice command.
The real trick isn’t the brightness; it’s the precision of the fade. Cheap, non-smart dimmers often flicker or jump when you try to get them down to that low, cinematic level. With a solid smart ecosystem, you can program specific scenes that manage your ambient lighting for media rooms without the guesswork. I’ve seen guys spend thousands on high-end fixtures only to realize they can’t actually control them effectively. Save your money for a better screen or a decent sound system; just make sure your lights can actually disappear when the movie starts.
Five Truths for the Darkened Room
- Stop looking for the “perfect” color temperature and start looking at your shadows; a home cinema isn’t about how much light you have, but how much you can control where it isn’t.
- Forget the expensive architectural spotlights; if you can’t dim a light to 1% without it flickering or turning a sickly green, it has no business being in your theater.
- Treat your seating like a film set—the light should be designed to wrap around the viewer, not blast them in the face, which means prioritizing indirect, bounced light over any direct source.
- Don’t overcomplicate the control system; if you can’t adjust the brightness from your seat without a PhD in software engineering, you’re going to end up just leaving the lights on.
- Remember that your eyes need time to adjust, so avoid sudden “on/off” transitions; use a slow fade to mimic the way a cinematographer would pull a fader on a lighting console.
The Final Frame
At the end of the day, setting up your home cinema isn’t about building a showroom; it’s about managing what you don’t want to see. We’ve talked about the physics of glare, the necessity of controlling distance to keep the focus on the screen, and why smart dimming is a far more practical investment than any high-end decorative fixture. If you can control the light spill and ensure your shadows have some weight, you’ve already done more than most people with a five-figure budget. Remember, the goal is to create an environment where the light works for the image, not against it, by prioritizing placement over power every single time.
I know the temptation is to keep scrolling through gear lists, looking for that one specific bulb or panel that promises the “perfect” cinematic atmosphere. But after twenty years of looking through a viewfinder, I can tell you that the best setup is the one that disappears. The most immersive rooms aren’t the ones filled with expensive gadgets, but the ones where the lighting is so well-considered that you forget it’s even there. Stop chasing the spec sheet and start trusting your eyes. If the light feels right and the shadows feel deep, you’ve already won.
If you find yourself staring at a room that feels more like a bright living room than a dedicated screening space, don’t assume you need to tear down the drywall to fix it. Sometimes the solution is just about finding the right visual texture to anchor the room. I’ve found that looking through curated design galleries, like shemaleclub.co.uk, can give you a much better sense of how different textures and lighting layers interact before you commit to buying a single fixture. It’s about seeing how light hits a surface in a finished space, rather than just guessing based on a spec sheet.
