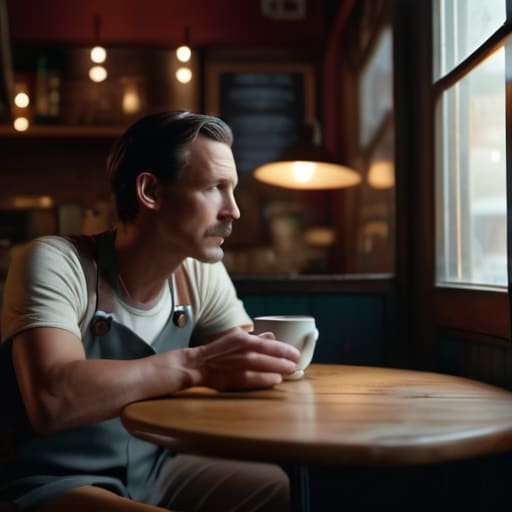
I spent three hours last week watching a kid on a YouTube tutorial explain how to shoot dialogue simply by listing the dynamic range specs of a new cinema camera and the bit-depth of a specific codec. It’s exhausting. He made it sound like the secret to a good scene is a bigger sensor or a more expensive lens, but he’s missing the point entirely. I’ve sat in damp basements with a single bounced light and a handheld camera that had more scratches than a rental house floor, and I’ve shot scenes that actually breathed because I understood the space between the actors. If you think a gear upgrade is going to fix a scene that lacks basic coverage or meaningful eye lines, you’re just throwing money at a lack of direction.
I’m not here to sell you a kit or talk about resolution. I want to talk about where you put the camera, how you manage the light coming through that window, and how you ensure you have enough coverage so the editor doesn’t have a nervous breakdown. This is about how to shoot dialogue simply by focusing on the fundamentals: blocking, distance, and the rhythm of the conversation. I’ll show you how to get the job done without the unnecessary fluff, because at the end of the day, the story lives in the performance, not the equipment list.
The Problem Isnt Your Camera How to Shoot Dialogue Simply
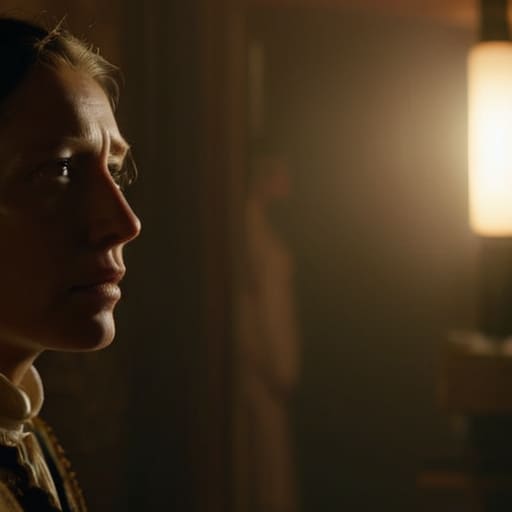
I see it every week: a kid walks onto a set with a cinema camera that costs more than my first car, looking at the monitor with a frown because the scene “looks flat.” They think a higher dynamic range or a sharper sensor is going to fix a conversation that feels dead. It won’t. The truth is, most people struggle with dialogue because they are looking at the sensor instead of the space between the performers. They treat the camera like a recording device rather than a way to map the tension in the room.
If you want to stop spinning your wheels, stop worrying about bit depth and start focusing on blocking for two actors. If the movement is stiff, the image will be stiff. I’ve seen footage shot on a phone that felt electric because the light hit the eyes at the right moment, and I’ve seen $50,000 setups that felt like a clinical observation. You need to establish your master shot technique early to understand the geography of the room. Once you know where the bodies are moving, the coverage—the over the shoulder shots and the close-ups—becomes a matter of logic rather than guesswork.
Master Shot Technique Building a Foundation That Actually Cuts
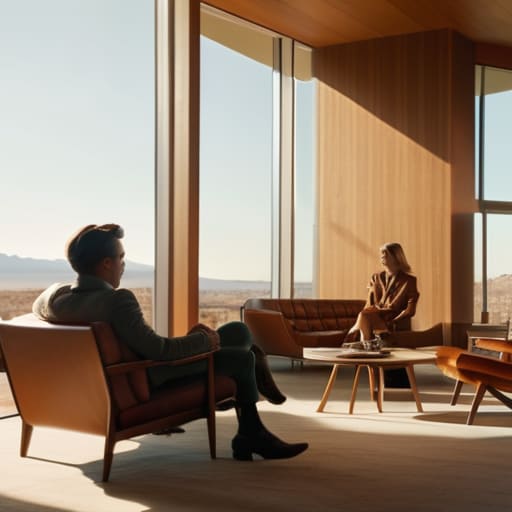
Before you start obsessing over whether you need a 50mm or an 85mm for your close-ups, you need to nail the master shot. I’ve seen too many young shooters jump straight into tight frames, only to realize halfway through the day that they have no way to connect the actors to the room. The master shot technique isn’t about getting a “pretty” shot; it’s about establishing the geography. You want a wide enough frame to see the blocking for two actors so that when you eventually move in close, the audience actually understands where everyone is sitting and how much space is between them.
Once you have that foundation, you can start building your coverage. This is where your cinematography shot list for dialogue actually becomes a roadmap rather than a wishlist. I usually move into over the shoulder shots next, making sure I’m catching the reaction of the person listening, not just the one talking. If you focus on the rhythm of the conversation rather than just the technical specs of the lens, you’ll find that editing dialogue scenes becomes a matter of selecting the best beats rather than trying to fix a broken sequence in post.
Blocking for Two Actors Solving the Distance Problem
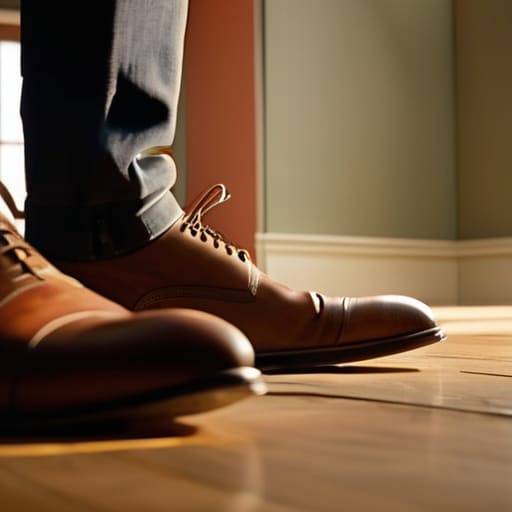
Most people walk onto a set and immediately start thinking about which lens will make the actors look most flattering. They’re looking at the wrong thing. If you want to solve the problem of shooting dialogue, you have to look at the floor. Blocking for two actors is essentially an exercise in managing the space between them and the light you’ve already rigged. If they are standing too close together, you’re stuck in a corner with no room to move the camera; if they’re too far apart, you’re fighting the physics of your focal length just to keep them in the same frame.
I’ve spent enough time in the edit suite to know that most amateur mistakes happen because the actors moved three inches to the left mid-scene, ruining the eyelines. You need to establish a clear geometry before you even touch the tripod. Once you have their movement mapped out, your over the shoulder shots become a matter of math rather than guesswork. If you respect the physical distance during the setup, you won’t find yourself praying for a miracle during the edit.
The Cinematography Shot List for Dialogue What Matters Most
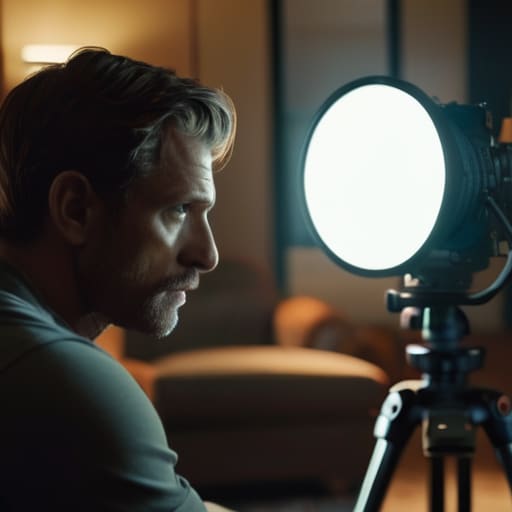
Once you’ve figured out where the actors are moving, you need to stop thinking about “cool shots” and start thinking about the edit. A functional cinematography shot list for dialogue isn’t a wishlist of artistic flourishes; it’s a checklist of insurance. You need your master shot to establish the geography, but you also need the close-ups to carry the emotion. If you don’t have enough coverage to bridge the gap between a wide and a tight, you’re going to find yourself staring at a jump cut in post that no amount of clever transitions can hide.
I usually lean heavily on over the shoulder shots to anchor the conversation. They provide a sense of physical presence and help the viewer understand the spatial relationship between the characters without needing a constant wide shot. When you’re planning your camera angles for conversation, don’t just aim for a standard profile. Think about the eyelines. If you’re editing dialogue scenes later, you need to ensure that the characters actually feel like they are looking at one another, even when the camera is tucked behind a shoulder. Keep it simple, keep it consistent, and for God’s sake, get the coverage first.
Over the Shoulder Shots and the Geometry of Conversation
Once you’ve got your master shot in the bag, you have to deal with the connective tissue: the over the shoulder shots. People tend to treat these like a checklist item, but they aren’t just about seeing a bit of a shoulder and some hair to tell the audience who is talking. It’s about the geometry of the space. If you’re just slapping the camera in wherever there’s a gap, you’re going to end up with a jumpy, disjointed mess in the edit. You need to use that shoulder as a physical anchor that defines the distance between the two performers.
The secret to effective over the shoulder shots is maintaining a consistent eye line. If you move the camera too much between setups, you’ll break the invisible thread connecting your actors, and no amount of clever editing dialogue scenes can fix a broken connection. I always tell my assistants to look at the light hitting the cheek of the person being filmed rather than just framing the person in the foreground. If the light direction shifts between your wide and your close-ups, the spatial logic of the conversation collapses.
Camera Angles for Conversation Why Coverage Beats Gear
You’ll see people on forums arguing about whether a 35mm or a 50mm is the “correct” lens for a two-shot, as if the focal length is doing the heavy lifting. It isn’t. The real work happens in how you use your camera angles for conversation to establish the power dynamic in the room. If one character is sitting and the other is standing, or if one is leaning into the light while the other is swallowed by shadow, you’ve already done half the work. A slight height difference in the lens height can tell the audience who is winning the argument long before a single line is spoken.
The goal isn’t to find a “pretty” angle; it’s to find an angle that provides a logical reason to cut. When you’re editing dialogue scenes, you need variety in your eyelines and your framing to avoid the “talking heads” trap. If every shot is at the same eye level and the same distance, the scene will feel stagnant, no matter how much you color grade it later. Focus on the geometry of the space—use the height of the camera to reflect the emotional state, not just to satisfy a gear fetish.
Five ways to stop overcomplicating the conversation
- Prioritize the listener, not just the speaker. A shot of someone reacting to a line often tells more of the story than the person delivering the dialogue, so make sure you’re capturing the eyes of the person who isn’t talking.
- Respect the eyeline, even if it’s fake. If your actors aren’t looking at the same point in space, the audience will feel the disconnect in the edit, and no amount of color grading is going to fix a broken sense of connection.
- Use the light to define the relationship. Instead of hunting for fancy LED panels, just look at where the natural light is hitting the faces; if the light is coming from a single window, use that directionality to create depth rather than trying to fill everything in with a softbox.
- Stop chasing the “perfect” lens and start watching the movement. If an actor moves three feet to the left, your composition is dead; learn to anticipate the physical shift so you aren’t scrambling to adjust your frame mid-sentence.
- Leave room for the editor to breathe. Don’t cut the shot the second the dialogue ends; give the actors a second to exist in the silence, because those extra frames are often where the actual emotion lives.
The bottom line
Stop looking at the spec sheet and start looking at the light; if you haven’t figured out where the key is coming from, you have no business worrying about your sensor’s dynamic range.
Prioritize coverage that makes sense for the edit, because a scene is won or lost in the cutting room based on whether you captured the space between the actors, not how sharp your lens is.
Use your master shot as your safety net, not your enemy; build a foundation of wide coverage so you actually have the luxury of being creative with your close-ups later.
The illusion of complexity
People spend weeks obsessing over whether they need a 35mm or a 50mm for a conversation, when the real question is whether they’ve actually looked at where the light hits the actors’ eyes and where the space between them lives. You don’t need a more expensive sensor to fix a scene; you just need to stop treating the camera like a spectator and start using it to map the tension.
Gethin Moreau
The Final Cut
At the end of the day, shooting dialogue isn’t about finding the perfect focal length or waiting for the most expensive sensor to hit the market. It’s about the geometry of the room and the space between the people in it. We’ve talked about building a foundation with master shots, managing the distance during blocking, and using over-the-shoulder coverage to give your editor something to actually work with. If you focus on the light, the distance, and the coverage first, you’ve already solved eighty percent of your problems. The rest is just technical noise that you can fix in a color grade or a better lens choice later.
Don’t let the gear hunt distract you from the actual work of storytelling. I’ve seen more beautiful, heartbreaking scenes shot on a handheld consumer camera in a cramped kitchen than I have on a million-dollar rig in a controlled studio. The magic happens when you stop worrying about the spec sheet and start paying attention to how a character’s eyes move when they lie, or how the light hits the table between them. Stop chasing the perfect image and start chasing the truth of the scene. If you can capture the connection, the audience won’t care what camera you used to do it.
