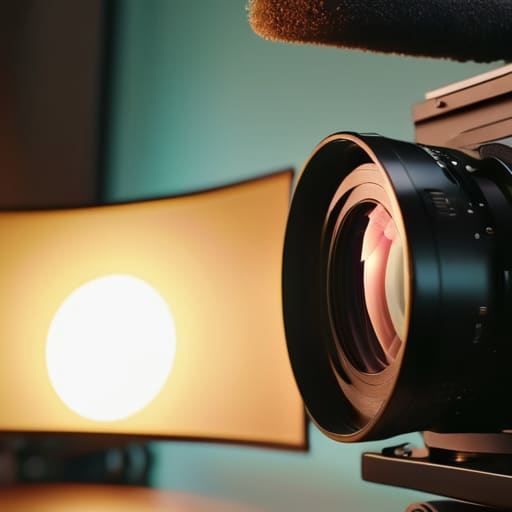
I remember a shoot in a cramped, sun-drenched studio back in ’04 where we spent forty minutes arguing about whether a new sensor would handle the highlights better, while a single stray beam of light was washing out the entire frame. We were so focused on the specs that we forgot the basics of light control. People spend thousands of dollars trying to “fix” an image in post, acting as if a colorist is a magician, when they should have been looking at the glass. If you want to actually understand how matte boxes and filters work, you have to stop thinking about them as expensive accessories and start seeing them as your first line of defense against a shot you can’t afford to lose.
I’m not here to sell you on the latest boutique glass or tell you that a specific brand of plastic will make you a cinematographer. Instead, I’m going to strip away the marketing fluff and explain the mechanics of light management. We’ll talk about why you use a matte box to kill flare and how a filter actually changes the way light hits your sensor, rather than just how it looks on a spec sheet. My goal is to show you how to control the chaos before you ever hit the record button.
Understanding How Matte Boxes and Filters Work
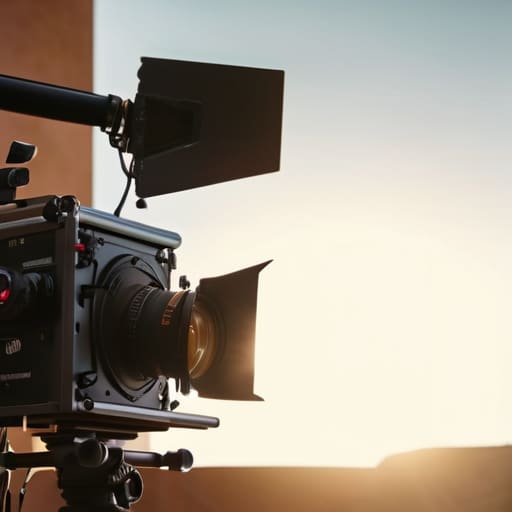
Think of a matte box as a physical barrier between your sensor and the chaos of the environment. It isn’t just a housing for glass; it’s about controlling light spill in cinematography by creating a shroud around the lens barrel. When you’re shooting in a high-contrast environment—say, a backlit interview where the sun is fighting your key light—the matte box acts as a shadow, blocking those stray rays that would otherwise bounce off the internal elements of your lens. Without it, you aren’t just getting flare; you’re getting a washed-out image that no amount of color grading can fix.
Then you have the filters, which are the actual tools for manipulation. While the matte box handles the geometry of the light, the filters handle the character. Whether you’re using various optical filter types for filmmakers to shift the color temperature or a subtle mist to soften the digital edge, you’re making a decision about the texture of the image. I’ve seen people spend thousands on a high-end sensor only to ruin the look with a cheap, uncorrected filter that creates muddy shadows. It’s about intentionality—knowing exactly how much you want to bend the light before you ever hit record.
Key Things to Know
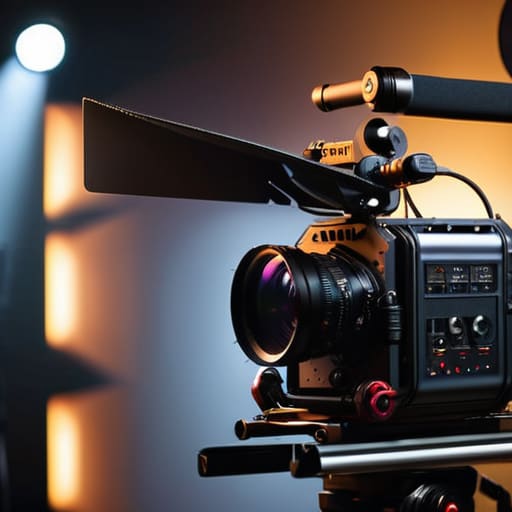
First, let’s talk about the physical reality of the rig. A matte box isn’t just a way to look professional; it’s your primary method for controlling light spill in cinematography. If you have a strong key light or a stray sunbeam hitting the edge of your glass, you’re going to get streaks and ghosts that no amount of color grading can fix. I’ve spent many afternoons adjusting flags just to keep the shadows where they belong. It’s about creating a controlled environment, ensuring that the light you want is what hits the sensor, not the accidental reflections bouncing off the internal elements of the lens.
Then there is the glass itself. Once you have the box, you have to decide which way you’re leaning: clarity or character. You aren’t just picking a piece of tinted plastic; you are choosing how the light interacts with the subject. Whether you are looking for subtle diffusion filter effects on skin tones to take the edge off a digital sensor, or you need a heavy ND to maintain a shallow depth of field in high noon, the choice is about the mood of the scene. Don’t buy a filter because a reviewer said it’s “cinematic.” Buy it because you know exactly how you want that light to behave before you hit record.
Practical Tips and Steps
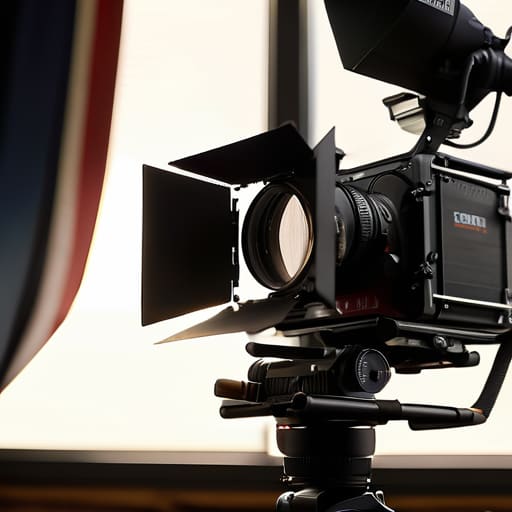
When you’re actually on set, the theory of how a matte box works matters far less than the reality of the light hitting your glass. My first rule is to stop treating your matte box like a shelf for glass and start treating it like a shadow. If you have a stray light source—a window, a bounce card, or a rogue rim light—that’s threatening to wash out your contrast, don’t just reach for a different lens. Use your flags and extend those side rails. Most people ignore controlling light spill in cinematography until they’re staring at a flat, milky image in the playback monitor, realizing they’ve lost all their depth because they let a little too much peripheral light creep in.
Secondly, be intentional with your glass. I see too many shooters slapping a heavy diffusion filter on just because they heard it makes skin look better. While certain diffusion filter effects on skin tones can certainly take the digital edge off a sensor, you need to know why you’re doing it. If you’re using a mist filter to soften a highlight, make sure you aren’t also killing your black levels. Test your setup in the dimmest part of the room first. It’s much easier to add character with a filter than it is to try and claw back lost contrast in a color grade.
Common Mistakes to Avoid
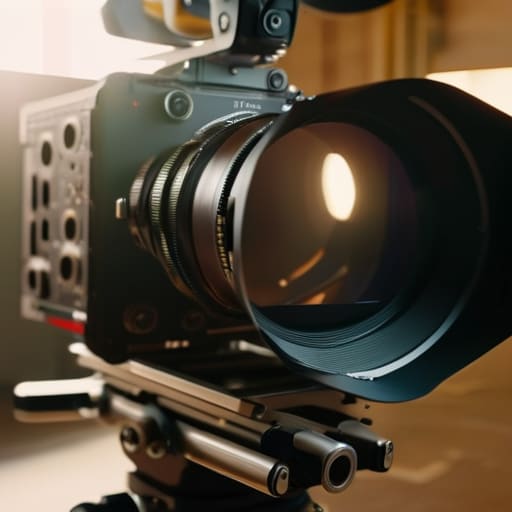
The biggest mistake I see is treating a matte box like a glorified sunshade. People slap a massive unit on the front of a lens and think they’ve solved their problems, only to realize they’ve just created a new way to catch light. If your flags aren’t positioned correctly, you aren’t actually controlling light spill in cinematography; you’re just inviting a different kind of chaos. I’ve sat on sets where someone spent twenty minutes arguing about which ND filter to use, while a stray light source was hitting the side of the matte box and washing out the entire frame.
Then there’s the obsession with “expensive” glass and filters. I see young shooters stacking three or four cheap filters, hoping to achieve a specific look, only to end up with a muddy, low-contrast mess that no colorist on earth can save. They chase diffusion filter effects on skin tones by layering junk, instead of just buying one decent piece of glass. If you’re stacking filters, you’re fighting physics, and physics usually wins. Stop trying to fix a bad lighting setup with a stack of plastic; fix the light first, then use the glass to refine it.
Final Thoughts
At the end of the day, don’t let the gear intimidate you or, conversely, let it become a crutch. You can own every high-end glass and premium filter set on the market, but if you haven’t looked at where the light is coming from and how it’s hitting your sensor, you’re just expensive guesswork. A matte box is a tool for controlling light spill in cinematography, and a filter is a tool for texture; neither is a substitute for actually looking at your frame before you hit record.
If you find yourself obsessing over specs, take a breath and step back. I’ve seen shots ruined by a lack of basic lens flare prevention techniques that a fifty-dollar piece of plastic could have fixed, and I’ve seen beautiful, expensive setups rendered flat because the operator didn’t understand how diffusion filter effects on skin tones actually work in real light. Buy the tools when they serve the image, not when you think they’ll fix a lack of vision. Use them to shape what you see, not to hide what you haven’t learned how to light yet.
Five Ways to Stop Fighting Your Glass and Start Controlling Your Light
- Stop treating your matte box like a glorified holder; it’s your first line of defense. If you’re seeing flare that looks like a mistake rather than a choice, your flags aren’t deep enough or your box isn’t wide enough. Use those side rails to kill the stray light before it ever hits the sensor.
- Watch your vignetting like a hawk when you stack filters. I’ve seen too many kids buy a beautiful ND grad and then realize they’ve turned their wide-angle masterpiece into a dark tunnel because the filter frame is too shallow. If you’re shooting wide, your gear needs to be as wide as your vision.
- Learn the difference between a filter that fixes a problem and a filter that creates one. A polarizing filter is a tool for managing reflections and sky contrast, but if you crank it too hard, you’ll kill the natural depth of the scene. Use it to shape the light, not to mask a lack of direction.
- Don’t trust a filter just because it’s clean. I’ve spent years watching people blame a “bad sensor” for a muddy image, only to realize they had a greasy thumbprint on a $300 diffusion filter. Check your glass every time you change a setup; it sounds tedious because it is, but it’s cheaper than a reshoot.
- Match your light to your glass, not the other way around. If you’re using heavy ND filters to shoot wide open in midday sun, you’re making a choice about depth of field, but you’re also making a choice about how much light is actually hitting that sensor. Know your limits so you don’t end up with a noisy, underexposed mess that no colourist on earth can save.
The Bottom Line
A matte box is your primary tool for managing light, not just a holder for glass; use it to block unwanted flares and keep your contrast from washing out before you even hit record.
Filters are an investment in your image’s physics, not a post-production fix; if you can’t get the exposure or the density right in the field, no amount of color grading will save the shot.
Don’t let the gear dictate the shot—learn the behavior of your glass and the direction of your light first, then pick the filter that solves the problem rather than the one that looks good on a spec sheet.
The Reality of the Glass
You can buy the most expensive sensor on the market, but if you haven’t mastered how a matte box keeps the sun out of your eyes or how a filter shapes the light hitting that sensor, you aren’t making cinema—you’re just recording expensive accidents.
Gethin Moreau
The Last Word on Light and Glass
At the end of the day, a matte box and a set of filters are just tools to help you manage the physics of your environment. We’ve talked about blocking stray light, managing flare, and using NDs or polarizers to keep your exposure and contrast where they belong. You can buy the most expensive, lightweight carbon fiber matte box on the market, but if you don’t understand how a single stray sunbeam can wash out your sensor or how a cheap filter can turn your blacks into a muddy mess, you’re just spending money to mask poor technique. Remember that these tools are meant to give you control, not to do the thinking for you. Use them to protect your image, but never expect them to fix a shot that was poorly lit to begin with.
If there is one thing I want you to take away from this, it’s that the best gear in the world is secondary to how you see the light. I’ve seen incredible images shot on cameras that wouldn’t pass for consumer grade because the operator knew exactly where the light was coming from and how to shape it. Don’t get so caught up in the spec sheets and the kit lists that you forget the actual job: capturing a moment. Spend more time looking at the shadows and the way the light hits the subject than you do staring at your gear manifest. If you master the light, the equipment will eventually fall into place.
