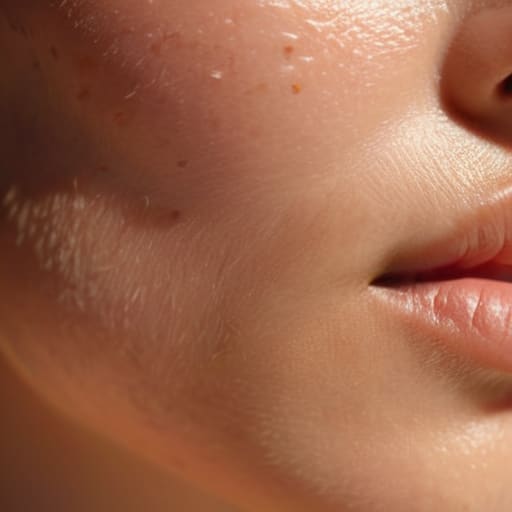
I remember a shoot in a cramped, windowless basement in Bristol—no budget, one single tungsten bulb, and a talent who looked like they were being interrogated by the secret police. The operator was sweating, frantically scrolling through menus, trying to find some magic “skin tone profile” in the camera settings to save the shot. It was a classic mistake. People spend thousands on sensors thinking they can cheat physics, but the truth is that how skin tones should be handled has very little to do with your camera’s software and everything to do with the quality of the light hitting the cheekbone. You can’t code your way out of a muddy exposure.
I’m not here to sell you a LUT or a new sensor. I want to talk about the stuff that actually matters: the distance between your key light and the subject, the way you shape the shadows to prevent a face from looking like a flat plane of beige, and why you need to stop trusting your colorist to perform miracles in post. I’m going to show you how to get it right on set, so that when you finally sit down to edit, you’re actually telling a story instead of fighting your footage.
The Myth of the Perfect Sensor How Skin Tones Should Be Handled
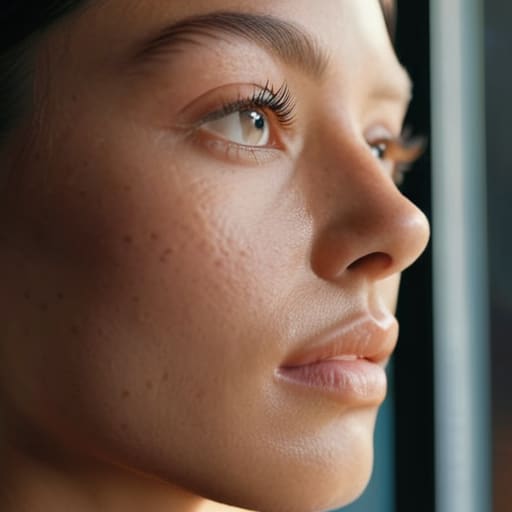
I see people every week staring at spec sheets, convinced that a new 16-bit sensor or a wider dynamic range is the silver bullet for their footage. They think if they just buy the right body, the skin will magically look healthy. It’s a fallacy. A sensor is just a bucket for light; if you pour muddy, inconsistent light into it, you’re just getting a high-resolution version of a mess. You can spend forty hours color grading skin tones in a dark suite, but if you didn’t have the wrap around the face or the right quality of light to begin with, you’re just fighting a losing battle against physics.
The truth is, achieving natural skin tones in video happens on set, not in DaVinci Resolve. I’ve seen guys shoot on old consumer cameras that look better than a RED because they actually understood how to balance their sources. You need to be looking at your vectorscope—specifically that skin tone line guide—to make sure you aren’t drifting into something sickly or orange. It’s about the relationship between the light and the subject, not the bit depth of your files.
Light Distance and the Truth About Achieving Natural Skin Tones
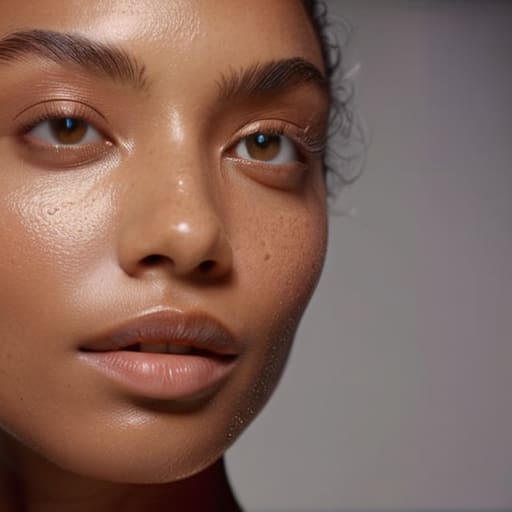
If you’re standing there staring at a monitor, wondering why your subject looks like they’ve been dusted with grey ash, stop looking at your settings and start looking at your light source. You can have a sensor that costs more than my first car, but if you’re using a harsh, unmotivated LED panel from five feet away, you’re going to struggle with achieving natural skin tones in video. The light needs to wrap. It needs softness to fill the micro-shadows that make skin look textured and “dirty” on high-resolution sensors. I’ve spent half my career realizing that a simple bounce board or a silk scrim does more for a face than a thousand-dollar LUT ever could.
Once you’ve actually got the light hitting the face correctly, that’s when you check your work. I don’t trust my eyes alone; I trust the tools. I pull up the vectorscope skin tone line guide to see if we’re actually sitting where we should be. It’s not about making everyone look the same, though—it’s about maintaining skin tone accuracy across a diverse cast. If you’re drifting too far toward the magenta or green side of the line, no amount of magic in the grade is going to make that look intentional. Get the physics right on set, and the math becomes easy.
Why Your Vectorscope Skin Tone Line Guide Is Your Only Real Friend
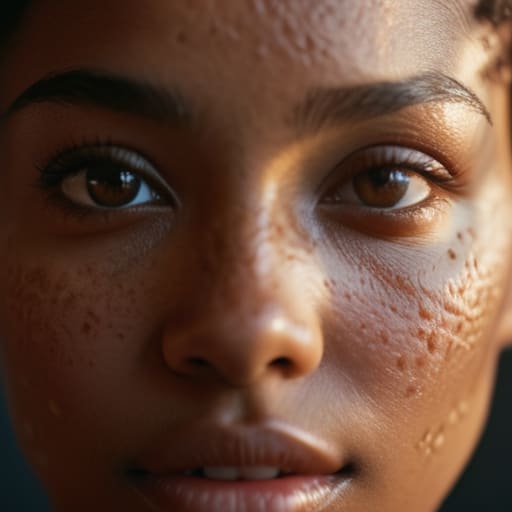
I’ve spent more hours than I care to admit staring at scopes in dark suites, and if there is one thing I’ve learned, it’s that your eyes will lie to you. You’ll think a shot looks “warm” or “natural” because the room is dim and you’re tired, but the math doesn’t care about your intuition. This is where the vectorscope skin tone line guide becomes your only real friend. It’s a cold, hard mathematical constant. Human blood, regardless of ethnicity, sits on a very specific trajectory of hue. If your skin tones are drifting wildly off that line, you aren’t just “stylizing”—you’re losing the human element of the frame.
When you’re deep in the weeds of color grading skin tones, it is easy to get distracted by the aesthetic of the shadows or the pop of a sunset. But if you aren’t checking that skin line, you’re building a house on sand. I don’t care how expensive your LUT is; if the chrominance is skewed, the subject will look like they’re made of wax or plastic. Use the scope to anchor yourself. It’s the only way to ensure you’re actually maintaining skin tone accuracy across a scene with changing light.
The Limits of Color Grading Skin Tones in Post Production
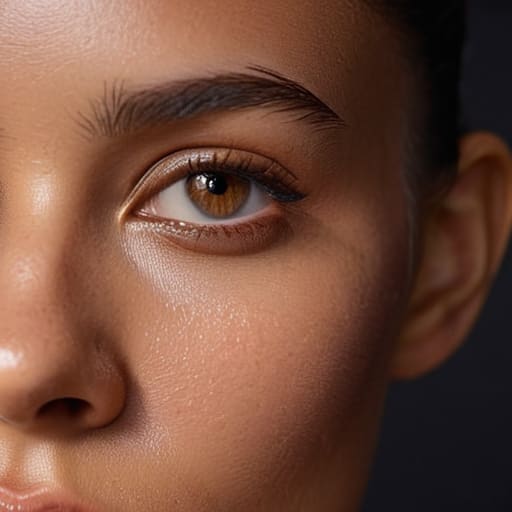
I’ve sat in too many dark suites watching an editor try to claw back a botched exposure, and frankly, it’s a depressing sight. There is a massive difference between color grading skin tones to add a bit of cinematic warmth and trying to perform surgery on a face that was shot under a sickly green fluorescent light. If your base exposure is clipped or your shadows are so muddy that the texture is gone, no amount of expensive LUTs or surgical masking is going to save you. You aren’t “enhancing” the image anymore; you’re just trying to hide a mistake, and the viewer can always tell.
The reality is that maintaining skin tone accuracy starts at the source, not in DaVinci Resolve. When you’re working with diverse skin tones, the nuances of undertones—the golds, the reds, the olives—get crushed if your dynamic range is too narrow or your lighting is too flat. You can spend hours tweaking the chrominance and skin tone balance, but if the original signal is garbage, you’re just moving digital dirt around. Stop treating the colorist like a magician and start treating your lighting setup like the foundation of the image.
Managing Chrominance and Skin Tone Balance Before the Camera Rolls
If you’re waiting until you’re sitting in a dark room with a calibrated monitor to worry about your palette, you’ve already lost the battle. Managing chrominance and skin tone balance starts with the way you shape your light, not how you tweak your wheels. I’ve seen plenty of newcomers try to compensate for a sickly green cast from cheap LED panels by aggressively pushing the magentas in the grade, but you’re just fighting a losing war against digital noise. You need to look at the light source itself. If you aren’t checking your white balance and the quality of your key light before the talent even walks on set, you aren’t doing your job.
It’s about more than just avoiding a weird tint, though. Achieving natural skin tones in video requires an understanding of how different subjects interact with your light temperature. When you’re handling color correction for diverse skin tones, the physics of the light remains the same: if the light is flat or poorly balanced, the sensor will struggle to distinguish between a healthy glow and a muddy mess. Get the balance right at the source, and you give yourself the headroom to actually create something beautiful later, rather than just fighting to make things look “normal.”
Maintaining Skin Tone Accuracy Across Diverse Skin Tones
The mistake I see most often—usually from people who have spent too much time looking at presets and not enough time looking at faces—is treating skin tone as a single destination. You can’t just find a “middle ground” that works for everyone; that’s just a fast way to make everyone look like they’ve been dusted with gray ash. Real color correction for diverse skin tones isn’t about finding a universal setting; it’s about respecting the subtle shifts in undertones. If you’ve got a subject with deep, rich melanin sitting next to someone with pale, cool undertones, you aren’t looking for one “skin” color. You’re looking to ensure they both sit correctly on that line on your scope.
This is where the job gets tedious, and where the amateurs usually give up and hope the colorist can save them. You have to manage the chrominance and skin tone balance for each individual person in the frame. If you try to apply a blanket correction to a wide shot containing multiple people, you’ll inevitably push one person toward looking healthy and the other toward looking sickly. It’s about precision, not presets. You have to look at the light hitting the skin, understand the texture, and realize that achieving natural skin tones is a process of subtraction and nuance, not just slapping on a LUT and calling it a day.
Five Ways to Stop Fighting Your Footage and Start Shaping the Light
- Stop obsessing over the LUT and start looking at the bounce. If your subject’s skin looks like grey ash or plastic, it’s usually because you’ve got a single, harsh source with nothing to fill the shadows or soften the transition. A simple white foam core board or a silk scrim will do more for a face than any expensive color-science upgrade ever could.
- Watch your color temperature, but don’t trust it blindly. I’ve seen plenty of “balanced” shots where the skin looks sickly because the light source was a mix of overhead fluorescent and window light. Pick one, commit to it, and make sure your white balance is set to the actual light hitting the person, not just what the camera’s auto-mode thinks looks “fine.”
- Respect the texture. When you’re trying to make skin look “perfect,” the temptation is to over-light or over-soften until the person looks like a CGI render. Real skin has pores, oil, and micro-shadows. If you kill all the contrast on the face to hide imperfections, you aren’t making them look better; you’re just making them look fake.
- Check your skin tones against the environment, not just the monitor. A person might look “correct” in a vacuum, but if they are standing in a room with heavy green walls or warm tungsten practicals, their skin needs to react to that. If the skin tone is mathematically perfect but feels disconnected from the room’s light, the audience will feel the lie.
- Use your eyes before you use your scopes. The vectorscope is a great tool to make sure you aren’t drifting too far into the magenta or green, but it doesn’t have intuition. If the skin looks “off” to your eye, it is off. Don’t let a digital readout convince you that a muddy, lifeless face is “technically” within the correct gamut.
The Bottom Line
Stop looking for a better camera to fix your skin tones; start looking for a better light source and a more consistent way to measure it.
Use your vectorscope to keep your skin tones on the line during the shoot, because a colorist can shift hue, but they can’t manufacture data that wasn’t captured.
Real skin tone accuracy isn’t about a single “perfect” setting, but about how you manage light and exposure across every different complexion in the frame.
The Post-Production Delusion
Stop treating your colorist like a magician; they can adjust the tint, but they can’t manufacture the subtle way light wraps around a cheekbone if you didn’t bother to shape the source on set. If the skin looks plastic or muddy in the grade, it’s rarely a sensor issue—it’s because you didn’t respect the light before you hit record.
Gethin Moreau
The Long View on Skin Tones
At the end of the day, getting skin tones right isn’t about finding a magic LUT or praying your sensor has enough dynamic range to handle a high-contrast scene. It’s about the work you do before you even hit record. It’s about understanding that the light needs to wrap around the face, that your vectorscope is telling you the truth even when your eyes are tired, and that no amount of color grading can manufacture the nuance of a well-placed key light. If you’ve spent your time obsessing over the placement of your diffusion and the balance of your color temperature, you’ve already won half the battle. Stop looking for the technical shortcut and start looking at how the light actually hits the subject.
I know the temptation to chase the latest camera body with its “revolutionary” color science, but don’t let the gear distract you from the craft. A great image is built on the fundamentals of light, distance, and a little bit of patience. When you finally get that shot where the skin looks alive—where it has depth, texture, and that unmistakable human warmth—you’ll realize it had very little to do with the brand on your camera body and everything to do with your eyes. Go back to the basics, trust your tools, and remember that the best sensor in the world is still just a way to capture the light you’ve worked hard to shape.
