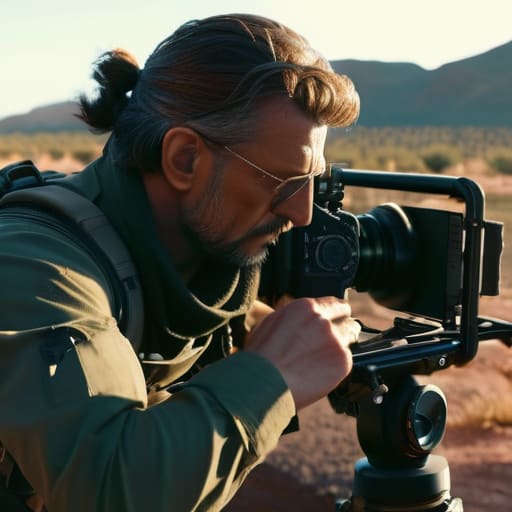
I spent three hours last Tuesday watching a kid in a rented studio try to troubleshoot a handheld setup that looked more like a piece of industrial plumbing than a camera. He had every carbon-fiber handle, every modular cage, and enough wireless monitors to run a small airline, yet he couldn’t find the focus or keep the frame steady for more than a few seconds. It’s the same mistake I see every single week: people think that if they just add one more accessory, they’ll finally solve the problem of bad movement. They’re chasing a spec sheet when they should be chasing stability. If you want to learn how to build a camera rig sensibly, you have to stop treating your gear list like a shopping spree and start treating it like a tool for intentionality.
I’m not here to sell you on the latest boutique mounting solutions or tell you that a certain brand of matte box will magically fix your exposure. I’ve shot enough features on rigs held together by gaffer tape and prayer to know that the best setup is the one that stays out of your way. In this piece, I’m going to show you how to strip away the noise and focus on the few essential components that actually improve your control, your balance, and your ability to capture the light.
The Rigging Fallacy Why Weight Matters Less Than Your Vision
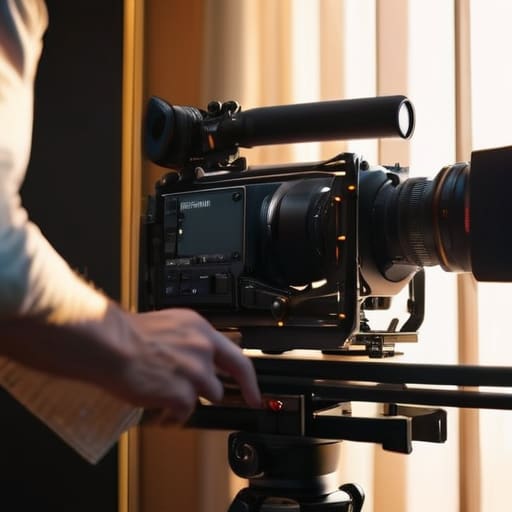
I’ve seen a lot of young operators walk onto a set with a rig that looks like a weapon from a sci-fi film—six monitors, three batteries, and enough handles to make it look like they’re piloting a starship. They think the complexity equals the quality. It doesn’t. In reality, you’re just creating a barrier between yourself and the scene. When you’re fighting a heavy, unbalanced mess, you aren’t looking at the way the light hits the subject’s eyes; you’re looking at your own wrist and wondering when the fatigue is going to set in.
The truth is, a balanced camera rig configuration isn’t about how much you can bolt onto the chassis; it’s about how much you can take off without losing the ability to get the shot. I’m a big believer in minimizing rig weight because a tired DP is a lazy DP. If you spend forty minutes wrestling with a cumbersome cinema camera cage mounting system just to get a single close-up, you’ve already lost the momentum of the scene. Build for the movement you actually need, not the movement you think looks impressive in a gear catalog.
How to Build a Camera Rig Sensibly Without Buying Everything
Start with the basics: what do you actually need to touch to make the shot happen? Most people start by buying a massive cinema camera cage mounting kit because it looks professional in a shop window, but they end up fighting the machine all day. Instead, build from the center out. If you’re shooting handheld, your priority isn’t adding more handles; it’s minimizing rig weight so you don’t have a collapsed shoulder by lunch. Every ounce you add to the rig is an ounce you’re fighting against your own stability.
I’ve seen plenty of guys drown in essential filmmaking accessories that they only use once a month. If a piece of gear doesn’t directly help you manage your exposure, your focus, or your physical movement, leave it in the box. Aim for a balanced camera rig configuration where the weight sits in your palm or against your shoulder, not pulling your wrists toward the floor. If you can’t find a way to make the setup feel like an extension of your body, you haven’t built a rig—you’ve just built a very expensive anchor.
Modular Rigging Systems Building for Function Not for Show
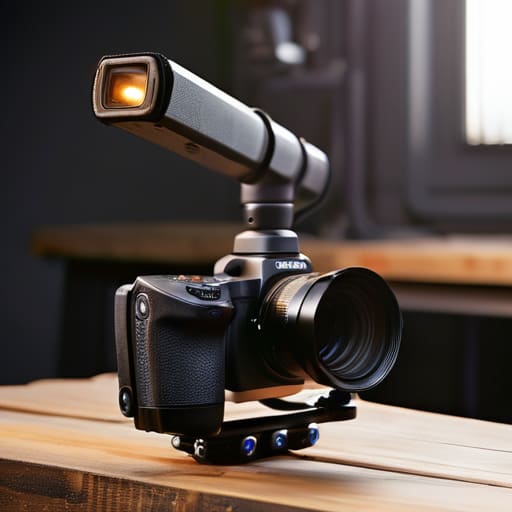
I’ve spent enough time on sets to see the “Frankenstein rig” go wrong. It starts with a single cage and ends with a three-foot-long monstrosity that looks impressive in a gear photo but is a nightmare to actually operate. The trick to modular rigging systems isn’t about how much you can bolt onto the frame; it’s about how quickly you can strip it back down. If you can’t transition from a tripod-based interview setup to a handheld roaming shot in under five minutes, you haven’t built a rig—you’ve built an anchor.
A sensible approach means treating your kit like a toolkit rather than a monument. You want a balanced camera rig configuration that prioritizes the physical reality of the shoot. If you’re mounting a heavy monitor or a follow focus, ask yourself if that piece of gear is actually helping you see the frame or if it’s just adding bulk that will exhaust your operator by lunch. Focus on a few high-quality mounting points that allow for easy reconfiguration. When you prioritize a functional, ergonomic camera setup over a cluttered one, you stop fighting your equipment and start focusing on the light.
The Ergonomic Camera Setup Where Comfort Meets the Cut
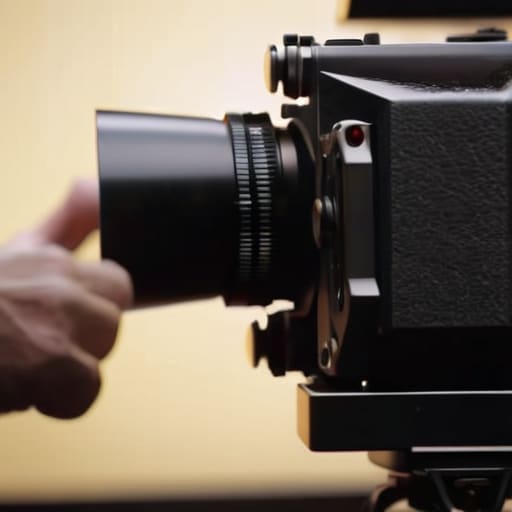
You can have the most advanced cinema camera cage mounting system in the world, but if your wrists are screaming by the second setup, you’ve failed. I’ve seen too many young operators walk onto a set with a rig that looks like a Swiss Army knife—handles, monitors, wireless transmitters, and battery plates bolted to every available screw—only to realize they can’t actually hold the thing steady for more than five minutes. An ergonomic camera setup isn’t about how much gear you can stack; it’s about where the center of gravity sits. If the weight is pulling the camera’s nose toward the floor, you aren’t filming; you’re just fighting a losing battle against gravity.
The goal is a balanced camera rig configuration that feels like an extension of your body rather than a heavy burden you’re lugging around. I always tell my assistants to test the balance before we even touch the tripod. If you have to lean your entire torso forward just to see the monitor, you’ve gone too far. Focus on minimizing rig weight by placing your heavy batteries and follow-focus motors in positions that counteract the lens’s natural tilt. When the rig is balanced, your movements become fluid, and that’s when you actually start seeing the shots that matter.
Cinema Camera Cage Mounting and the Art of Minimizing Rig Weight
The mistake I see most often is treating a cage like a shopping list rather than a structural foundation. People see a shiny new cinema camera cage mounting option and think, “If I bolt on this top handle, this follow focus, and that wireless transmitter, I’m a professional.” In reality, you’re just building a heavy, unbalanced anchor that’s going to kill your shoulder by lunch. The goal of minimizing rig weight isn’t about being cheap; it’s about ensuring that when the light is perfect, you aren’t too exhausted to actually catch it.
Every ounce you add to the cage has to earn its keep. If a piece of gear doesn’t directly improve your ability to pull focus, monitor your exposure, or control your movement, it shouldn’t be there. I’ve spent more time fighting a poorly distributed weight profile than I have fighting bad lighting. A balanced camera rig configuration is what allows you to move fluidly between a tripod and a handheld shot without needing a crew of three to lift the thing. Build around the center of gravity, not around how many accessories you can physically screw into the metal.
Essential Filmmaking Accessories Choosing Stabilization Gear That Actually
Once you’ve settled on a cage that doesn’t turn your camera into a lead weight, you have to deal with the physics of movement. Most people see a list of essential filmmaking accessories and think they need a motorized gimbal, a heavy-duty tripod, and a handheld stabilizer just to cover a simple walking shot. They end up fighting the gear instead of watching the subject. If the light is coming from a high window and you’re trying to track a person across a room, a cheap, shaky handheld setup will give you nothing but a headache in the edit.
Don’t fall into the trap of buying stabilization just because a YouTuber told you it’s “pro.” I’ve spent more time with a solid, well-balanced shoulder rig than I have with any gimbal. A balanced camera rig configuration is about finding the center of gravity so the camera feels like an extension of your body, not a heavy object you’re wrestling. Whether it’s a simple monopod for tight spaces or a sturdy tripod for those slow, deliberate pans, choose the tool that lets you focus on the blocking. If the stabilization makes you too tired to actually see the frame, it’s the wrong gear.
Five Rules for Not Building a Paperweight
- Prioritize your most frequent movement. If you spend eighty percent of your day on a tripod, don’t spend your entire budget on a shoulder rig and a gimbal that you’ll only use for ten minutes of B-roll. Build the rig around the way you actually move through a scene, not the way you think a “cinematographer” should look.
- Test your reach before you bolt anything down. I’ve seen too many operators struggle because they added a massive matte box and a follow focus, only to realize they can no longer reach the record button or adjust the exposure without a second person helping them. If you can’t operate the camera intuitively, the rig is a failure.
- Cable management is a matter of survival, not aesthetics. It’s not about making it look “clean” for an Instagram post; it’s about ensuring that a rogue HDMI cable doesn’t snag on a tripod leg and kill your power or your signal mid-take. Use velcro, use tape, and secure every connection so you aren’t fighting your own gear during a setup.
- Think about the light before the mounting points. Before you commit to a massive cage, ask yourself if that extra piece of metal is going to block your ability to tilt the camera up or down to catch a key light, or if it’s going to prevent you from mounting a monitor at an angle where you can actually see the shadows.
- Buy once, buy right, but buy sparingly. There is a massive difference between a high-quality mounting plate that holds your camera steady and a cheap piece of aluminum that vibrates every time you take a step. Spend your money on the contact points—the things that touch the camera and the things you touch to control it—and skip the decorative nonsense.
The Bottom Line
Stop building a rig for the shot you saw in a gear commercial; build it for the shots you actually have to execute, which usually means being able to move quickly when the light starts to fail.
Every ounce you add to the camera is a tax on your physical endurance and your ability to react to a performance, so if a piece of kit doesn’t directly improve your control or your coverage, leave it in the case.
A sensible rig isn’t a finished product you buy once, but a modular toolkit that you refine based on whether you’re fighting a tripod in a studio or a handheld run in a cramped hallway.
The Weight of Your Ego
I’ve seen more shoots die because a operator was too exhausted to find the shot than because they lacked a specific matte box or a third-party handle. A rig isn’t a trophy case for your latest gear purchases; it’s a tool to get the camera to the light. If you can’t carry it, balance it, or move it quickly when the sun starts to dip, you haven’t built a rig—you’ve built an anchor.
Gethin Moreau
The Final Setup
At the end of the day, a sensible rig isn’t one that looks like a weapon from a sci-fi film; it’s one that stays out of your way. We’ve talked about why you shouldn’t over-cage your sensor, why ergonomics dictate your performance, and why modularity beats a permanent, heavy mess every single time. If your setup allows you to move quickly when the light shifts, or if it doesn’t leave your shoulder screaming after a twenty-minute take, then you’ve done it right. Remember that every extra ounce of aluminum you bolt onto that camera is something you have to carry, balance, and fight against. The goal is functional simplicity, not a collection of expensive accessories that just serve to make you feel like a professional while you’re actually just making your job harder.
I’ve spent decades watching people chase the perfect rig, thinking the next handle or matte box would finally unlock the shot they couldn’t get. It never does. The gear is just the bridge between your eye and the light, and if the bridge is too heavy to cross, you aren’t going anywhere. Stop looking at the spec sheets for a moment and look at your actual workflow. Build for the shots you know you need to get, not the ones you think you might want in a fantasy world. In the end, the best rig is the one that disappears, leaving nothing behind but the image you intended to capture.
