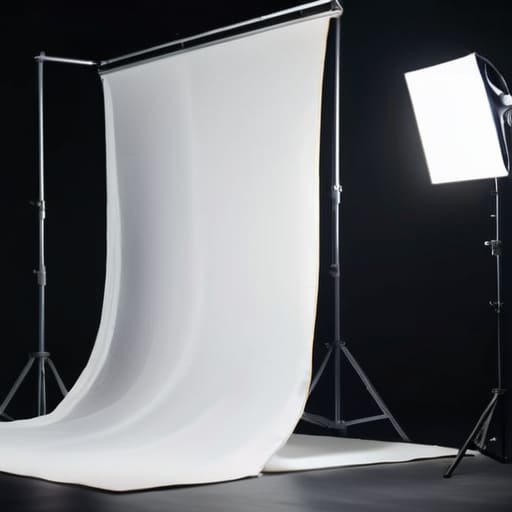
I spent three hours last week watching a kid on a YouTube livestream argue that he couldn’t get a cinematic look because he didn’t have a $2,000 spectral light kit. It’s the same old song: the belief that more expensive photons equal better stories. He was looking for a magic button, but he didn’t realize that learning how to modify light is actually about what you take away, not what you add. I’ve sat in windowless hotel rooms with nothing but a single work light and a piece of white foam core, and I’ve produced more character in those shadows than most people do with a truckload of Arri Skypanels.
I’m not here to sell you a gear list or walk you through a technical manual that reads like a physics textbook. Instead, I want to talk about the physicality of the craft—using flags, diffusion, and simple positioning to shape the world in front of your lens. We’re going to look at how to control the spill, how to soften a harsh edge, and why your eyes are more important than your sensor’s dynamic range. This is about practicality over prestige, and I promise you’ll walk away knowing how to make what you already own actually work.
The Myth of the Perfect Source How to Modify Light
We spend far too much time hunting for that one “perfect” light source, as if the magic is baked into the filament or the LED chip itself. It isn’t. I’ve seen a five-thousand-dollar lighting rig produce a flat, lifeless image, and I’ve seen a cheap work light through a piece of bounced bedsheet look like a Rembrandt painting. The secret isn’t the source; it’s what you do to it after it leaves the lamp.
Most beginners get stuck in the binary trap of hard vs soft light, thinking they need to buy a massive softbox to fix a problem. They don’t. If you’re dealing with an ugly, high-contrast sun or a bare bulb, you aren’t looking for a new light—you’re looking for ways of controlling light quality through modification. Whether you’re using a silk to soften a glare or a flag to cut a spill, you are essentially playing sculptor. You aren’t just “turning on a light”; you are shaping light for photography by deciding exactly where it is allowed to go and, more importantly, where it isn’t.
Controlling Light Quality Beyond the Spec Sheet
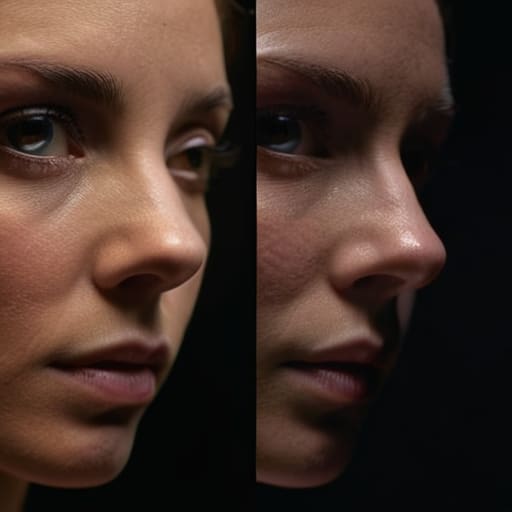
You can read every white paper on sensor dynamic range until your eyes bleed, but none of it matters if you don’t understand the fundamental difference between hard vs soft light. I’ve seen kids walk onto a set with a $50,000 cinema rig and still produce images that look like they were shot through a dirty window because they didn’t bother to address the source. If you have a single, naked point source hitting your subject, you aren’t making a film; you’re making a crime scene. You need to stop looking at the resolution and start looking at the fall-off.
The real work happens when you start shaping light for photography using actual tools rather than just hoping the sun behaves. I’m talking about flags, silks, and even a piece of foam core you found in the back of a van. If the shadows are too aggressive, don’t go hunting for a more expensive LED panel; just find a way to increase the relative size of your source. Controlling light quality is a game of physics and geometry, not a game of credit limits. If you can’t master a single bounce board, a better sensor won’t save you.
Hard vs Soft Light the Difference Between Amateur and Intent
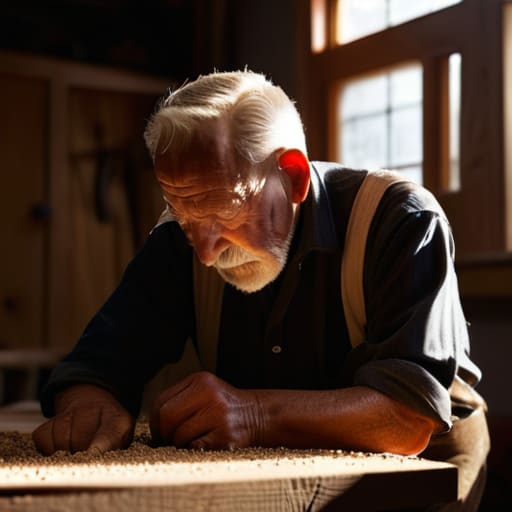
I see it every week: a kid rolls up with a $50,000 sensor and a light kit that could power a small village, only to produce images that look like a high-end car commercial—sterile, flat, and utterly lifeless. They think they’re getting “good” light, but they’ve actually just erased the soul of the scene. The difference between an amateur and someone with intent usually comes down to how they handle hard vs soft light. An amateur sees a bright light and tries to hide it; a professional uses it to tell a story.
If you want to stop making things look like a soap opera, you need to stop being afraid of shadows. Most people spend their time diffusing harsh shadows until everything is a muddy, directionless grey. That’s a mistake. Soft light isn’t a magic wand that fixes bad blocking; it’s just a way to wrap a subject. Real depth comes from knowing when to leave a shadow sharp and when to use light shaping tools to nudge a highlight just enough to define a jawline. It isn’t about making things pretty; it’s about making them readable.
Diffusing Harsh Shadows Without Losing the Scenes Soul
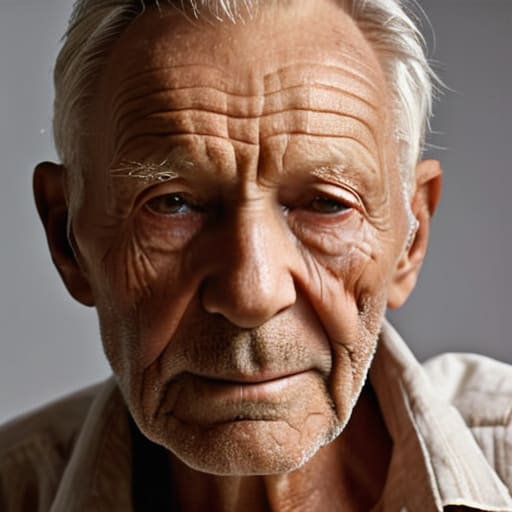
Everyone thinks that when the shadows get too aggressive, the solution is to throw a massive silk in front of the source and call it a day. They want to turn everything into a flat, milky soup because they’re afraid of contrast. But there’s a massive difference between diffusing harsh shadows and simply erasing the shape of your subject. If you kill every ounce of directionality, you aren’t making a professional image; you’re just making a boring one. You lose the cheekbones, the texture of the fabric, and that sense of three-dimensional space that tells the audience where things actually sit in the world.
The trick isn’t to eliminate the shadow, but to manage its edge. I’ve spent more time with a piece of poorly placed foam core or a ragged bit of muslin than I have with high-end modifiers. When you’re shaping light for photography or motion, your goal is to soften the transition—the “terminator”—without losing the falloff. Use your light shaping tools to nudge the light back toward the shadows rather than just flooding the whole room. You want a shadow that feels soft to the touch, not a shadow that disappears into nothingness.
Essential Light Shaping Tools That Actually Change the Work
If you’re looking for a magic wand, you won’t find it in a gear catalog, but if you’re looking for control, you start with flags and nets. I’ve spent more time using a simple black floppy to cut a spill off a background than I have adjusting a digital menu. When you’re shaping light for photography or video, the goal isn’t always to add something; more often, it’s about what you take away. A flag allows you to create a shadow where there wasn’t one, giving a face shape that a more expensive LED panel simply can’t provide on its own.
Then there are the modifiers that actually earn their keep. I don’t care how many “pro-grade” softboxes a company claims to sell; if the fabric is thin and the diffusion is uneven, it’s junk. A good silk or a heavy-duty scrim is what actually matters when you’re diffusing harsh shadows without making the whole frame look like a muddy mess. You want to wrap the subject in light, not drown them in it. Keep your kit lean: a few flags, some good diffusion, and a reflector. Everything else is just extra weight for the grip to complain about.
Mastering Directional Lighting Techniques to Shape Your Frame
Once you understand how to soften a source, the next step is learning how to point it. Most people think a light is just a light, but the direction you choose determines whether your subject looks like a hero or a victim of a bad interrogation. I’ve spent more time moving a single key light by a few degrees than I have adjusting ISO, because direction is what creates depth. If you’re shooting straight on, you’re flattening the world; you want to use directional lighting techniques to wrap that light around the contours of a face, creating those subtle transitions between highlight and shadow that tell the viewer there’s actually a three-dimensional human being in the frame.
It isn’t just about where the light hits, though—it’s about where you don’t let it go. This is where you stop being a guy with a lamp and start shaping light for photography and film. Using flags, cutters, or even a piece of black foam core to create negative fill is often more important than the light itself. If you aren’t actively managing the spill, you aren’t controlling the scene; you’re just hoping for the best.
Five Ways to Stop Fighting the Light and Start Using It
- Stop looking for a better lamp and start looking for a better bounce. Half the time, you don’t need more light; you just need to take what you’ve already got and throw it back at the subject using a piece of foam core or a white beadboard. It’s cheap, it’s reliable, and it fills shadows without that artificial, “studio” look that screams amateur.
- Distance is your most powerful modifier. If your light is too harsh, don’t reach for a diffusion silk first—just move the light further away. Increasing the distance softens the fall-off and spreads the source, giving you a more forgiving wrap around the face. It’s physics, not a gear purchase.
- Learn the difference between blocking light and shaping it. Using a flag or a piece of black floppy to cut light out of a background or a lens is just as important as adding light to a face. If you aren’t actively managing where the light isn’t going, you aren’t controlling the scene; you’re just illuminating it.
- Don’t over-diffuse until your image looks like it was shot through a fog machine. There is a fine line between “soft and flattering” and “flat and lifeless.” If you lose all the texture in a person’s face or the depth in a room, you’ve gone too far. Keep some of that contrast; it’s what makes a frame feel three-dimensional.
- Use color temperature as a modifier, not just a setting. If you’re working with mixed light—say, a window’s daylight fighting a tungsten lamp—don’t just try to balance it all in post. Use a CTO gel to bring that window light into the fold or a CTB to warm up the interior. It’s much easier to shape the mood on set than to try and fix a muddy, mismatched grade later.
The Bottom Line
Stop looking at the spec sheet and start looking at the shadows; a $50 piece of diffusion or a well-placed bounce board will do more for your image than a $5,000 sensor ever could.
Light modification isn’t about making everything look “pretty”—it’s about control, and knowing when to let a shadow stay dark is just as important as knowing how to soften a highlight.
Before you reach for your gear bag, try moving the source, changing the distance, or adjusting the angle; most of your problems are solved by physics, not by adding more equipment to the kit.
The Expensive Mistake
Stop looking at the sensor specs and start looking at the shadows; you can buy all the high-dynamic-range glass in the world, but it won’t fix a light that’s hitting your subject like a freight train when it should be grazing them like a whisper.
Gethin Moreau
Stop Looking for the Magic Button
At the end of the day, modifying light isn’t about collecting every flag, silk, and honeycomb grid in the catalog; it’s about understanding the relationship between your source and your subject. We’ve talked about softening those harsh edges, controlling directionality, and using shaping tools to create depth rather than just illumination. If you can master the art of moving a lamp, choosing the right diffusion, and knowing when to let a shadow stay dark, you’ve already done more for your image than someone with a $50,000 sensor and no sense of contrast. Stop trying to fix a bad setup by adding more light, and start focusing on how you shape the light you already have.
I’ve spent twenty-three years watching people chase the latest tech, thinking a higher dynamic range will somehow compensate for a lack of vision. It won’t. The most important tool in your kit isn’t something you can rent from a grip truck; it’s your ability to look at a room and see where the light is failing the story. Don’t let the gear distract you from the craft. If you can learn to manipulate the environment with whatever is at hand, you’ll find that the best images don’t come from the most expensive kit, but from the most intentional ones. Now, get out there and go move that light.
