I spent three hours last Tuesday watching a kid in a coffee shop try to “fix” a muddy, flat-looking interview by scrolling through sensor specs on his phone. He was convinced that if he just upgraded to a body with more stops of dynamic range, he’d suddenly understand how to work with available light. It’s a lie we tell ourselves to justify a credit card swipe. The truth is, that sensor isn’t going to fix the fact that he’s sitting directly under a flickering fluorescent tube with a window casting a harsh, unmotivated shadow across his nose. You don’t need more megapixels; you need to stop fighting the room and start looking at where the photons are actually coming from.
I’m not here to sell you a lighting kit or a subscription to a gear review site. I want to talk about the stuff that actually matters: how to read a room, how to use a simple white foam board to bounce a window’s glow, and when to simply wait for the sun to move. This is about the practical reality of using what you’ve got to create coverage that actually tells a story, rather than just documenting a space.
Understanding How to Work With Available Light
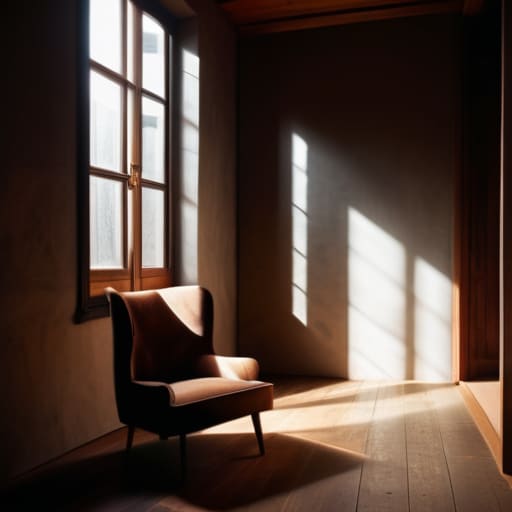
Before you even touch the power switch on your camera, you need to look at the room. I’ve spent half my career standing in dark corners just waiting for a cloud to pass or a sunbeam to hit a specific patch of floor. Working with what’s already there isn’t about fighting the environment; it’s about reading it. You have to identify your primary source—be it a window, a streetlamp, or a flickering neon sign—and understand its direction and quality. If the light is too harsh, don’t reach for a new sensor; start controlling shadows with ambient light by using the architecture of the room itself to shape the scene.
Sometimes, the light is there, but it’s just not doing the heavy lifting you need. This is where people get frustrated and start eyeing expensive LED panels, but you can often fix a flat image with much less. I’ve seen more beautiful shots achieved by using reflectors for soft light than by any high-end lighting kit. A simple piece of white foam core can bounce a window’s glow back into a subject’s eyes, providing that necessary catchlight without the cost. It’s about shaping what you already have rather than trying to manufacture something from nothing.
Key Things to Know
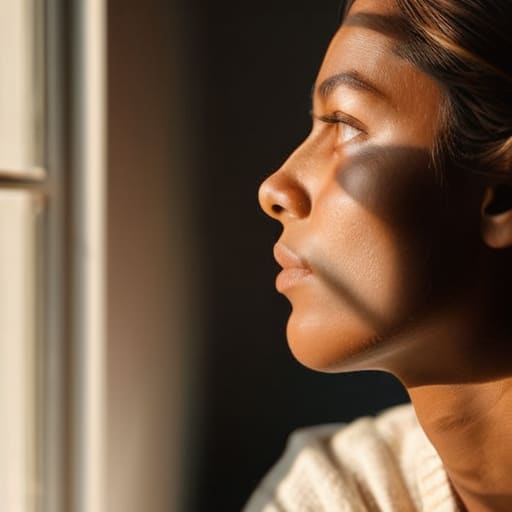
First, stop thinking about your camera and start thinking about the window. If you’re working indoors, your light source isn’t a “setting”; it’s a physical object with a specific direction and quality. Most people struggle with indoor portrait lighting setups because they try to fight the room rather than shape it. You don’t need a five-point lighting kit to fix a flat face; sometimes, all you’re doing is using reflectors for soft light to bounce a bit of that window spill back into the shadows. It’s about redirection, not addition.
Second, respect the clock. I’ve spent more time sitting in a parked van waiting for a cloud to move than I have actually pressing record, and it’s usually worth it. If you’re chasing that specific glow, your golden hour lighting tips shouldn’t just be about the pretty colors, but about the rapidly changing angle of the sun. One minute you have a perfect rim light, and the next, you’re in a shadow pit. You have to be ready to move the tripod, not just adjust the iris.
Practical Tips and Steps

First, stop looking at your monitor and start looking at the windows. Before you even think about touching your exposure settings, find where the source is. If you’re working indoors, don’t just aim for the subject; look at how the light falls across the floor. I’ve spent more time watching a shadow crawl across a wall than I have reading spec sheets, and it’s the only way to predict how your scene will look five minutes into a take. If the light is too harsh, don’t reach for a heavy diffusion kit—just grab a white foam board. Using reflectors for soft light is the oldest trick in the book, but it works because it’s cheap, fast, and doesn’t require a power outlet.
Once you’ve found your source, manage the falloff. If you’re shooting near a window, you’re essentially dealing with a single, massive, unpredictable lamp. You can practice controlling shadows with ambient light simply by repositioning your subject relative to that window. Turn them forty-five degrees, move them closer to the glass, or pull them back into the gloom. It’s not about getting everything bright; it’s about deciding which parts of the frame deserve to be seen and which should stay in the dark.
Common Mistakes to Avoid

The biggest mistake I see is people treating the sun like a static stage lamp. They find a spot, set the tripod, and start rolling, forgetting that the light is a living, moving thing. If you’re relying on golden hour lighting tips you read online without actually watching how the shadows stretch across the subject’s face, you’re going to end up with footage that looks rushed and accidental. You can’t just set it and forget it; you have to dance with it.
Then there’s the obsession with the sensor. I see shooters chasing high ISOs to compensate for a dark room, thinking they can just fix the noise in post. They ignore the fact that they could have solved the entire problem by simply using reflectors for soft light or moving a subject closer to a window. Don’t let your gear dictate your choices. If you’re fighting the darkness with a high-end camera instead of just finding a better angle, you aren’t working the light—the light is working you.
Final Thoughts
At the end of the day, don’t let the lack of a lighting package paralyze you. I’ve sat on sets where we had more power than we knew what to do with and still couldn’t make the image feel honest. Most of the time, the magic happens when you stop fighting the environment and start listening to it. If the sun is moving too fast or the room is too dark, don’t reach for a new sensor or a more expensive lens; reach for a piece of foam core. Using reflectors for soft light is often the difference between a shot that looks like a home movie and one that looks like cinema.
If you find yourself struggling with the heavy lifting of controlling shadows with ambient light, remember that patience is your most underrated tool. Sometimes you just have to wait for the clouds to break or for the light to hit a specific angle. It’s not about having the perfect gear; it’s about having the eyes to see what the light is actually doing before you hit record. Stop worrying about the spec sheet and start looking at the shadows.
Five ways to stop fighting the light and start using it
- Watch the shadows, not the sun. Everyone stares at the sky to see if it’s bright enough, but I’m looking at where the light hits the floor. If the shadow is too harsh or too long, you don’t need a new sensor; you need to wait for a cloud or move your subject into a different patch of shade.
- Use the windows as your primary key. A window is the most expensive looking light source you’ll ever get for free, but it’s temperamental. Don’t just point the camera at it; position your subject so the light wraps around their face, and if it’s too bright, a cheap sheer curtain does more for your image than a $5,000 LED panel.
- Learn the “Golden Hour” fallacy. People act like everything looks good at sunset, but sometimes that light is too weak to get a clean exposure without cranking your ISO into the noise floor. Sometimes the best light is actually that flat, grey, overcast afternoon that gives you soft, even coverage without any headache.
- Respect the bounce. If one side of your subject’s face looks like a void, don’t reach for a fill light first. Look for a white wall, a light-colored ceiling, or even a piece of white foam core. Redirecting the light that’s already in the room is better than trying to fight it with more electricity.
- Check your white balance before you commit. Available light is a moving target; a window’s color temperature changes every ten minutes as the sun moves. If you’re shooting a long scene, don’t rely on Auto White Balance—it’ll drift and ruin your edit. Set it manually and accept the light for what it is.
The bottom line
Stop looking at the sensor and start looking at the windows; if the light isn’t doing the work, no amount of expensive glass or post-production magic is going to save the shot.
Coverage is about more than just angles—it’s about understanding how the light moves across a subject’s face so you don’t end up with a scene that’s impossible to edit together.
Patience is a legitimate production tool; sometimes the best thing you can do for a shot is to stop tweaking the settings and just wait for the sun to hit the right angle.
The Myth of the Perfect Sensor
I’ve seen kids walk onto a set with a sixty-thousand-dollar sensor and produce images that look like a cheap insurance commercial, all because they were too busy checking the spec sheet to notice the sun had moved behind a cloud. You don’t fix a flat, muddy image by upgrading your resolution; you fix it by understanding where the light is coming from and having the patience to wait for it to hit the subject’s eyes.
Gethin Moreau
Before You Pack Up
At the end of the day, working with available light isn’t about mastering a specific sensor or buying a more expensive ND filter. It’s about the discipline of observation. We’ve talked about reading the direction of the sun, respecting the fall-off of a single window, and the patience required to wait for that one specific moment when the shadows hit the subject just right. If you can learn to see the light for what it is—rather than what you wish it were—you’ve already done more for your cinematography than any high-end lighting kit ever could. Remember, the goal is to use what is already there to tell the story, not to fight the environment until you’ve exhausted your crew and your budget.
I’ve spent more years than I care to admit staring at walls, waiting for a cloud to pass or a lamp to flicker, just to get a single shot that felt honest. It’s easy to get caught up in the spec sheets and the gear lust, but don’t let the pursuit of technical perfection blind you to the texture of reality. The most beautiful images I’ve ever captured didn’t come from a controlled studio; they came from being present enough to catch the world when it decided to show itself. So, put down the manual, look at where the light is actually coming from, and just start shooting.
