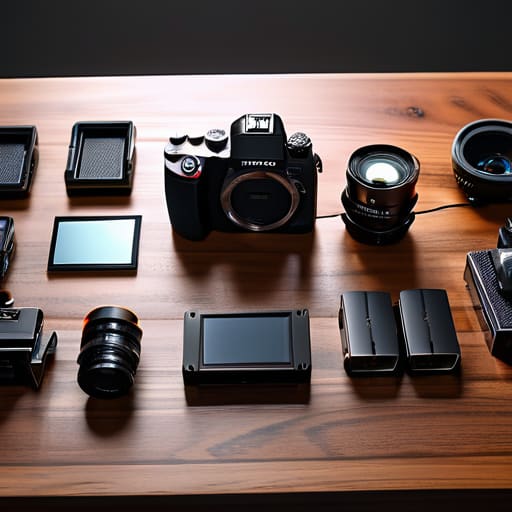
I spent three weeks on a documentary in the Highlands last year, lugging a Pelican case that weighed more than my actual talent, only to realize the most important tool I had was a single 50mm prime and a bounce board I found in the back of a van. Most people looking for a complete guide to building a kit are actually just looking for a shopping list of expensive glass and sensor resolutions that promise to fix a lack of vision. They think if they just buy that next cinema body or the latest wireless follow-focus, the image will suddenly start telling a story. It won’t. Gear doesn’t compose a shot, and it certainly doesn’t understand how a shadow should fall across a face.
I’m not here to sell you on a specific brand or help you justify a massive credit card bill. Instead, I’m going to give you the unromantic truth about what actually matters when you’re standing in a room with nothing but a single window for light. We’ll talk about the essentials that actually change the work—the pieces of equipment that provide coverage and reliability—and more importantly, we’ll talk about what you can leave behind.
The Myth of the Perfect Purchase a Complete Guide to Building a Kit
I’ve sat in enough production meetings to see the same mistake play out every single time: a kid with a decent budget and a massive credit card trying to buy their way out of a lack of experience. They think a high-end sensor will fix a poorly lit room or a lack of coverage. It won’t. You can own the most expensive Alexa 35 in the world, but if you don’t understand how to shape a single key light, you’re just recording expensive garbage. When you start your kit assembly workflow, you need to stop looking at spec sheets and start looking at the physics of a room.
Instead of chasing every shiny new accessory, I suggest a tier-based equipment selection strategy. Start with the bones: a body that can handle the dynamic range you need, a handful of glass that doesn’t fight you, and enough grip to actually control the environment. Everything else—the wireless follow focuses, the specialized matte boxes, the fancy monitors—is just noise until you’ve mastered the basics of distance and light. Build for the job you actually have, not the one you’re pretending to do.
Tier Based Equipment Selection Solving Problems of Light and Distance
Stop trying to build one “everything” bag. It doesn’t exist, and even if it did, you’d spend half your day wrestling with it in the back of a van. Instead, I look at tier-based equipment selection as a way to solve for physics, not just budget. Your first tier isn’t about the body; it’s about the light and the distance. If you’re shooting a run-and-gun interview, your “kit” is actually just a small LED panel, a solid tripod, and whatever lens won’t break when you bump it. You aren’t looking for cinematic texture yet; you’re looking to ensure the subject isn’t a silhouette against a window.
Once you have the basics, you move into your secondary tier—the stuff that handles the nuance. This is where you add the modular kit components like a decent matte box or a shoulder rig that actually helps you stabilize a moving shot. This isn’t about gear lust; it’s about having the tools to control the environment when the sun goes down or the room gets too tight. Build in layers, and you’ll find you’re much harder to break.
Modular Kit Components That Actually Change the Work
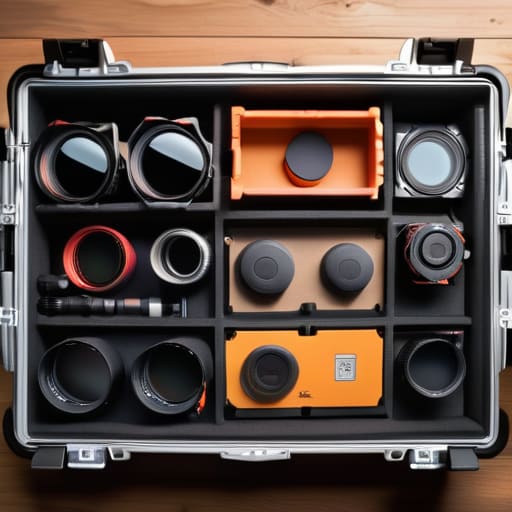
If you want to stop treating your gear bag like a junk drawer, you need to stop thinking about individual items and start thinking about modular kit components. I don’t care if you’re shooting a wedding or a low-budget indie; your kit should be built around functional units. Think of it as a “lighting module,” a “camera module,” and a “sound module.” When you arrive on set and realize the sun has moved or the room is smaller than the scout promised, you shouldn’t be digging through a mountain of cables to find a single bounce card. You should be able to grab a pre-configured kit that solves a specific problem.
This approach to kit assembly workflow saves you from the panic of the missing dongle or the dead battery. Instead of an endless shopping list, focus on the pieces that bridge the gap between a raw image and a professional one. A solid set of ND filters, a reliable tripod with a fluid head that doesn’t jitter, and a decent wireless monitor are the things that actually change the work. Everything else is just extra weight you’ll end up cursing when you’re hauling it up three flights of stairs.
Cost Effective Kit Planning What a Colourist Cannot Rescue
I’ve seen too many young shooters treat the post-production phase like a magic wand, assuming a high-end colorist can fix a mess made on set. Let’s be clear: a colorist can balance skin tones and create a mood, but they cannot fix a sensor that’s been choked by bad exposure or a scene where the lighting is so flat it lacks any sense of depth. If you’re practicing cost-effective kit planning, don’t siphon your entire budget into a body that promises “dynamic range” if you’re going to spend the whole shoot under flickering fluorescent lights. You can’t grade your way out of poor lighting, and you certainly can’t grade your way out of a lack of texture.
When you’re refining your kit assembly workflow, prioritize the tools that ensure your data is actually usable. I’d much rather see a person with a mid-range camera and a solid set of ND filters and a bounce board than someone with a cinema flagship and nothing to control the light. Data integrity is your real priority; once you’ve clipped your highlights or buried your shadows in noise, that footage is essentially dead on arrival. No amount of expensive software will bring back the nuance you lost because you were too cheap to buy a decent light or a way to control it.
The Essential Gear Checklist Beyond the Camera Body
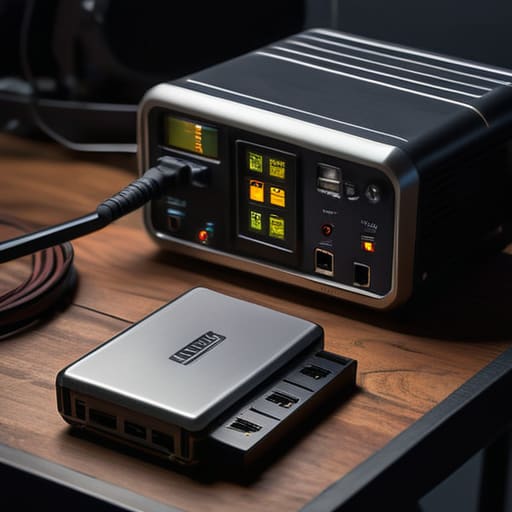
Once you’ve stopped obsessing over the sensor, you need to look at the things that actually keep you shooting when the sun goes down or the client changes their mind. A real essential gear checklist isn’t a list of toys; it’s a list of insurance policies. I’m talking about your power management and your media redundancy. If you show up to a set with a beautiful camera but no way to keep it running for six hours, or no way to back up the footage on-site, you aren’t a cinematographer—you’re a liability. I’ve seen more productions die because of a dead V-mount battery or a corrupted SD card than because of a bad exposure.
The rest of your kit assembly workflow should focus on the physical connection between you and the image. Don’t skimp on the things that touch your hands: a solid tripod head, reliable cables that won’t flicker mid-take, and a monitoring solution that actually shows you what the light is doing. If you can’t see your shadows clearly on a tiny, washed-out screen, you’re just guessing. Buy the sturdy, boring stuff first. The fancy matte box is nice, but a reliable way to lock your focus is what actually gets the shot in the can.
Mastering Your Kit Assembly Workflow and Organization Techniques
Once you’ve finished your cost-effective kit planning and actually have the gear sitting in front of you, the real work begins. I’ve seen too many young operators spend three hours on a set digging through a disorganized Pelican case for a single wireless receiver while the sun is actively dying. Your kit assembly workflow shouldn’t just be about what you own, but how quickly you can access it when the light is changing. I treat my cases like a professional kitchen; everything has a dedicated home, and if a piece of gear doesn’t have a specific slot, it doesn’t belong in the primary bag.
Good kit organization techniques are about reducing the friction between an idea and the image. I rely heavily on a system of labeled, transparent pouches—one for media, one for cables, one for small grip essentials. It sounds tedious, but when you’re working a long day on a documentary, you don’t want to be hunting for a specific Allen key or a spare battery. You want to be able to reach into a bag and know exactly where that item is. If your setup requires a scavenger hunt every time you need to change a lens, you aren’t ready to shoot.
Five Rules for Not Buying Your Way Out of a Bad Image
- Prioritize light mobility over sensor resolution. I’ve seen guys show up to a location with a 6K body and a bag full of expensive glass, only to realize they have no way to shape the light in a room with no windows. A single, reliable LED panel with a decent softbox will do more for your image than an extra zero on your camera’s megapixel count.
- Buy lenses that talk to each other. Don’t chase the latest “cinematic” prime set if they all have wildly different apertures or color shifts. You want a kit where the transition from a wide to a tight feels like the same story, not a sudden jump into a different universe. Consistency is what makes a scene cuttable.
- Invest in your grip before your glass. A solid tripod that doesn’t shake when a breeze hits, a decent set of C-stands, and even just some basic sandbags—these are the things that actually allow you to execute a shot. You can have the most expensive lens in the world, but if your framing is drifting because your support is junk, you’re just filming expensive garbage.
- Build for the “worst-case” scenario, not the dream shoot. Your kit should be able to handle a low-light basement and a bright, midday street corner without needing a complete overhaul. If your gear only works when the lighting is perfect, you aren’t a professional; you’re a hobbyist waiting for permission to work.
- Learn the limits of your media. Before you commit to a massive storage solution, understand exactly how much data your workflow can actually handle. There is no point in shooting high-bitrate RAW if you don’t have the drive speed to play it back or the patience to offload it every two hours. Know your bottleneck before you buy the solution.
The Bottom Line
Stop trying to buy your way out of bad lighting; if you can’t control the light and the distance between you and your subject, a $50,000 sensor is just documenting a mistake in high resolution.
Build your kit around modularity and coverage, not prestige; prioritize the tools that allow you to move, light, and capture a scene that an editor can actually work with.
Invest in the things that change the image, not the things that just add weight; a better lens or a reliable light kit will do more for your work than a slightly faster autofocus system ever will.
The Gear Trap
I’ve seen more productions fail because they brought a $50,000 camera into a room with no light than I have because of a bad sensor. A kit isn’t a shopping list of specs; it’s a collection of tools designed to solve the problems of distance, shadow, and time. If your gear list doesn’t include a way to shape a light or a way to move the camera without tripping over a tripod, you haven’t built a kit—you’ve just bought a very expensive paperweight.
Gethin Moreau
The Bottom Line
At the end of the day, building a kit isn’t about collecting a trophy case of the latest sensors or the most expensive glass. We’ve walked through the tiers, the modular essentials, and the hard truth that no amount of post-production magic can fix a scene where you didn’t bother to understand the light. If you focus on gear that solves problems of distance, light, and coverage rather than just gear that looks good on a spec sheet, you’re already ahead of most of the people coming up behind you. Remember: a well-organized kit is a tool for efficiency, but a well-planned setup is a tool for storytelling.
I’ve spent twenty-three years watching people chase the “perfect” camera, only to realize they were actually just looking for an excuse to stop thinking about the frame. Don’t let the pursuit of the next upgrade become a way to avoid the actual work. The best kit you will ever own is the one that disappears the moment you hit record, leaving nothing between your eye and the subject. Go out, use what you have, and learn how to make it work in the dark, in the rain, and in rooms that weren’t built for cinema. That is where the real craft begins.
