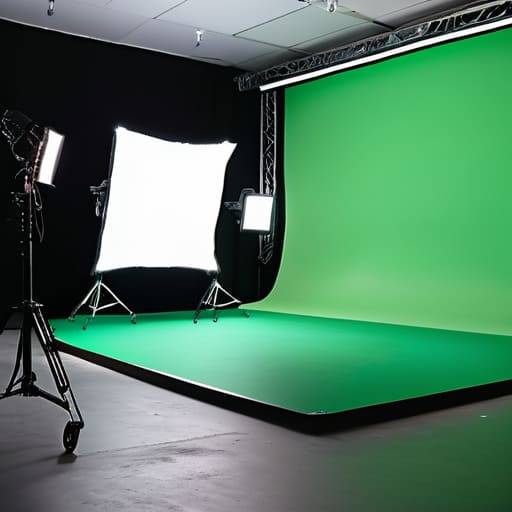
I once spent three days on a corporate shoot in a basement with zero windows, watching a kid half my age try to fix a muddy, flickering key by buying a more expensive plugin. He thought the software was the solution, but the truth was much simpler: his light was hitting the fabric at an angle that created a thousand tiny shadows. People treat a “complete guide to green screen” like it’s a manual for a high-end camera sensor or a magic piece of software, but they’re looking in the wrong direction. It isn’t about the pixels; it’s about the physics of the light hitting that backdrop before you even hit record.
I’m not here to sell you a subscription to a VFX suite or tell you that you need a Hollywood-grade studio to get a clean result. What I want to give you is the actual groundwork—the stuff that matters when you’re staring at a monitor and realizing your subject looks like they’ve been cut out with safety scissors. We’re going to talk about distance, light spill, and how to position your lamps so you aren’t begging a colourist to perform a miracle in post. This is about setting up the scene so it works the first time.
The Physics of the Key a Complete Guide to Green Screen

Before you even think about touching your background replacement software, you need to understand that a green screen isn’t a magic portal; it’s a light management problem. The goal isn’t just to have a green wall; it’s to create a perfectly flat, uniform field of color. If your light is falling off at the edges or creating a hot spot in the middle, your software is going to struggle to find a consistent edge. This is where most people fail. They buy a high-end sensor and expect it to do the heavy lifting, but if your studio lighting for green screen is uneven, you’re just filming a headache.
The real battle is fought in the space between the subject and the backdrop. You want your talent far enough away from the screen to minimize green light bouncing onto their skin and hair. This is how you handle eliminating green spill—not in the edit, but on set. If that green tint is baked into the shadows of a person’s face, no amount of post-production magic is going to make them look like they actually belong in a new environment. It’s about distance and control, not just hitting ‘delete’ on a color.
Fabric and Light Choosing the Best Green Screen Fabric Types
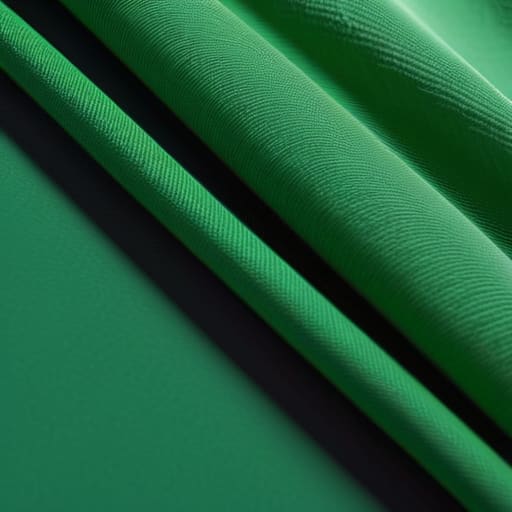
You can buy the most expensive sensor on the market, but if you’re hanging a wrinkled bedsheet in a basement, you’re just documenting your own failure. When we talk about the best green screen fabric types, you have to look past the color and start looking at the weave. Cheap polyester is a nightmare because it’s essentially a collection of tiny, reflective mirrors. It creates hot spots that dance around the frame, making it a headache for any background replacement software to make sense of the mess.
If you want to actually sleep at night, look for a heavy, matte muslin. It’s got enough weight to hang straight and, more importantly, it doesn’t bounce light back into your subject’s hair like a disco ball. My rule of thumb is always about eliminating green spill before the camera even starts rolling; if the fabric is reflecting light onto the actor’s skin, you’ve already lost the battle. You can try to fix it in the grade, but you’ll spend more time fighting the edges than actually crafting a shot. Stick to heavy, non-reflective materials and spend that saved money on a decent light stand instead.
Mastering Studio Lighting for Green Screen to Save Your Edit
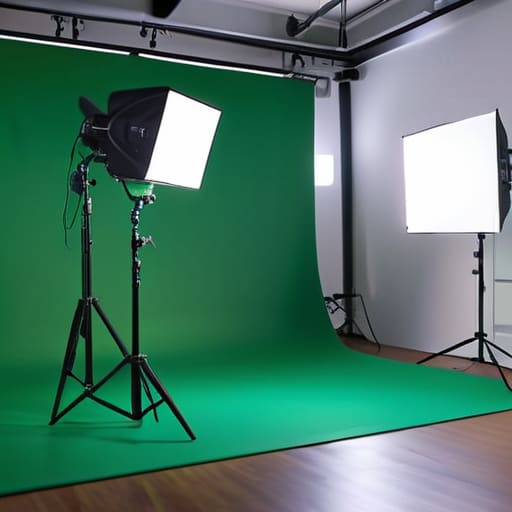
Stop looking at your monitor and start looking at your shadows. If you’re seeing a dark, mottled mess on that green backdrop, you don’t need a better sensor; you need to move your lights. The goal of studio lighting for green screen isn’t just to make the background bright; it’s to make it flat. I’ve seen enough junior DPs try to fight a gradient in the edit, only to realize they could have fixed it in ten minutes with a couple of cheap diffusion sheets. You want even, consistent illumination across the entire surface so the software doesn’t have to guess where the subject ends and the wall begins.
The real killer, though, is the bounce. If you don’t manage your distance, you’ll end up with a nasty green glow on your subject’s skin, and eliminating green spill in post-production is a special kind of hell that no amount of skill can fully rectify. Keep your talent at least six to ten feet away from the screen. This creates a physical buffer that prevents the light from reflecting off the fabric and back onto them. It’s about physics, not gear. Control the spill at the source, and you’ll actually have something worth compositing later.
The Distance Factor Eliminating Green Spill Before It Starts
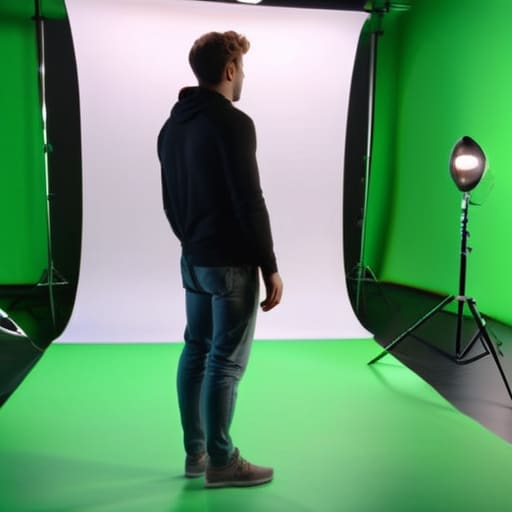
You can buy the most expensive Arri Alexa in the world, but if your subject is standing two feet from that backdrop, you’re already losing the battle. I’ve spent too many afternoons in post-production staring at a subject whose hair looks like it’s been dipped in radioactive lime juice. That’s green spill, and it’s a nightmare to fix. The simplest, most effective way of eliminating green spill isn’t a plugin or a clever mask; it’s just physical distance. You need to get your talent away from the screen—I’m talking at least six to ten feet if the room allows it—so the light bouncing off the fabric doesn’t wrap around their shoulders and ruin the silhouette.
Once you’ve moved them back, you have to deal with the light itself. If you’re using a single light source to wash the background, you’re likely creating a gradient that will make your background replacement software struggle to find a consistent edge. You want the screen lit evenly, but you want it lit separately from your subject. Think of it as two different worlds: one world is the green wall, and the other is the person. If you let those two worlds bleed into each other through proximity, no amount of color grading is going to save your key.
Chroma Keying Techniques Where the Camera Meets the Composite
Once you’ve actually managed to get the light hitting that fabric evenly and your subject isn’t glowing like a radioactive ghost, you move into the digital phase. This is where the math of the software meets the reality of your sensor. Most people think background replacement software is a magic wand, but it’s really just a way to tell the computer which specific frequency of green to ignore. If you haven’t managed the light properly on set, you’ll find yourself fighting the software, trying to pull a key that ends up eating the edges of your actor’s hair or making their skin look like it’s melting.
The real goal isn’t just to make the green disappear; it’s about eliminating green spill so the subject actually looks like they belong in the new environment. I’ve spent too many nights in dark suites trying to fix a “bad” key that was actually just a lighting mistake. My best post-production compositing tips usually boil down to this: don’t rely on the software to do the heavy lifting. Use your tools to refine the edges, but make sure the heavy lifting was already done by the light and the camera before you even hit record.
Post Production Compositing Tips and Essential Background Replacement Softw
Once you’ve actually done the hard work on set—and I mean the real work of managing your lighting and distance—you finally land in the edit suite. This is where the math meets the art. Most people think the software does the heavy lifting, but if your studio lighting for green screen was sloppy, you’re just fighting a losing battle against noise and artifacts. You can use the most expensive background replacement software on the market, but if you haven’t provided a clean signal, you’ll spend more time cleaning up “mucky” edges than actually telling your story.
When you’re looking at your tools, don’t get distracted by the bells and whistles. Whether you’re using the industry-standard suites or something more lightweight, focus on your ability to refine the matte. The goal isn’t just to remove the green; it’s about integrating the subject into the new environment. This means using your software to handle the fine details of hair and motion blur, while being surgical about eliminating green spill on the skin tones. If the software can’t help you match the color temperature of your subject to the new background, you haven’t finished the job; you’ve just layered two images on top of each other.
Five Ways to Stop Fighting Your Compositor
- Stop treating the screen like a backdrop and start treating it like a light source. If you don’t control the spill, you aren’t filming a person in a new location; you’re filming a person standing in a radioactive green fog that no amount of masking will ever truly clean up.
- Check your shutter angle. If you’re shooting with too much motion blur, that green light is going to smear into the edges of your subject’s hair and clothes, creating a soft, muddy mess that makes the key look like a cheap dream sequence.
- Watch your skin tones, not just the green. If your key light is too aggressive or your color temperature is drifting, you’ll end up with subjects that look sickly or grey once the background is swapped. A clean key is useless if the person looks like they’ve been dead for three days.
- Don’t rely on a single light source for the screen. You need even, flat illumination across the entire surface. If you have hot spots or dark corners, you’re forcing the software to make impossible decisions, and the software will always choose the path that looks the most artificial.
- Mind the wardrobe, and I don’t just mean “don’t wear green.” Avoid patterns that create high-frequency flicker and textures that catch micro-shadows. If the fabric is busy, the sensor is going to struggle to distinguish between the subject’s edge and the background noise.
The Bottom Line
Stop looking at your gear list and start looking at your light meter; if the green isn’t even and the shadows aren’t controlled, you aren’t filming a composite, you’re filming a headache.
Distance is your best friend and your cheapest tool—keep the subject away from the screen to stop the spill, because no amount of clever masking in post can fix light that’s already bled into their hair.
Buy the best fabric you can afford, but remember that a cheap screen with a well-placed key light will always beat a premium screen that’s wrinkled or poorly lit.
The Expensive Mistake
You can spend ten grand on a high-resolution sensor and a suite of post-production plugins, but if you haven’t spent the time making sure that green fabric is lit even and your subject is standing far enough away to stop the spill, you aren’t making a film—you’re just making a very expensive headache for your editor.
Gethin Moreau
The Long View on the Green Screen
At the end of the day, a green screen is just a piece of colored fabric sitting in a room, and it doesn’t care how much you paid for your sensor. If you’ve understood that the magic happens in the relationship between the light and the subject, rather than in a plugin, then you’ve actually learned something. We’ve covered the physics of the spill, the necessity of even illumination, and the importance of distance—all things that happen long before you ever open your editing software. Remember, a clean key isn’t a post-production miracle; it’s a pre-production discipline. If the light is right and the distance is managed, the software will do its job without fighting you every step of the way.
Don’t let the technical hurdles keep you from telling the story you actually want to tell. I’ve seen incredible shots ruined by poor lighting on a $50,000 rig, and I’ve seen breathtaking composites built on a shoestring budget simply because the operator knew how to control the shadows. Stop worrying about whether your green is the perfect shade of emerald and start focusing on how the light wraps around your actor. The gear is just a tool, but your eyes and your patience are what actually make the image real. Now, go turn the lights on and get to work.
