
I spent three hours last week watching a kid on YouTube explain why he needed a $2,000 RGB tube light to make his talking head look “cinematic,” when all he really needed was to move his chair three feet away from a window. It’s the same cycle I’ve seen for twenty years: people treat a complete guide to interview lighting like a shopping list for the latest gear, rather than a lesson in how light actually behaves when it hits a human face. If you think a better sensor or a more expensive LED panel is going to fix a flat, muddy image, you aren’t just wasting money—you’re wasting time that could have been spent learning how to shape a shadow.
I’m not here to sell you a kit or tell you which brand of COB light has the best CRI rating. Instead, I’m going to show you how to actually see the light in the room, how to use distance to create depth, and how to position your sources so your subject doesn’t look like they’re being interrogated in a basement. This is about practicality over prestige; I’ll give you the setups that work in the real world, regardless of whether you’re shooting on a cinema rig or a camera that fits in your pocket.
The Truth About This Complete Guide to Interview Lighting

Look, I’ve seen enough “complete guides” to know they usually end up being nothing more than a shopping list for things you don’t actually need. Most of them will promise you the world if you just buy a specific brand of COB LED or a fancy motorized gimbal. They won’t tell you that you can achieve better results with a single window and a piece of white foam core than you can with a five-figure lighting kit used poorly.
The truth is, this isn’t about magic gear; it’s about understanding the physics of how light hits a face. We’re going to talk about the fundamental mechanics—the difference between key light vs fill light and why you shouldn’t be terrified of a little shadow. If you try to light everything perfectly evenly, you aren’t making a film; you’re making a weather report. I want to show you how to use backlight for subject separation to pull someone out of a messy background, and how to stop chasing specs and start chasing shape. If you can master the way light wraps around a human being, you can shoot a masterpiece on a sensor that costs less than your lunch.
Beyond the Gear Mastering Key Light vs Fill Light
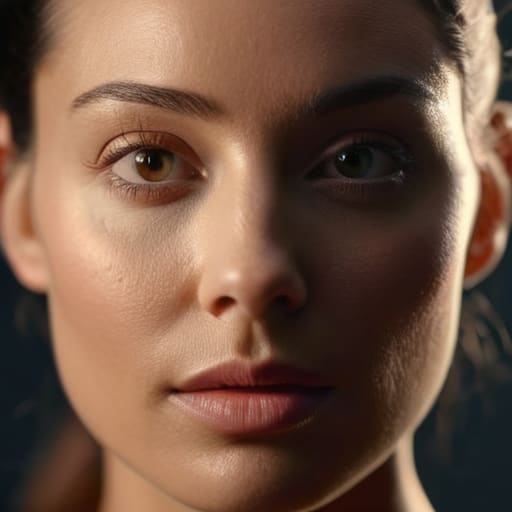
You can own every light in the catalog, but if you don’t understand the relationship between your key and your fill, you’re just making expensive mistakes. Most people think the key light is just the “main” light, but it’s actually the anchor for your entire visual hierarchy. It defines the shape of the face and, more importantly, it defines the shadows. I’ve seen shooters obsess over whether to use a softbox vs ring light for interviews, but that’s a secondary concern. The real work is in how you manage the contrast ratio. If your key is too aggressive and your fill is non-existent, you’re going to have a hard time with skin tones; if the fill is too bright, you lose all the dimension and end up with a flat, lifeless image that looks like a corporate training video from 1998.
Once you’ve balanced that ratio, you need to think about controlling shadows in portrait lighting to create actual depth. This is where you stop thinking about “brightness” and start thinking about “direction.” If you want the subject to pop, don’t just throw more light at them; use a subtle backlight for subject separation to lift them off the background. It’s the difference between a subject looking like they’re glued to a wall and looking like they actually inhabit a three-dimensional space.
Softbox vs Ring Light Choosing Your Primary Tool
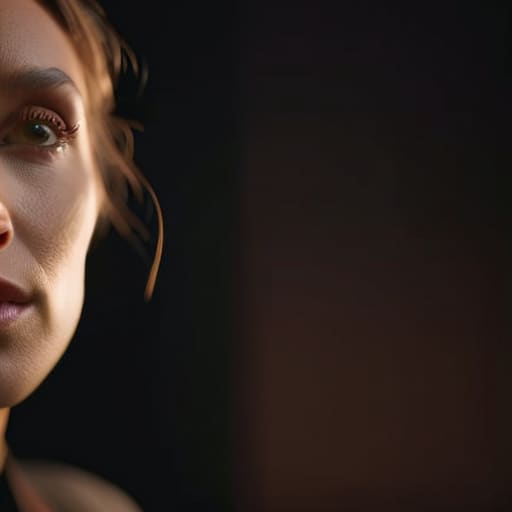
I’ve seen more people reach for a ring light because it’s easy than I have seen them use a softbox because it’s right. If you’re looking for that flat, even, “influencer” look where the shadows disappear entirely, the ring light will do it. It’s convenient, sure, but it’s also surgically efficient at stripping the dimension out of a human face. When you use a ring light, you aren’t really controlling shadows in portrait lighting; you’re just erasing them. It’s fine for a quick webcam setup, but if you want the image to feel like it has weight, you need to move away from that circular glow.
A softbox, on the other hand, gives you something a ring light can’t: direction. By choosing a softbox, you’re deciding where the light falls and, more importantly, where the shadows live. This is the fundamental difference in softbox vs ring light for interviews if you actually care about the texture of the skin or the depth of the eyes. A well-placed softbox allows you to create a wrap that feels natural, giving you the ability to shape the light rather than just flooding the subject with it. It requires a bit more setup and a bit more thought about your distance, but that’s usually where the work actually begins.
Creating Depth Through Practical Lights and Backlight Separation

If you’ve mastered your key light, the next mistake is letting your subject sink into the background like they’re part of the drywall. A flat image is a boring image. To fix this, you need to stop thinking about the subject in isolation and start thinking about the space they inhabit. This is where using practical lights for depth becomes your best friend. A well-placed desk lamp or a warm light strip in the background doesn’t just add “ambiance”; it creates a sense of reality and layers that a single light source can never achieve.
Once you have those practicals in place, you have to deal with the silhouette. I’ve seen too many beginners ignore the rim, leaving their talent looking like a floating head in a dark void. You need a dedicated backlight for subject separation to carve them out from the shadows. Whether it’s a small LED tucked behind a chair or a subtle bounce, that thin line of light along the shoulders and hair is what separates a “webcam look” from actual cinematic lighting setups for video. It’s not about adding more brightness; it’s about defining the edges.
Controlling Shadows and Color Temperature for Cinematic Results
Once you’ve got your lights positioned, you have to deal with the mess they leave behind. Most people think “good” lighting means erasing every shadow, but that’s just a recipe for a flat, lifeless image that looks like a hostage video. Real cinematic lighting setups for video rely on the tension between light and dark. If you’re controlling shadows in portrait lighting, you aren’t trying to hide them; you’re trying to shape the face. A little shadow under the cheekbone or along the jawline provides the structure that a sensor alone can’t manufacture. If everything is bright, nothing is important.
Then there is the headache of color temperature for video interviews. I’ve seen more ruined shots from a mismatched Kelvin scale than from a bad lens. If your key light is a warm tungsten bulb and your window light is a harsh, blue daylight, you’re asking a colorist to perform a miracle, and they aren’t magicians. Pick a direction and stick to it. Either balance your lights to the ambient environment or commit to a controlled, single-temperature setup. Consistency is what makes an image look professional, not the price tag on your LED panel.
The Short List Cinematic Lighting Setups for Video
If you’re looking for a menu of ways to actually use what you’ve learned, start with the Three-Point Classic. It’s the foundation for a reason. You set your key light at a forty-five-degree angle to the subject, use a fill to manage the shadow side, and then—this is the part people skip—add a dedicated backlight for subject separation. Without that rim of light to lift them off the background, they’ll just look like a floating head in a dark room. It’s predictable, it’s safe, and it works.
For something with a bit more grit, try the Rembrandt approach. You pull the fill light way back or kill it entirely, focusing on controlling shadows in portrait lighting to create that distinctive triangle of light under the eye. It’s moody, it’s intentional, and it demands you actually understand the shape of the face rather than just blasting it with light. If you want to elevate it, throw in a small practical lamp in the background. It’s the simplest way to add texture without needing a grip truck full of equipment.
Five Things Your Gear List Won't Tell You
- Watch the eyes, not the face. I don’t care if you have a $5,000 softbox; if you don’t see a clean, motivated catchlight in the subject’s pupils, they look dead. The light needs to live in their eyes to make the audience connect with whatever they’re saying.
- Distance is your best modifier. Instead of hunting for a more expensive diffusion silk, just move your light further away. A larger source relative to the subject creates softer transitions; a small, close light creates hard, unflattering shadows that no amount of post-production smoothing can fix.
- Stop fighting the room. I’ve seen beginners spend three hours trying to balance a three-point setup in a room with floor-to-ceiling windows and white walls. Sometimes the best move isn’t adding more lights, but closing the blinds or moving the subject three feet to the left to avoid a bounce you can’t control.
- Respect the wrap. If your key light is too directional and the shadow on the far side of the face is a black hole, you haven’t “created drama,” you’ve just lost the subject. Use a bounce card or a low-intensity fill to ensure the light wraps around the features just enough to maintain shape.
- Think about the floor. People obsess over the ceiling and the walls but forget that a polished conference table or a white linoleum floor is a giant, unshielded reflector. If your lighting looks “cheap” or washed out, look down—you’re likely being hit by a massive, uncontrolled bounce from the ground.
The Bottom Line
Stop looking for the perfect sensor or the most expensive LED panel; if your light isn’t hitting the subject’s eyes at the right angle to create catchlights, the image is dead on arrival.
Coverage isn’t just about having enough shots for the editor; it’s about using light and distance to create enough separation so the viewer doesn’t feel like they’re looking at a flat, two-dimensional cardboard cutout.
Invest your time in learning how to shape and move the light you already have rather than chasing the next gear upgrade that promises to fix a fundamental lack of technique.
## The Sensor Fallacy
“You can spend six months saving for a sensor that captures a thousand shades of grey, but if you haven’t mastered the distance between your key light and your subject’s eyes, you’re just recording high-resolution garbage. A guide to lighting isn’t a shopping list; it’s a lesson in how to stop fighting the shadows and start using them.”
Gethin Moreau
The Long View
At the end of the day, we’ve talked about key lights, the necessity of separation, and why that expensive softbox won’t do the work for you if the placement is wrong. You can buy every light on this list, but if you haven’t mastered the relationship between the light source and the subject’s eyes, you’re just making expensive mistakes. Remember that a good interview isn’t built on a spec sheet; it’s built on intentionality. Whether you’re using a single bounced window or a three-point kit, your job is to use light to guide the viewer’s eye and respect the mood of the story being told. Stop looking at the gear and start looking at the shadows.
I’ve spent twenty-three years watching technology evolve from heavy tungsten lamps to tiny, silent LEDs, and the one thing that hasn’t changed is the fundamental physics of light. A better sensor might give you more room to play in post, but it won’t give you a soul. If you find yourself struggling with a setup, don’t reach for your credit card—reach for a piece of foam core or move your stand three feet to the left. Master the basics first, and the gear will eventually stop being a distraction and start being a tool. Now, go out there and actually see what you’re shooting.
