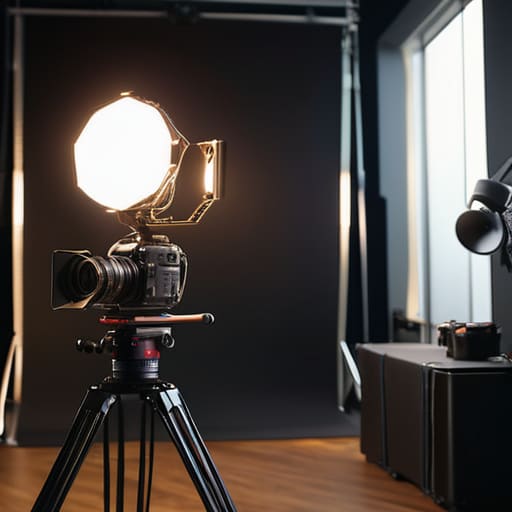
I spent most of my twenties watching people blow entire budgets on high-end LED panels, only to produce footage that looked like a cheap dental office waiting room. There is this pervasive, exhausting myth that if you just follow a “complete guide to lighting for video” found on a gear review site, you’ll suddenly start seeing cinematic magic. But here’s the truth: I’ve shot more beautiful, meaningful frames with a single bounced window and a piece of white foam core than most people do with a five-figure lighting rig. You don’t need a better sensor or a more expensive dimmer; you usually just need to understand where the light is actually coming from.
I’m not here to sell you a shopping list or walk you through a manual of technical specifications that will be obsolete by next Tuesday. Instead, I’m going to show you how to actually see. We’re going to talk about the physics of shadows, the importance of motivated light, and why your biggest enemy isn’t a lack of equipment, but a lack of patience. This isn’t about buying your way into a better image; it’s about learning to control the space you’re already in.
Understanding Complete Guide to Lighting for Video

Before you start plugging things in, you need to understand that light isn’t just about visibility; it’s about information. When I tell people they need a “complete guide to lighting for video,” I’m not talking about a checklist of gear to buy. I’m talking about understanding how light falls across a face and how it separates a subject from their background. Most beginners get stuck trying to mimic a specific look without realizing that cinematic lighting techniques are actually just controlled shadows. If you don’t have shadows, you don’t have depth; you just have a flat, uninteresting image that looks like a security camera feed.
Start by mastering the basics of the three point lighting setup before you go chasing expensive LED panels. You need a key to define the shape, a fill to manage the shadows, and a backlight to pull the subject away from the wall. It’s the foundation for everything else. Whether you are focusing on diffusing light for interviews or setting up a studio for a talking head, the goal is the same: control the direction and the quality of that light. Don’t worry about the brand name on the light stand; worry about where the light is hitting the eyes.
Key Things to Know
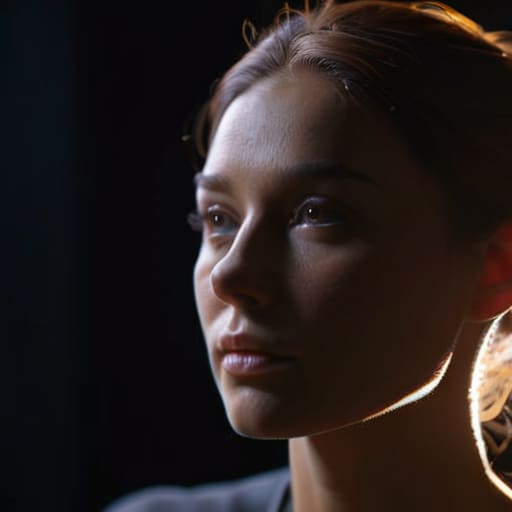
Before you start plugging things in, you need to understand that light isn’t just about making things visible; it’s about creating shape. Most beginners start with the textbook three point lighting setup, thinking that if they check the boxes for key, fill, and back, they’ve “done lighting.” It’s a fine starting point, but it’s a formula, not a feeling. If you want depth, you have to learn how to use a backlight and rim light to pull a subject away from a flat, muddy background. Without that separation, you aren’t filming a person; you’re filming a shape pasted onto a wall.
Then there’s the texture of the light itself. I see too many people buying expensive LED panels only to realize their subject looks like they’re under interrogation. You need to master diffusing light for interviews before you worry about the wattage of your fixtures. Whether you’re choosing a softbox vs umbrella, the goal is the same: wrap the light around the face to soften those harsh shadows that even the best sensor can’t hide. Stop looking at the spec sheet and start looking at how the light hits the skin.
Practical Tips and Steps

Start by ignoring the fancy LED panels you saw in a YouTube review and look at your subject. If you’re setting up for an interview, your first priority is diffusing light to avoid those harsh, unflattering shadows that make people look like they’re in a crime scene reconstruction. You don’t need a massive kit; a simple softbox will do more for your image than a $5,000 sensor ever could. Once you have a soft key light positioned, don’t just stop there. Adding a subtle backlight and rim light is what actually separates a flat, amateur shot from something that has a sense of depth. It pulls the subject away from the background so they don’t look like they’re melting into the wall.
When you move into more complex setups, you’ll eventually find yourself leaning on a standard three point lighting setup, but don’t treat it like a religious ritual. It’s a starting point, not a rulebook. I’ve seen more ruined shots by following the “rules” perfectly than by someone just moving a lamp two feet to the left because the shadow looked a bit too heavy. Pay attention to your color temperature—if your key light is warm and your background is a clinical blue, you’ve got a story to tell. If they’re both the same muddy gray, you’ve just got a boring shot.
Common Mistakes to Avoid
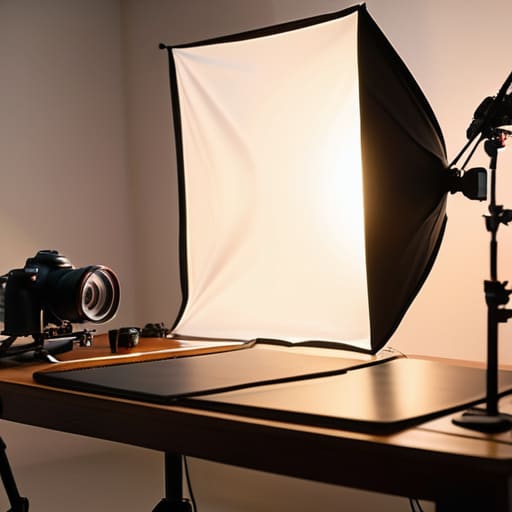
The biggest mistake I see, especially with folks just starting out with lighting for YouTube creators, is the obsession with the “perfect” gear list while ignoring the physics of the room. People spend thousands on high-CRI LED panels only to blast their subject with harsh, unflattering light because they didn’t bother with a modifier. They argue about a softbox vs umbrella like it’s a theological debate, when the real issue is usually just the distance from the source. If your light is too hard, move it back and add a diffusion sheet. You can’t buy your way out of a lack of softness.
Then there’s the trap of the “flat” look. I see too many setups where the light is coming from directly in front of the face, washing out every ounce of shape and depth. They think they’re being safe, but they’re actually making the image look cheap and lifeless. You need to understand how to use a backlight and rim light to pull a person away from the background. Without that separation, you aren’t making cinema; you’re just recording a talking head in a box.
Final Thoughts
At the end of the day, you’re going to realize that no amount of expensive gear can compensate for a lack of intent. You can own every high-end LED panel on the market, but if you don’t understand how to use a backlight and rim light to separate your subject from a messy background, you’re just making expensive-looking garbage. Don’t get lost in the technical weeds of every new gadget hitting the market; focus instead on how the light falls across a face and how that shape tells the story.
If you’re just starting out, don’t feel like you need to master every complex cinematic lighting technique overnight. Start with the basics—get your three point lighting setup down until it feels like second nature, and then start breaking the rules once you actually know why they exist. Whether you are working on a high-end commercial or just figuring out lighting for YouTube creators, the principle remains the same: stop looking at the spec sheets and start looking at the shadows. That is where the real work happens.
Five ways to actually fix your image without opening your wallet
- Stop looking for a better light and start looking for a better position. Most of you are trying to overpower a bad room with a massive LED panel when all you really needed was to move that panel three feet further away or tilt it toward a white wall to soften the spill. It’s about controlling the direction, not just the brightness.
- Learn the difference between lighting a subject and lighting a space. I’ve seen plenty of beginners nail a beautiful close-up only to realize the background looks like a black hole. If you don’t give the eye something to rest on in the distance, your subject is just floating in a void, no matter how expensive your key light is.
- Respect the shadows. Newcomers often try to chase “even” lighting, trying to kill every shadow to make things look clean. That’s not cinematography; that’s a dental office. Shadows provide the shape, the depth, and the mood. If you aren’t willing to let some parts of the frame fall into darkness, you aren’t really lighting, you’re just illuminating.
- Understand that your camera is just a box that records light; it doesn’t create it. I see people buying high-dynamic-range sensors thinking they can fix a poorly lit scene in post. A colorist can move a slider, but they can’t manufacture detail that wasn’t captured in the first place. If the light isn’t there on set, it isn’t there. Period.
- Watch your color temperature like a hawk. You can have the most expensive lighting kit in the world, but if your key light is at 5600K and your practical lamp in the background is a muddy 2700K, you’re going to spend half your edit fighting a color war you can’t win. Pick a look and commit to it before you hit record.
The Bottom Line
Stop looking at spec sheets and start looking at your shadows; most of your “quality” issues are solved by moving a light, not buying a new one.
Coverage is king—light your scene so it actually works for the edit, not just so you can show off a pretty single shot that can’t be cut together.
Learn the limits of your sensor and your colorist; you can’t fix a complete lack of light in post, no matter how much you’re willing to pay for the grade.
The Expensive Illusion
You can buy a sensor that sees in the dark, but it won’t make the dark look any good. A complete guide to lighting isn’t a list of things to buy; it’s the realization that your most important piece of equipment is the distance between your lamp and your subject, and your most expensive tool is the patience to wait for the light to sit right.
Gethin Moreau
The Long View
At the end of the day, a guide can only take you so far. You can memorize the difference between key and fill, and you can certainly learn how to manage your shadows, but none of that matters if you aren’t looking at the actual source of the light in the room. We’ve covered the physics, the placement, and the common pitfalls that turn a professional shot into something that looks like a cheap webcam stream. But remember: a better light kit won’t fix a scene that lacks depth, and a more expensive sensor won’t save you from a flat, unmotivated setup. The goal isn’t to own every modifier in the catalog; it’s to understand how light interacts with your subject so you can stop guessing and start seeing.
If you leave this reading with nothing else, let it be this: stop looking at the spec sheets for a moment and just look at the world. Look at how the sun hits a brick wall at four in the afternoon, or how a single lamp in a dark corner creates a mood that no amount of post-production color grading can replicate. The most important tool you have isn’t sitting in a Pelican case; it’s your ability to observe and react. Master the basics of distance and direction, develop the patience to move a stand one inch at a time, and I promise you’ll produce better work than the kid with the five-figure rig who doesn’t know why his shadows look muddy.
