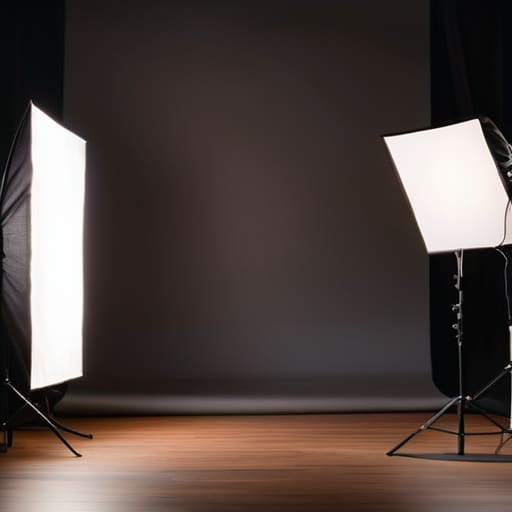
I spent most of the nineties watching people burn through expensive film stock because they thought a more expensive sensor would fix a flat, lifeless image. Today, I see the same mistake happening in digital, just with a different price tag; people spend six months saving for a cinema camera only to realize they have no idea how to light an interview that doesn’t look like a hostage video. They think a high dynamic range will save them from a subject being smashed against a white wall with no separation, but physics doesn’t care about your resolution. You can have an 8K sensor, but if your light is coming from directly overhead and your background is a muddy mess, you’re just capturing a very expensive mistake.
I’m not here to sell you a lighting kit or walk you through a gear checklist that costs more than my first car. Instead, I’m going to talk about geometry and shadows—the stuff that actually matters when the talent is sitting in front of you. We’ll focus on where to place your key, how to use distance to create depth, and why a single, well-placed lamp is worth more than a warehouse full of unmanaged LEDs. This isn’t about the gear you buy; it’s about how you see.
Understanding How to Light an Interview
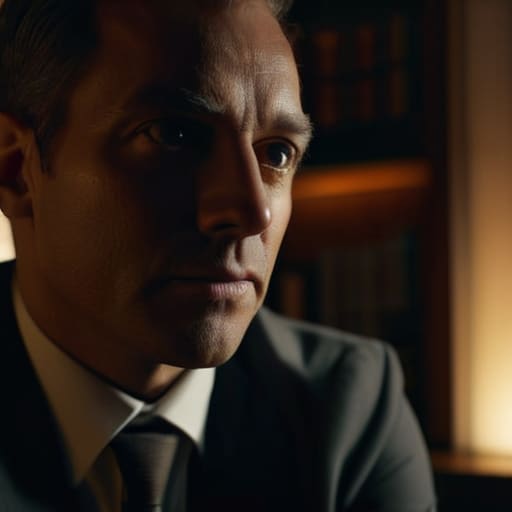
Before you even think about plugging in a power source, you need to understand what you’re actually trying to achieve. Most people approach this thinking they need to illuminate a face; what you actually need to do is carve a person out of the background. If you just blast the subject with light from the front, you end up with a flat, lifeless image that looks like a hostage video. You aren’t just trying to see them; you’re trying to create a sense of three-dimensional space.
This is where the standard three-point lighting setup comes in, though I’ve never met a situation where following the textbook to the letter was the only way to get the job done. The goal isn’t to follow a formula, but to manage the relationship between light and shadow. You use a key light to establish the primary shape, a fill to manage the shadows, and—most importantly—a backlight for subject depth to separate them from the wall behind them. It’s about preventing that awkward “pasted-on” look where the subject seems to be floating in a dark void.
Key Things to Know
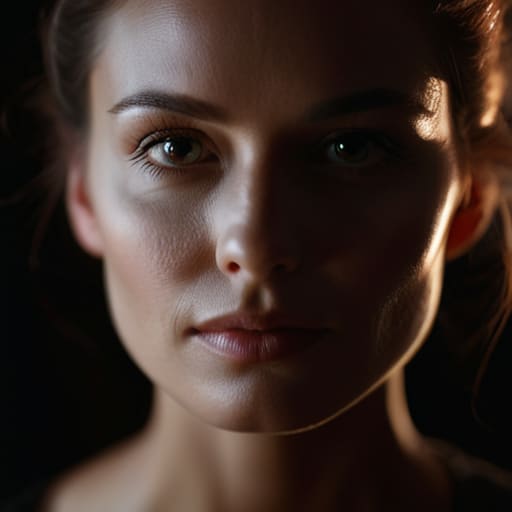
Before you start plugging things in, you need to understand that light isn’t just about visibility; it’s about separation. Most beginners make the mistake of flattening their subject against a wall, turning them into a two-dimensional cutout. If you want to move beyond a webcam look, you have to master controlling shadows in video interviews. Shadows are your best friend here. They provide the shape and contour that tell the viewer’s eye where the face begins and ends. Without them, you aren’t filming a person; you’re filming a bright, featureless blob.
I see people constantly debating softbox vs ring light for interviews, usually because they think the gear choice will do the heavy lifting. A ring light might give you even illumination, but it often kills the soul of the shot by erasing the natural depth of the eyes. I’d much rather see you use a single, well-placed soft source and a modest backlight for subject depth. That little bit of rim light—even if it’s just a cheap work light bounced off a white foam board—is what pulls the subject away from the background and creates that sense of space we call “cinematic.”
Practical Tips and Steps
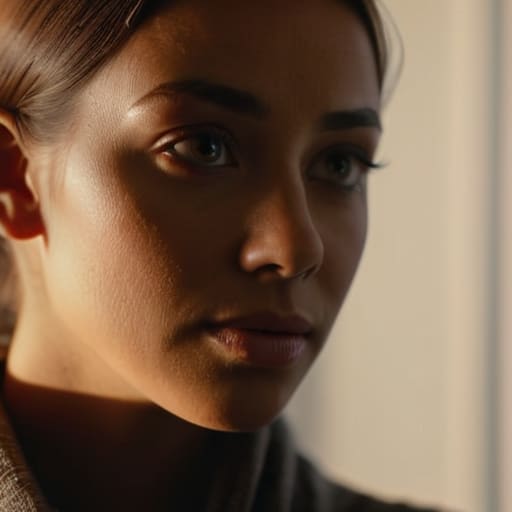
First, stop looking at your gear list and start looking at the walls. If you’re working in a small room, your biggest enemy isn’t a lack of lumens; it’s the bounce. Before you even touch a power switch, identify where the natural light is coming from and decide if you’re going to fight it or lean into it. If you’re using a three-point lighting setup, don’t just slap a key light on their face and call it a day. Place your key light at an angle to create a sense of dimension, and use a backlight for subject depth to pull them away from that flat, muddy background. It’s the difference between a subject looking like they’re stuck to the wall and looking like they actually exist in a three-dimensional space.
When it comes to the actual light quality, forget the debate over a softbox vs ring light for interviews for a second and just look at the shadows. A ring light might give you even illumination, but it often kills the soul of the shot by erasing the natural contours of a face. I’d much rather see you use a large, diffused source placed slightly off-axis. It’s about controlling shadows to guide the viewer’s eye, not erasing them entirely. If the shadows are too harsh, move the light further away or add a diffusion sheet; if they’re too weak, move the source closer. It’s physics, not magic.
Common Mistakes to Avoid

The biggest mistake I see is the rush to buy a kit before understanding the room. People spend thousands on a high-end LED panel only to slap it right next to the lens, creating that flat, lifeless look that screams “corporate training video.” They forget that the goal isn’t just brightness; it’s about controlling shadows in video interviews to create shape. If you don’t have a plan for your shadows, you don’t have a look—you just have a subject who looks like they’re being interrogated by the police.
Another trap is the obsession with the “perfect” gear rather than the physics of the space. I see shooters debating softbox vs ring light for interviews as if the tool itself holds the magic. It doesn’t. A ring light might give you even illumination, but it often kills the dimension in a person’s face. If you want something that actually feels professional, you need to prioritize backlight for subject depth to separate them from the background. Without that sliver of light hitting the shoulders, your subject is just a floating head stuck against a wall.
Final Thoughts
At the end of the day, you aren’t going to find the “secret” in a gear catalog. You can spend your entire budget chasing the most expensive cinematic interview lighting techniques, but if you don’t understand how to manage the relationship between your source and your subject, you’re just wasting money. I’ve seen guys walk onto sets with $50,000 worth of kit and produce images that look flat, muddy, and utterly lifeless. It usually comes down to a lack of intention—forgetting that controlling shadows is just as important as where you place the light.
Don’t get paralyzed by the technicalities of a perfect three-point lighting setup, either. It’s a foundation, not a law. If the room has a beautiful window, use it. If you need to add a little backlight for subject depth to keep them from melting into the background, do it. Just remember that the light is the story, not the camera. Stop looking at the spec sheets and start looking at the way the light falls across a face. If you can master that, the gear will eventually take care of itself.
Five Ways to Stop Fighting Your Lighting
- Stop looking for the “perfect” light and start looking for the shadows. An interview with no shadows is just a flat, lifeless slab of skin that looks like a medical textbook. You need contrast to create shape; if you aren’t seeing a subtle fall-off on the side of the face away from your key, you haven’t actually lit the subject, you’ve just washed them.
- Mind the distance between your subject and the wall. I see people all the time trying to fix a “boring” background by buying a more expensive lens, when all they really needed was to move the chair three feet forward. Distance creates depth, and depth is what separates a professional shot from a webcam stream.
- Treat your backlight as a separation tool, not a spotlight. Its job isn’t to make the person glow like a saint; its job is to create a thin line of light along the shoulder or hair so they don’t bleed into the background. If you can’t tell where the person ends and the room begins, your lighting has failed.
- Watch your color temperature like a hawk. There is nothing more exhausting to fix in post than a subject with skin tones that shift from orange to blue halfway through a sentence because you mixed a daylight LED with a tungsten practical lamp in the background. Pick a temperature and stick to it, or don’t bother filming.
- Soften the light before you complain about the sensor. If the skin looks harsh or the eyes look “hot,” don’t go out and buy a new camera with better dynamic range. Just get a bigger diffusion silk or move the light further away. A large, soft source is almost always better than a small, powerful one, regardless of what the spec sheet says.
The Bottom Line
Stop looking at the spec sheet and start looking at the shadows; a cheap light positioned with intention will always outshine a $2,000 panel placed poorly.
Coverage isn’t just about having more angles, it’s about having enough visual variety in your lighting and framing so the editor actually has something to work with when the pacing drags.
You can’t buy your way out of bad physics—if the light is too harsh or the subject is too close to a messy background, no amount of sensor resolution or post-production magic is going to save the shot.
## The Sensor Myth
Stop looking at the spec sheet of that new camera and start looking at the shadows on your subject’s face; you can buy all the dynamic range in the world, but you can’t buy your way out of a flat, uninspired setup that lacks any sense of direction or depth.
Gethin Moreau
The Long View
At the end of the day, lighting an interview isn’t about mastering a specific menu on a high-end LED panel or memorizing a complex diagram from a textbook. It’s about the relationship between the source, the subject, and the space they occupy. If you can manage your key light’s direction, respect the falloff to create a sense of depth, and ensure your background isn’t competing for the viewer’s attention, you’ve already done ninety percent of the heavy lifting. Remember that coverage and consistency matter more than any single “hero” shot. You can have the most expensive sensor in the world, but if the light is flat and the shadows are muddy, you’re just recording high-resolution garbage that will be a nightmare to color grade later.
I’ve spent more than two decades watching people chase the next big gear release, thinking it would finally be the thing that makes their images look “cinematic.” It never is. The magic doesn’t live in the spec sheet; it lives in your ability to look at a room, see where the light is actually coming from, and make a decision based on the story you’re trying to tell. Stop looking at the price tag and start looking at the quality of the light hitting your subject’s eyes. If you get that right, the rest is just housekeeping. Now, stop reading and go turn a lamp.
