
I spent three hours on a documentary set in a basement in Dublin once, watching a kid try to fix a muddy, underexposed shot by cranking the ISO until the sensor looked like it was covered in digital salt. He thought he could buy his way out of the gloom with a higher spec, but he was just masking a fundamental lack of direction. Most people approach the question of how to light a dark room by thinking about how much light they can add, when they should actually be thinking about where the light is coming from in the first place. You don’t need a more sensitive sensor or a bigger budget; you need to stop fighting the shadows and start shaping them.
I’m not here to sell you a lighting kit or a subscription to a gear review site. Instead, I’m going to show you how to use distance, bounce, and basic geometry to create depth where there currently is none. We’ll talk about finding the practical light that already exists in the space and how to manipulate it so your footage actually looks like it was intended to be dark, rather than just poorly captured.
The Fallacy of Brightness Why You Struggle With How to Light a Dark Room
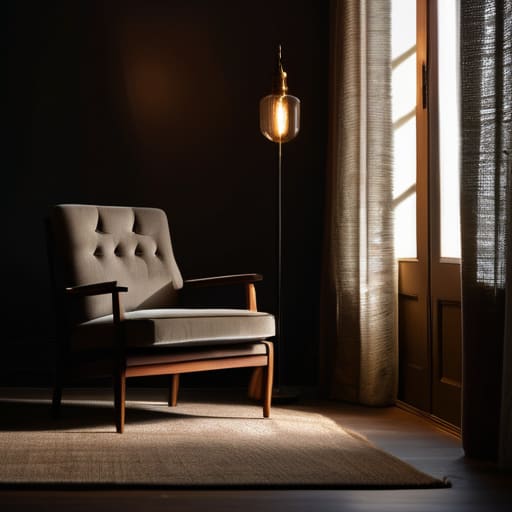
The biggest mistake I see is the impulse to treat a dark room like a crime scene that needs to be illuminated by a floodlight. People see a shadow and think “more power,” so they crank the ISO or blast the space with a massive LED panel, hoping to wash everything out. They think they’re solving the problem, but they’re actually just killing the mood and destroying the texture of the space. When you try to force brightness where it doesn’t belong, you aren’t creating a scene; you’re just making a flat, uninteresting mess.
The real struggle isn’t about the lack of light; it’s about the lack of direction. Most beginners treat darkness as an enemy to be defeated rather than a tool to be sculpted. Instead of chasing a high-key look, you should be looking at your ambient light sources—that single lamp in the corner or the sliver of moonlight through the blinds—and figuring out how to work with them. If you spend all your energy reducing digital image noise by trying to make everything visible, you lose the very thing that makes a dark space feel real: the depth that only exists in the parts you can’t see.
Mastering Ambient Light Sources Without Sacrificing the Mood
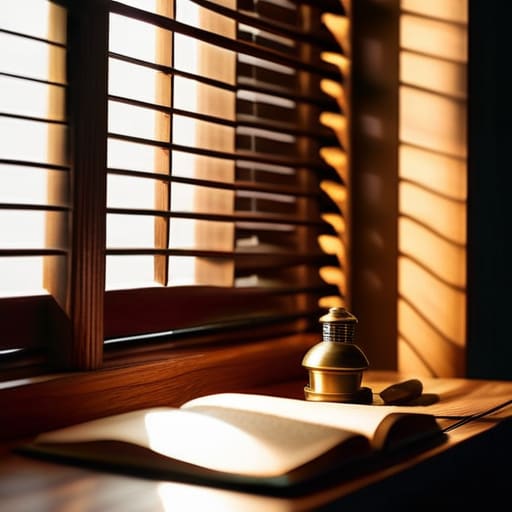
The mistake most people make is treating a dark room like a void that needs to be filled, rather than a space with its own logic. If you have a lamp on a side table or a sliver of moonlight through a blind, those are your anchors. Instead of bringing in a massive LED panel that flattens everything, try using practical lights in film to build your base. A single, well-placed desk lamp does more for the soul of a shot than a dozen cheap floodlights ever could. It gives the eye a place to rest and establishes a sense of reality that feels earned, not manufactured.
Once you’ve identified those ambient light sources, your job isn’t to overpower them, but to supplement them just enough to keep the sensor from choking. This is where people panic and crank their ISO, only to end up with a muddy mess of grain. I’ve always found that a tiny bit of motivated light—something that looks like it belongs to the room—is the best way of reducing digital image noise without killing the atmosphere. You aren’t trying to make it bright; you’re trying to make the shadows legible.
Using Practical Lights in Film to Anchor the Eye
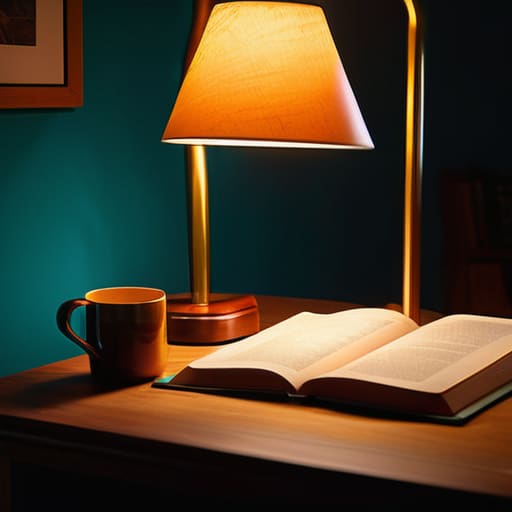
If you’ve spent any time looking at a monitor in a dark room, you know that a black frame is a dead frame. To keep an audience from feeling like they’re watching a void, you need something for the eye to latch onto. This is where using practical lights in film stops being a suggestion and becomes a necessity. I’m not talking about a massive HMI rig outside the window; I’m talking about that desk lamp, the dim glow of a television, or even a single candle. These sources provide a logical reason for the light to exist within the world of your story. When a light source is visible in the frame, it anchors the viewer’s sense of space, making the darkness feel intentional rather than accidental.
The trick is to realize that a practical light isn’t just a prop; it’s a tool for defining depth. By placing a small, warm lamp in the background, you create a separation between your subject and the shadows, which is a fundamental part of many cinematic lighting techniques. Just don’t go overboard. If every lamp in the room is turned to full brightness, you’ve lost the mood entirely. You want just enough spill to suggest the environment, helping to guide the eye without washing out the texture of the shadows you worked so hard to create.
Cinematic Lighting Techniques for Creating Depth in Shadow
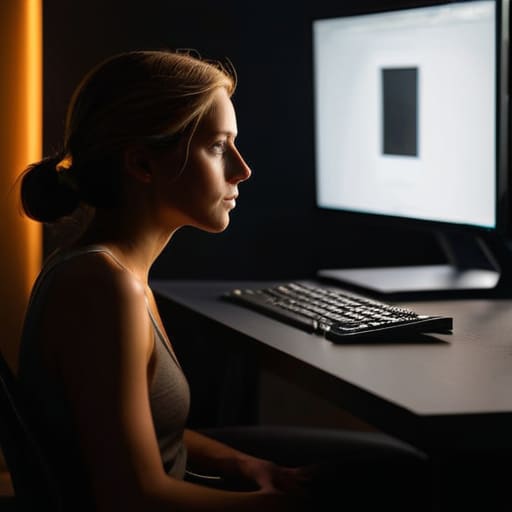
If you’ve spent any time looking at a monitor in a dark room, you know the temptation is to flatten everything out until the shadows disappear. That’s a mistake. Real depth doesn’t come from seeing everything; it comes from knowing what to hide. Instead of trying to illuminate the entire space, I start by looking for the fall-off. You want to create a sense of volume by separating your subject from the background, often by using a subtle rim or back-light that just barely catches an edge. This isn’t about a textbook three-point lighting setup where every light is perfectly balanced; it’s about creating a hierarchy of light that tells the eye where to rest.
When you’re working in these low-light environments, you have to be mindful of the trade-off between shadow detail and reducing digital image noise. If you push your ISO too hard just to see into the corners, you’ll end up with a muddy, textured mess that no amount of grading can save. I’ve always found that it’s better to let a corner go completely black than to let a sensor struggle through a noisy, underexposed void. Focus on the interplay between light and dark—the contrast is where the story lives.
The Three Point Lighting Setup a Guide for the Patient
Look, I know the textbook says you need a key, a fill, and a back, but in a tight, dark space, that’s often a recipe for a cluttered, ugly mess. The three-point lighting setup isn’t a magic spell; it’s a way to manage how light falls off. When you’re working in a room that’s already fighting you, your key light shouldn’t be a blunt instrument. It needs to be directional. If you just blast the subject, you lose all the texture of the shadows you worked so hard to create. I’ve spent more time moving a single bounce card than I have adjusting a dimmer, because control is more important than raw output.
The real trick is using your fill and rim lights to provide shape without washing out the mood. A subtle rim light can separate your subject from a black background, preventing them from looking like a floating head, but don’t overdo it. If you crank the gain on your sensor to compensate for a weak fill, you’re just reducing digital image noise by making it look like dancing gray sand. Keep your lights close, keep your shadows intentional, and remember: if the light isn’t doing something useful, turn it off.
Reducing Digital Image Noise Instead of Buying New Sensors
I see it every week: a filmmaker staring at a grain-heavy monitor, convinced the only solution is to trade in their current body for a sensor with a higher dynamic range or a more “advanced” ISO capability. It’s a seductive lie. You can spend thirty grand on a new camera, but if you’re still underexposing your subject, you’re just paying more money to capture expensive-looking digital noise. The truth is that reducing digital image noise starts with how you manage your light, not how you manage your settings.
Instead of cranking the ISO and praying the sensor can handle the heat, look back at your placement. If you’ve already mastered the basics of a three-point lighting setup, stop looking for more light and start looking for better light. Sometimes, the fix isn’t adding a massive LED panel; it’s simply moving your existing ambient light sources closer to the subject or adjusting your aperture to catch what’s already there. If you find yourself fighting a losing battle against grain, stop looking at the spec sheet and start looking at the shadows. Often, the most effective way to clean up an image is to stop trying to fight the darkness and start shaping it.
Five Ways to Stop Fighting the Darkness and Start Using It
- Stop trying to kill the shadows. When you’re in a dark room, your first instinct is to flood the space with light to “see” better, but that just flattens everything into a muddy, lifeless mess. Instead, decide where you want the eye to go and leave the rest of the room in the dark. A shadow isn’t a mistake; it’s a shape.
- Watch your bounce before you reach for a key light. If the room is dark because it’s small or cramped, don’t just point a heavy light at your subject. Aim it at a white wall or a ceiling. It’s a slower, more patient way to work, but it creates a soft, wrap-around light that feels like it belongs in the room rather than being slapped onto it by a crew.
- Manage your contrast ratios, not just your brightness. A dark room feels “cinematic” because of the relationship between the brightest part of your frame and the darkest. If you blow out your highlights just to combat the gloom, you’ve lost the mood. Keep your exposure controlled so the blacks stay deep without turning into a grainy, digital sludge.
- Use the architecture to shape your light. If you have a doorway, a window, or even a corner, use those physical boundaries to “flag” your light. You don’t need expensive barn doors or flags if you can position your light source so the edge of a wall does the work for you. It’s about controlling where the light doesn’t go.
- Check your color temperature against the existing environment. If you’re lighting a dark room with a cool LED panel while there’s a warm practical lamp in the background, the image is going to look like a cheap commercial. Match your light to the “logic” of the room, or lean into the contrast intentionally so it looks like a choice, not an accident.
The Bottom Line
Stop chasing brightness and start chasing contrast; a dark room only looks bad when it’s flat, not when it’s actually dark.
Use what’s already in the room—lamps, windows, or even a single bounce card—before you reach for a heavy light kit that’s just going to wash out the mood.
Respect your sensor’s limits by prioritizing light quality over quantity, because you can always fix a shadow in post, but you can’t fix a noisy, underexposed mess.
The Trap of Total Illumination
Most people approach a dark room like they’re trying to fix a broken engine with a coat of paint; they just throw more lumens at the walls and wonder why the image looks flat and lifeless. Real lighting isn’t about erasing the darkness, it’s about deciding which parts of the shadows are worth keeping.
Gethin Moreau
The View from the Monitor
At the end of the day, lighting a dark room isn’t about finding a way to make it bright; it’s about deciding which parts of the darkness you can live with. We’ve talked about leaning into your practicals, managing your ambient light so it doesn’t wash out your intent, and using shadow to create the depth that a flat, over-lit room lacks. You don’t need a more expensive sensor to hide a messy setup, and you certainly don’t need a bigger lighting package to fix a lack of direction. If you focus on where the light hits and how it transitions into the dark, you’ll find that the shadows do more work for your story than the highlights ever could.
If you leave this feeling like you need to go out and rent a massive HMI kit just to get a decent exposure, you’ve missed the point. The best images I’ve ever captured didn’t come from having the most lumens on set, but from knowing exactly where to place a single, well-placed lamp to tell the truth of a scene. Stop looking at the spec sheets and start looking at the geometry of your space. Put the camera where the story is, find the light that serves the mood, and have the patience to wait for the shadows to settle. That is how you make a room look cinematic, rather than just well-lit.
