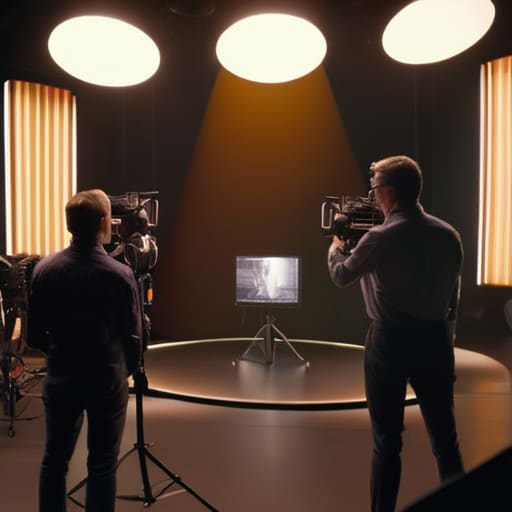
I remember sitting in a dim corner of a studio in South London back in ’98, watching a director lose his mind because he’d spent four hours obsessing over a slow-motion gimbal move, only to realize he had nothing to cut to. He’d bought the most expensive lenses available, but he hadn’t actually thought about how coverage is planned for the actual rhythm of the scene. We were all staring at a beautiful, sweeping shot that was essentially a dead end in the edit. It’s the same mistake I see every week now: people think a high-resolution sensor or a stabilized rig will save them from a lack of fundamental geometry.
I’m not here to sell you a new stabilizer or a lecture on bitrates. My goal is to show you how to look at a room, find your light, and map out your angles so that when you finally hit record, you aren’t just capturing pretty pictures, but buildable sequences. I’m going to strip away the gear-obsessed nonsense and talk about the actual logic of the lens, the importance of the master shot, and how to ensure you have enough functional variety to actually tell a story.
Understanding How Coverage Is Planned
You don’t start by picking a lens; you start by looking at the floor. Before a single light is rigged, you have to understand the physical movement of the actors. This is where scene blocking for camera becomes the actual foundation of the work. If a character moves from a chair to a window, that movement dictates whether you need a wide to establish the space or a tight to catch the hesitation in their eyes. You aren’t just filming people talking; you are mapping out a path that allows the camera to follow the emotional beat without tripping over its own feet.
Most people think coverage is just a checklist of angles, but it’s really about providing the editor with choices. I usually lean on the master shot method to anchor the scene—get the whole thing in one wide, stable frame so we know where we are. From there, you work inward. You grab your medium shots to establish the relationship between characters, and then your close-ups to find the subtext. If you don’t respect this hierarchy, you end up with a pile of beautiful, disconnected fragments that refuse to stitch together in the edit.
Key Things to Know
Before you even touch a tripod, you need to understand that coverage isn’t just about collecting angles; it’s about providing the editor with the tools to build a rhythm. If you rely solely on the master shot method, you might capture the whole scene, but you’ll likely find yourself stuck with a flat, lifeless sequence that lacks emotional nuance. You have to think about the relationship between the characters and the space they occupy. If the light is coming from a high window to the left, your coverage needs to respect that directionality, or you’ll end up with a mess of mismatched shadows that no amount of color grading can fix.
Good scene blocking for camera is where the real work happens. You aren’t just moving actors; you are deciding where the visual information lives. I’ve seen too many beginners treat their B-roll as an afterthought, a frantic b-roll acquisition strategy performed in the final ten minutes of a shoot. That’s a mistake. You need to capture the details—the hands, the eyes, the objects that ground the story—while the light is still working for you. If you don’t plan the coverage to support the edit, you’re just filming expensive wallpaper.
Practical Tips and Steps
Start with the master shot, but don’t treat it like a chore. I’ve seen too many juniors treat the wide as a mere formality before rushing to the close-ups, only to realize in the edit that they have no way to bridge the gap between two performances. Use the master shot method to establish the geography of the room and the relationship between your players. Once you know where everyone is standing and how the light hits the floor, you can start the real work of scene blocking for camera. If a character moves from a pool of window light into a shadow, you need to know that before you even touch the tripod.
When you move in for the tighter shots, stop thinking about the subject and start thinking about the cut. Every medium shot or close-up should serve a purpose in your visual storytelling techniques; if it doesn’t provide a new piece of information or a different emotional beat, it’s just wasted time and battery life. I always tell my assistants to look for the “connective tissue”—the small gestures or glances that allow an editor to jump from a wide to a tight without the audience feeling a sudden jolt. It’s about building a safety net of angles so that when the tension rises, you actually have the tools to show it.
Common Mistakes to Avoid
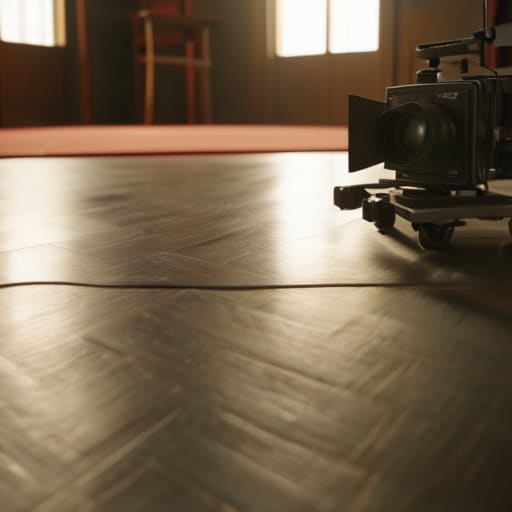
The biggest mistake I see—and it kills me every time—is people treating the camera like a spectator rather than a participant. They set up a beautiful wide shot and then think they’re done. They forget that scene blocking for camera isn’t just about where the actors stand; it’s about where the story moves. If you don’t plan for the space between the characters, you’ll end up with a series of beautiful, isolated images that have absolutely nothing to say to one another. You can’t just “fix it in post” when you realize you have no way to bridge the gap between a wide and a close-up.
Then there’s the obsession with the “hero shot” at the expense of the edit. I’ve sat in dark rooms with editors who were staring at a screen full of gorgeous, high-contrast close-ups that they couldn’t actually use because there was no connective tissue. They skipped the master shot method entirely, thinking they could rely on sheer talent to piece it together. When you ignore the foundation, you aren’t making a film; you’re just collecting expensive snapshots. Don’t let your ego drive the lens; let the rhythm of the scene dictate the angles.
Final Thoughts
At the end of the day, you aren’t just collecting pretty pictures; you are building the skeleton of a story. If you walk off a set thinking you’ve “got the shot” because the lighting was perfect and the sensor looked great, but you haven’t considered how those shots will actually sit next to one another, you’ve failed. Good cinematography shot selection isn’t about the gear you’re holding—it’s about the mental map you draw before the first light is even rigged.
I’ve sat in too many edit suites watching a director struggle because the coverage was thin or the rhythm was broken by a lack of variety. It usually comes down to a lack of discipline during the initial scene blocking for camera. If you respect the geometry of the space and the movement of your actors, the edit becomes a gift rather than a rescue mission. Don’t chase the latest resolution; chase the connection between the shots. If you do that, the gear becomes secondary, and the story finally has room to breathe.
Five ways to stop shooting blindly
- Stop thinking about “cool shots” and start thinking about the edit. Every time you frame a shot, ask yourself if there is a bridge between this angle and the next one. If you have a beautiful close-up but no medium shot to establish where the character is standing, you haven’t captured a scene; you’ve just captured a portrait that’s impossible to cut.
- Respect the master shot, even when you’re tired. I know, the master shot feels like a chore when the light is fading and the talent is getting cranky, but it is your safety net. It’s the map of the entire geography. If you mess up the coverage later, or if the editor realizes they’ve lost the thread of the conversation, that master is the only thing that will save your skin.
- Plan your coverage around the light, not the camera position. I’ve seen plenty of juniors try to force a specific angle because it looks good on a monitor, only to realize they’ve moved into a shadow or lost their key light. Figure out where your primary light source is coming from first, then work out where the camera can sit to see the action without fighting the physics of the room.
- Vary your focal lengths, but don’t overcomplicate it. You don’t need a different lens for every single setup, but you do need a sense of depth. If every shot is a tight 50mm, your scene is going to feel claustrophobic and flat. Use your wides to breathe and your longs to isolate, but make sure the transition between them feels like a logical progression of the eye.
- Watch your eyelines like your life depends on it. It sounds basic, but it’s the easiest way to ruin a scene. If Character A is looking slightly left and Character B is looking slightly right, they aren’t talking to each other; they’re having two separate monologues. Check the direction of their gaze before you commit to a setup, or you’ll be staring at a screen of broken continuity for the next three hours.
The Bottom Line
Stop looking at your camera and start looking at the edit; if you haven’t visualized the cut before you even set the tripod, you aren’t planning coverage, you’re just collecting footage.
Light and blocking dictate your angles, not your gear list—if the light only works from one side, your coverage plan needs to respect that reality rather than fighting it with expensive lenses.
Coverage is about safety and rhythm, ensuring you have enough variety to fix a performance in post without sacrificing the visual logic of the scene.
The Editor's Safety Net
You don’t plan coverage to capture pretty pictures; you plan it so the editor doesn’t have to perform surgery on a broken scene. If you haven’t thought about how the next shot connects to the one before it, you aren’t directing—you’re just collecting footage.
Gethin Moreau
The Last Frame
At the end of the day, planning your coverage isn’t about checking boxes on a shot list or collecting as many angles as humanly possible just to feel safe. It’s about understanding the rhythm of the story and ensuring you have the visual connective tissue required to bridge the gap between a character’s thought and their action. If you’ve focused on the light, respected the blocking, and mapped out your master, medium, and close-ups with the edit in mind, you’ve done the heavy lifting. You aren’t just capturing images; you are building a functional blueprint that allows the editor to actually breathe life into the sequence rather than just stitching together a series of disconnected snapshots.
Don’t let the temptation of a new sensor or a sharper lens distract you from the fundamental geometry of the scene. You can have the most expensive kit in the world, but if you haven’t planned how your shots transition from one to the next, you’re just filming expensive wallpaper. The real magic happens in the space between the shots—the way a glance in a wide shot finds its resolution in a tight close-up. Go out there, watch how people move, pay attention to where the light falls, and trust your eyes more than your gear. That is how you stop being a technician and start being a filmmaker.
